If you want to start producing some of your own food today, use what you have right now, no perfect setup required. The following three steps will get you growing and producing something to eat this week, right where you’re living now.
Step 1: Sprouts (3 to 5 days)
What better way to start than raising your own sprouts? They’re nutritious, simple, and grow right on your kitchen counter in a canning jar.
You can use almost anything that holds water with a ventilated top, but I recommend starting with a pint canning jar and a sprouting screen lid, cheap and simple. You’ll need sprouting seeds, available online or on some seed racks. Sprouting seeds got harder to find after an e-coli scare a few years back tied to mass production problems, but I’ve grown sprouts at home as long as I can remember without any issues. Buy from a good source, keep your equipment clean, and you’ll be fine.
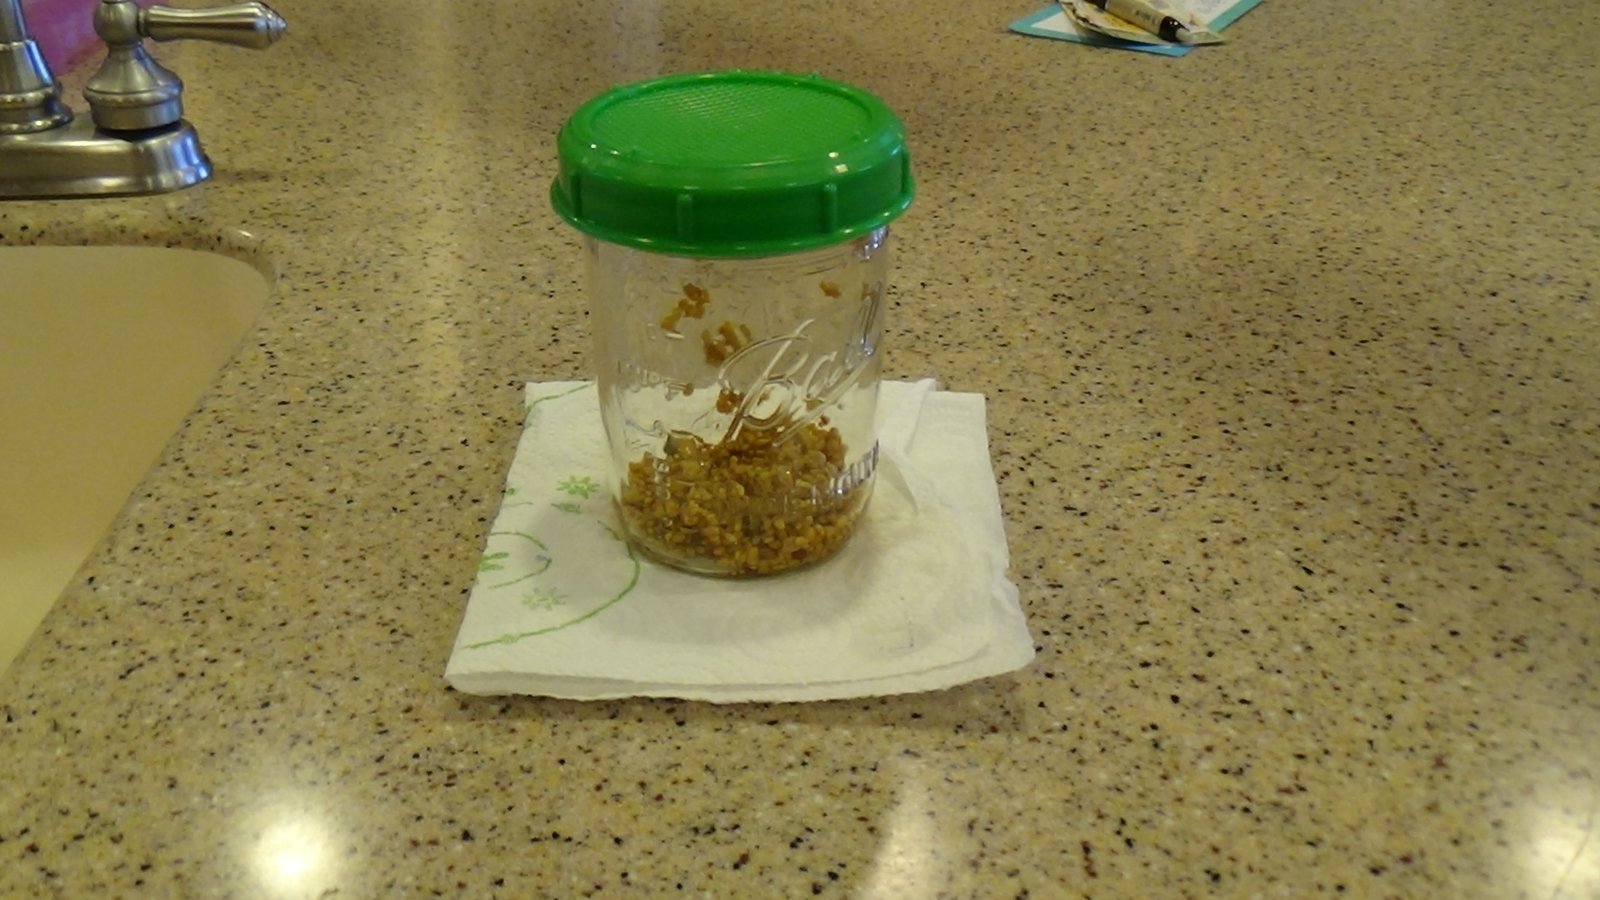
If you’re worried about seed safety, you can sanitize them yourself before starting. For a bleach rinse, use about 3 tablespoons of unscented bleach per quart of water, soak the seeds for about 5 minutes, then rinse thoroughly with clean water. For a gentler option, a plain 3 percent hydrogen peroxide soak for about a minute works too, then rinse well before you start sprouting.
Alfalfa is the most common sprout, but radish, clover, and broccoli all work too, alfalfa and clover are mild, radish and broccoli add some spice. Start with about half a teaspoon of seed in the jar for your first batch, you’re learning the process, not maximizing yield yet. Don’t overcrowd the jar, and only grow what you’ll eat in a couple days, since they’re best fresh.
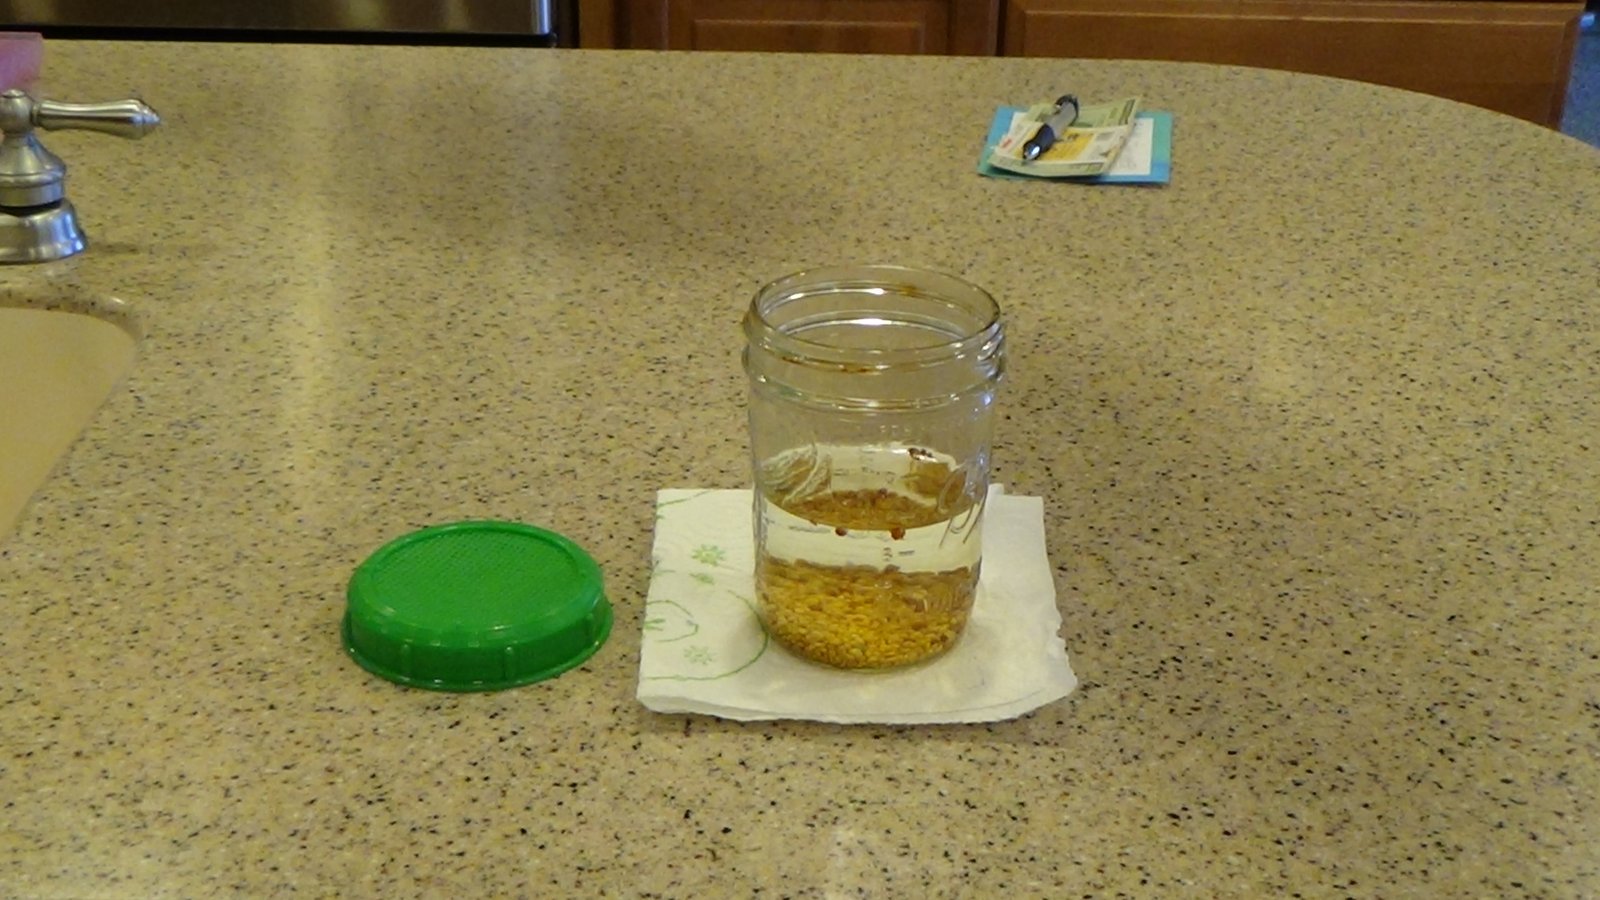
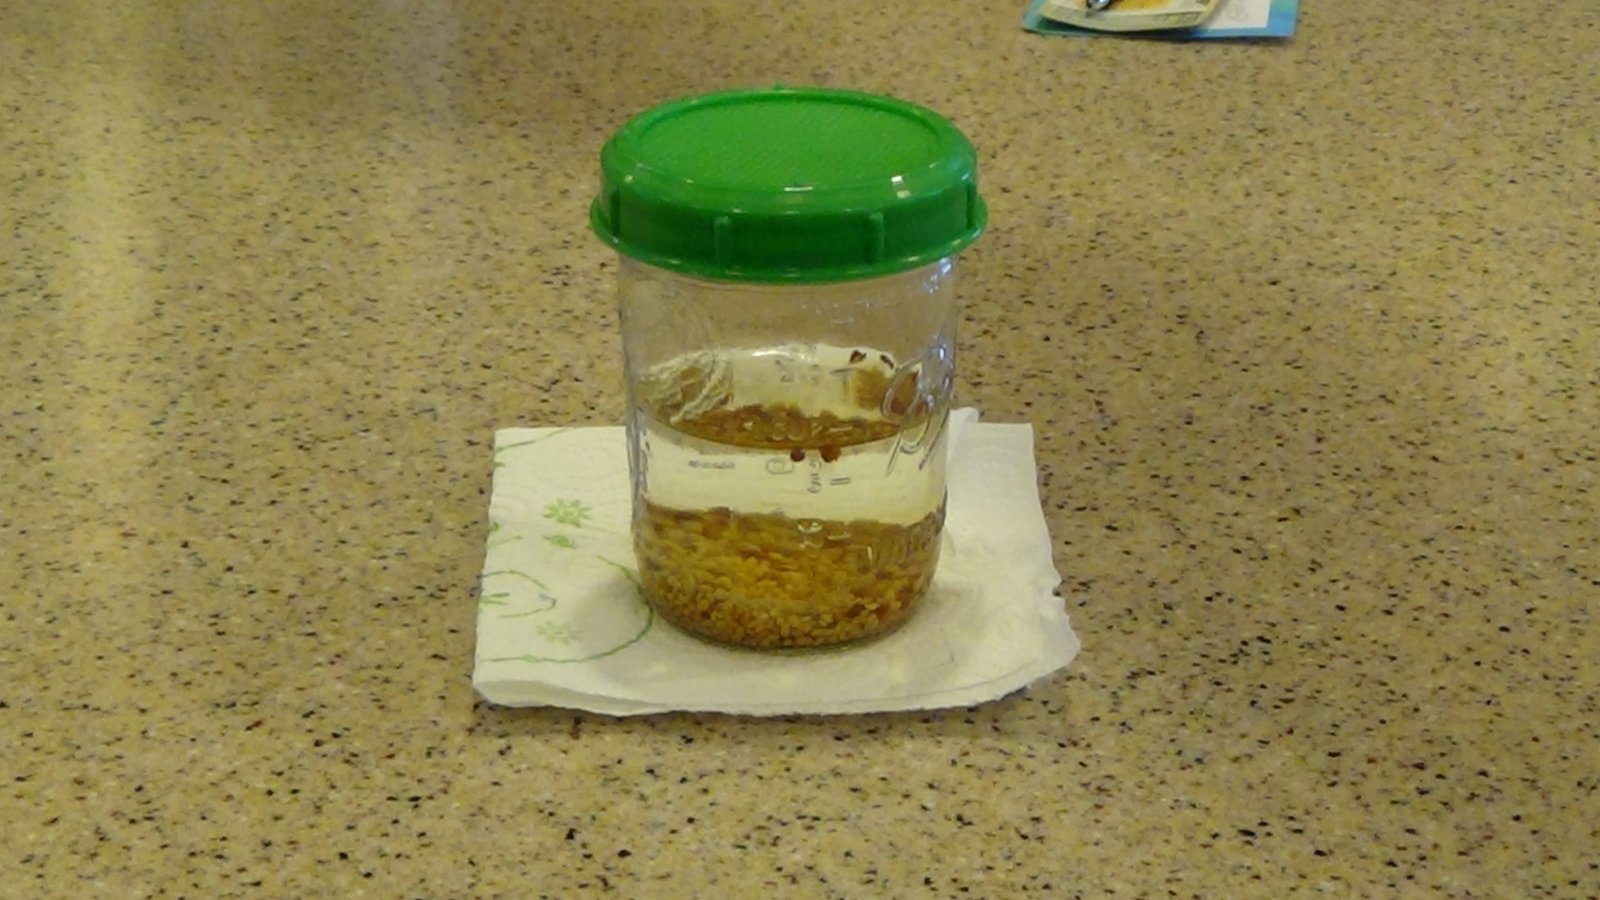
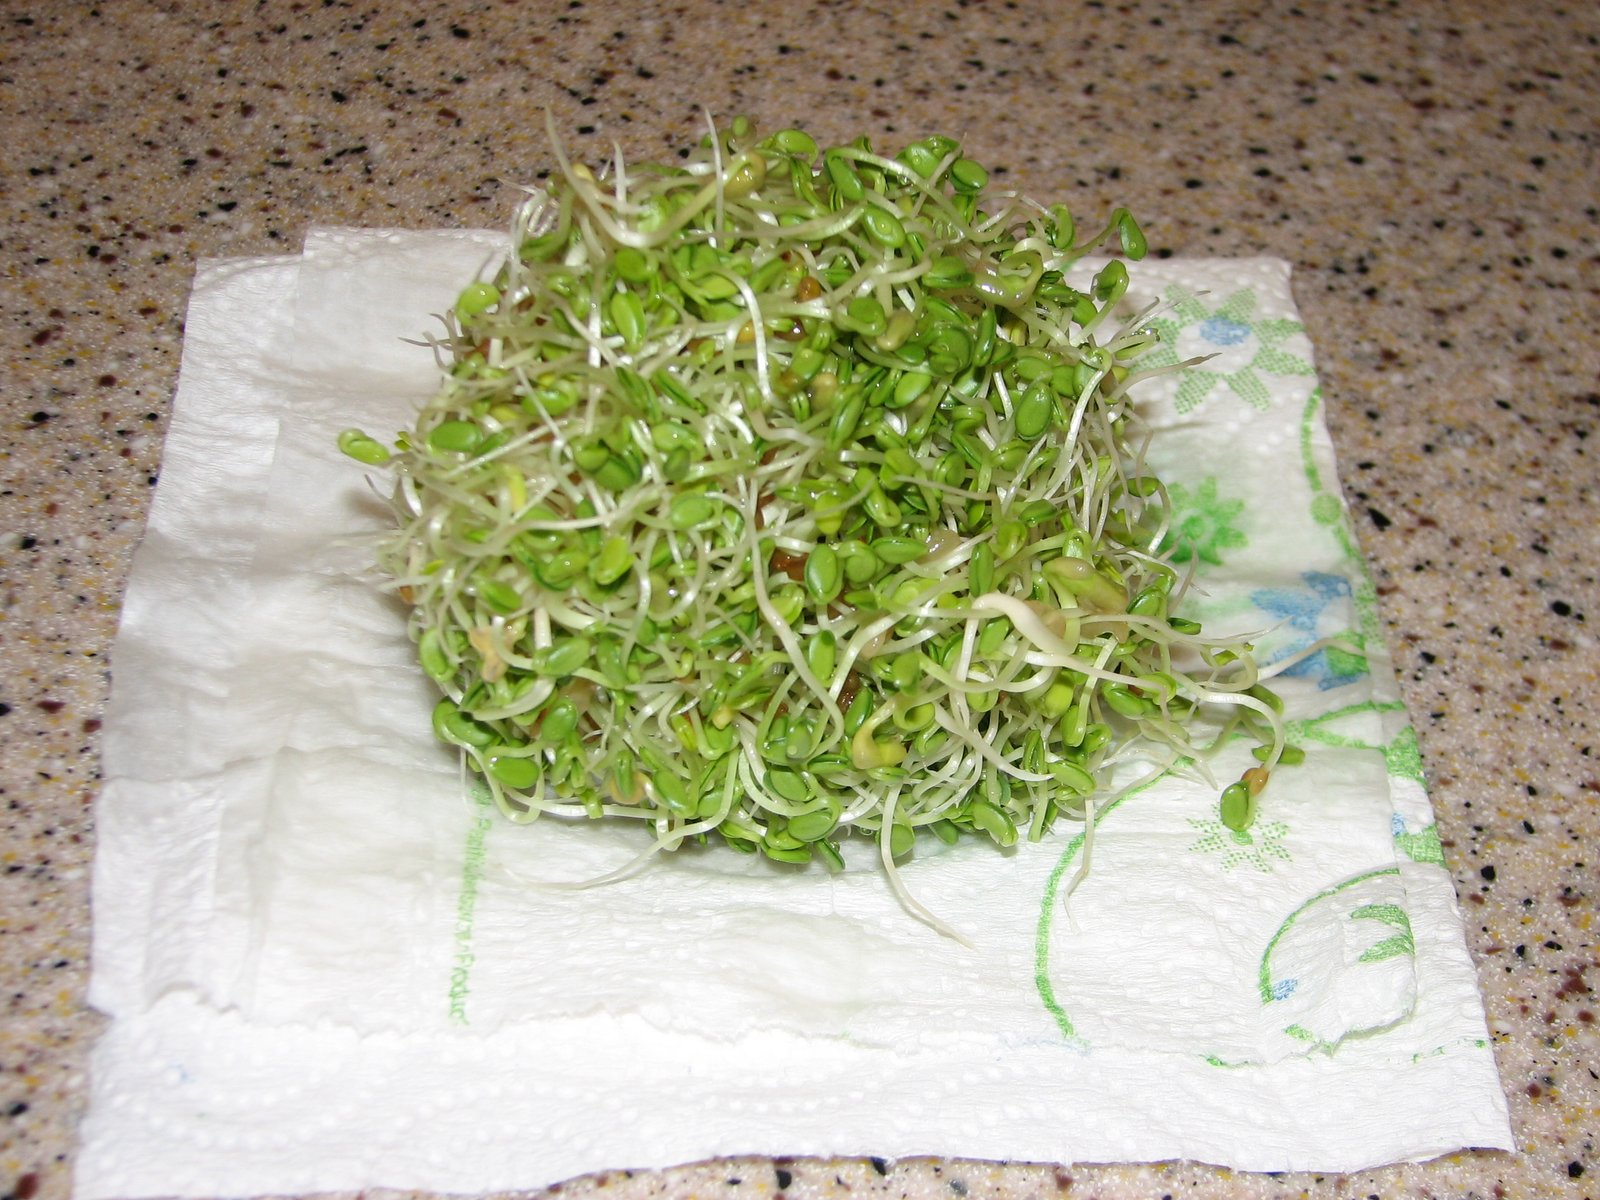
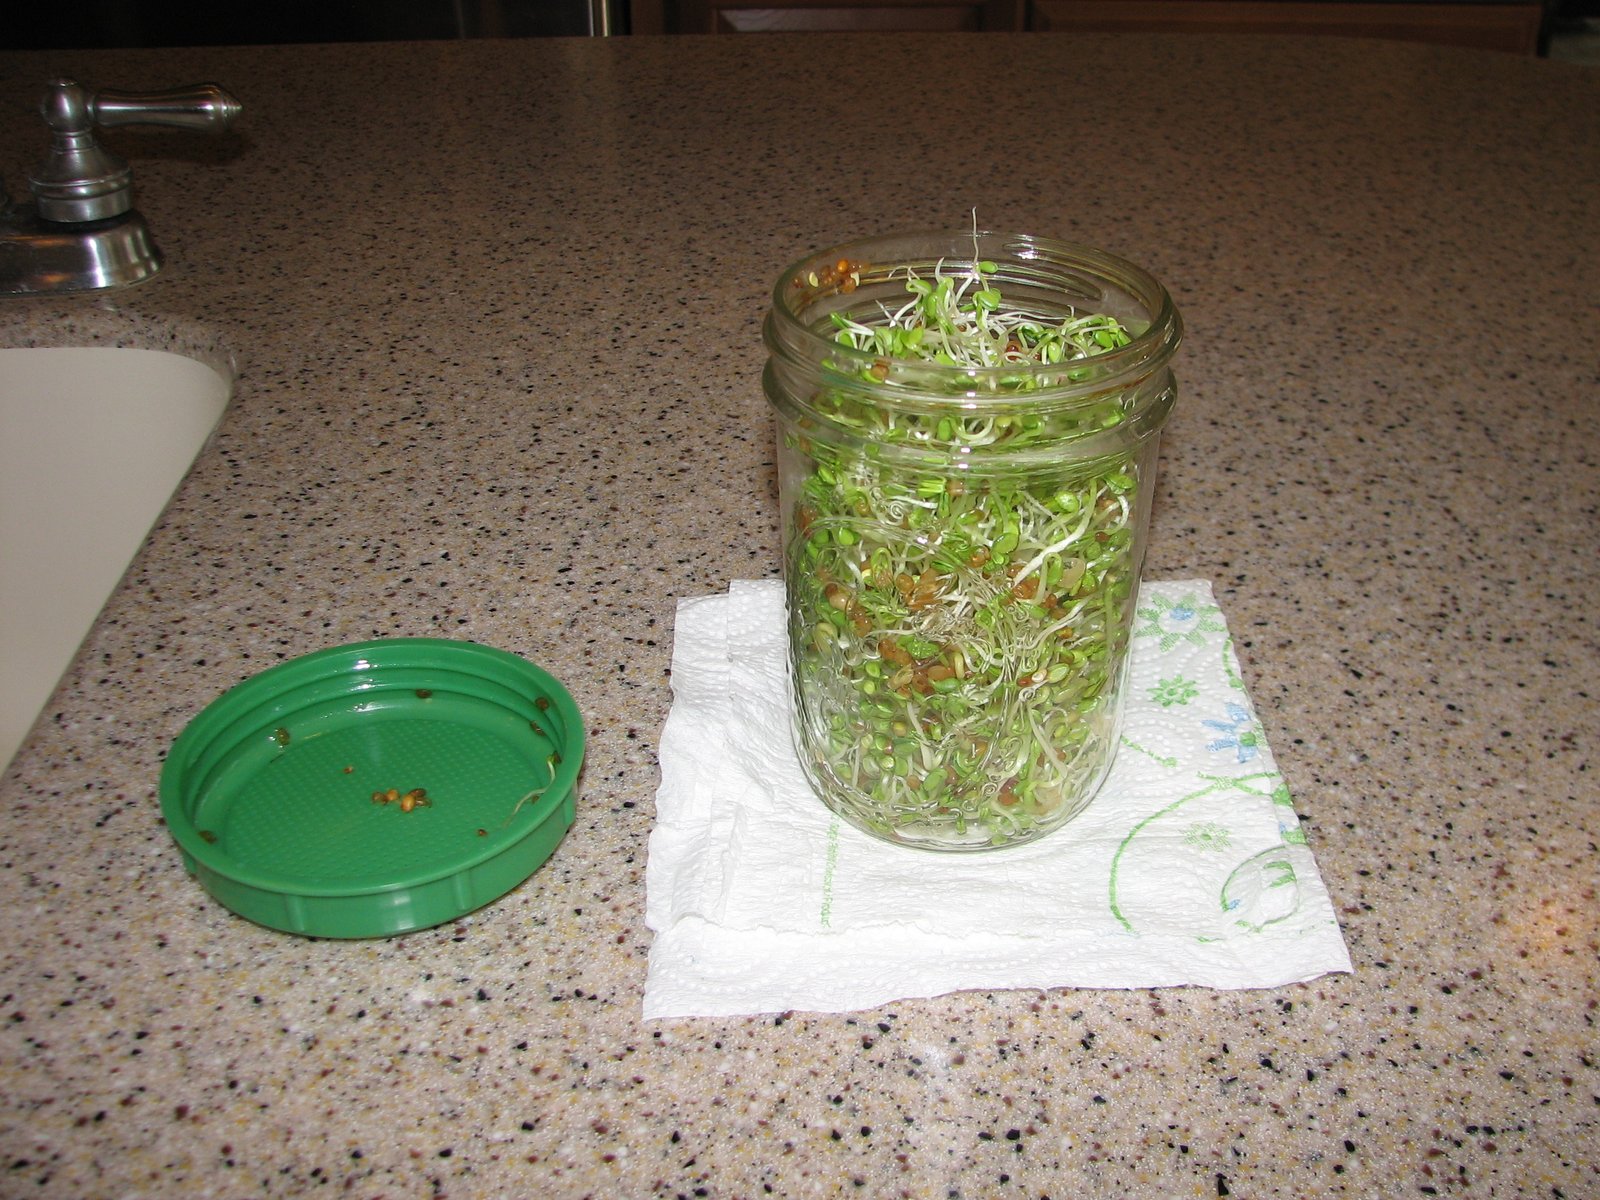
Soak in an inch or two of warm water for at least 6 hours, then drain completely. Rinse and drain 3 to 4 times a day, keeping them damp and out of direct sunlight. In 3 to 5 days they’re done. Rinse out the hulls, the little brown flecks, and they’re ready once the leaves just start to turn green. Let them drain well before storing, a paper towel works, then bag or seal them in the fridge. Skip the draining step and you’ll end up with slimy sprouts from pooled water. They’ll keep 8 to 12 days.
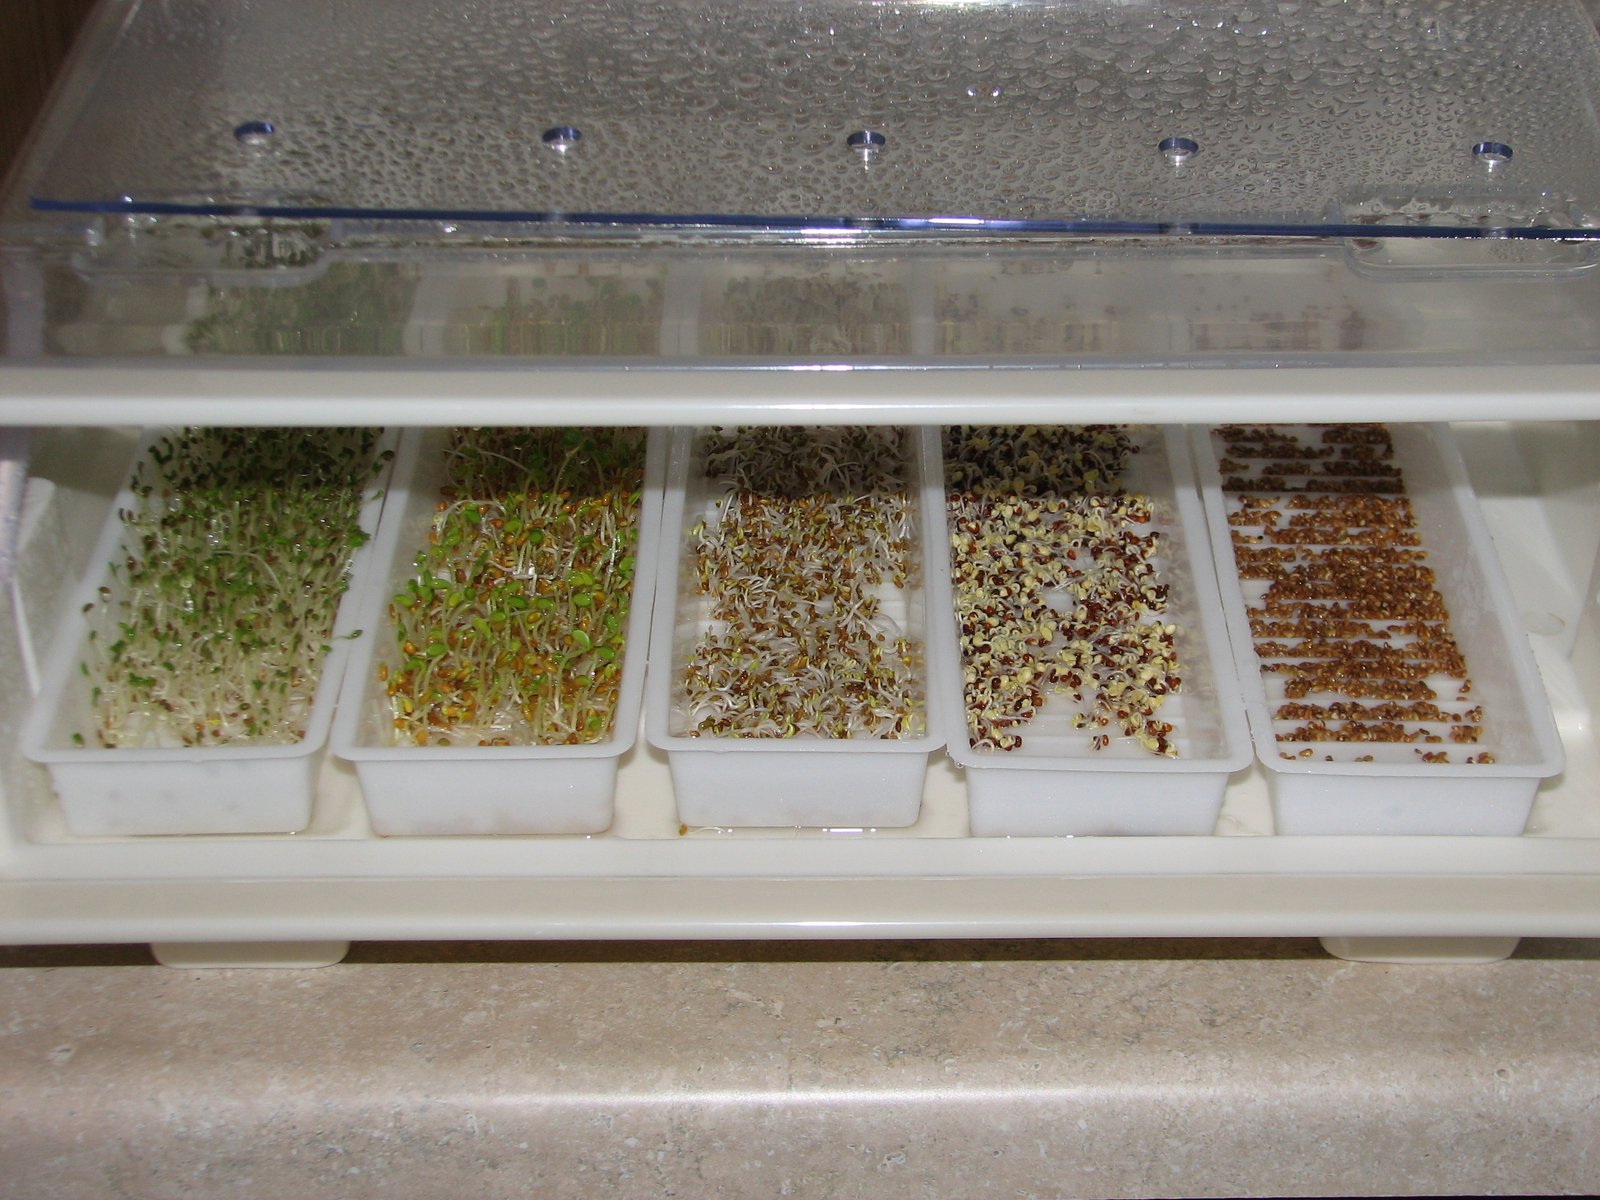
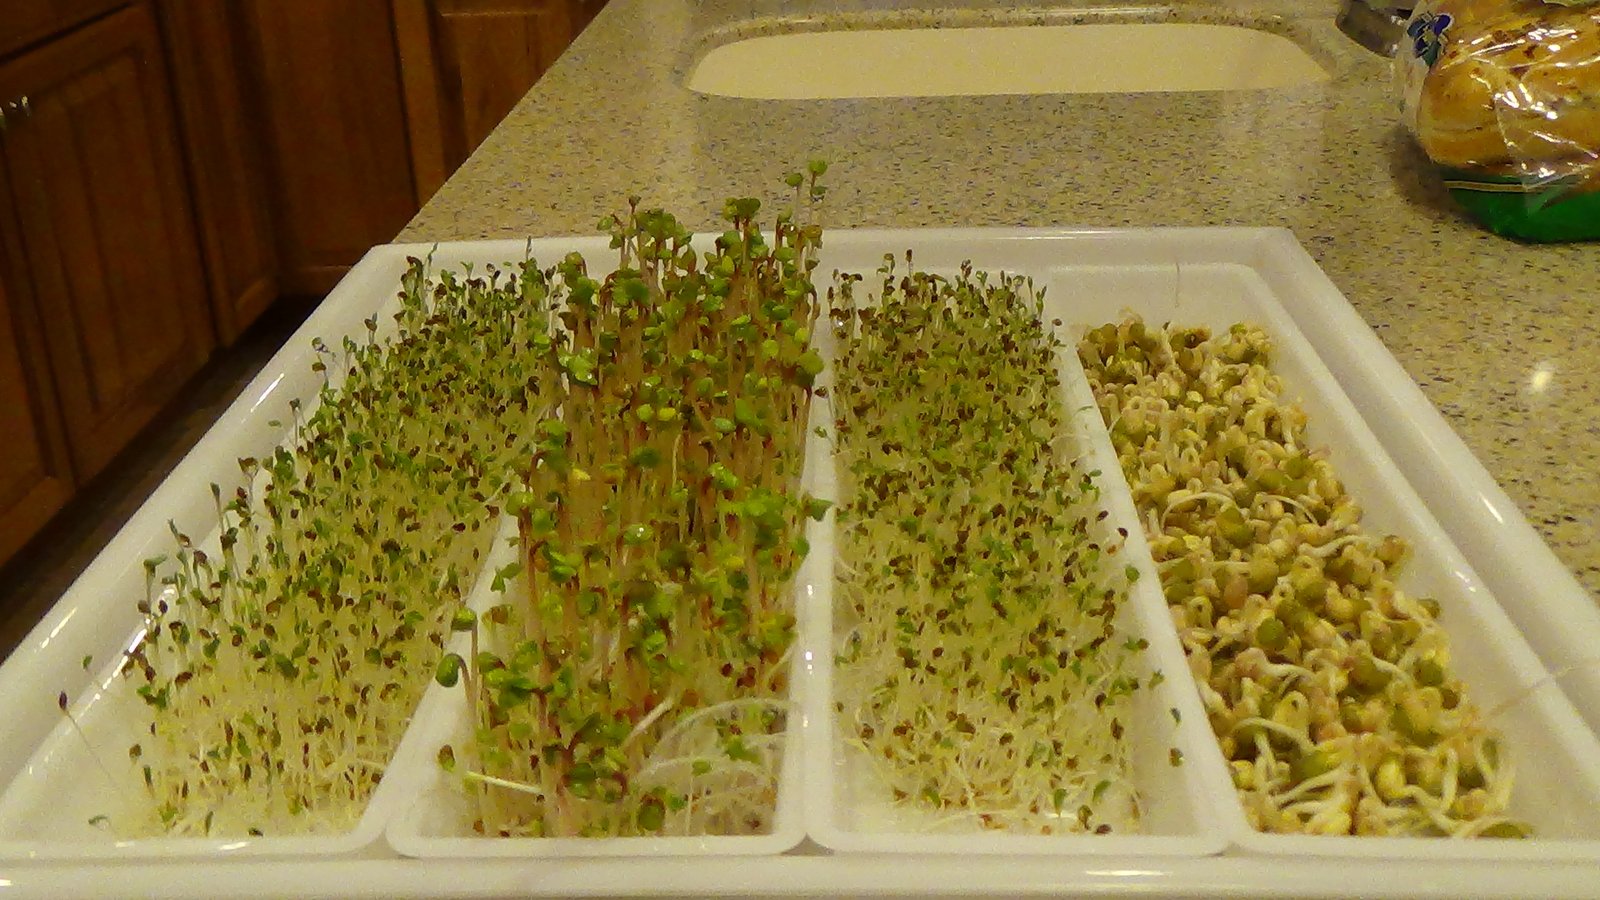
Once you’ve mastered a jar, scale up how you like, a quart jar for a bigger family, or a few jars in rotation for a daily supply. When I first got my EasySprouter, a bigger sprouting setup, the first batch came out wrong because I didn’t read the directions closely enough. I think it’s a man thing. But because I’d already learned the basics in a simple jar, I knew what to expect and could troubleshoot it. Bigger isn’t always better. Learn small, then scale up.
Step 2: Yogurt (8 to 12 hours)
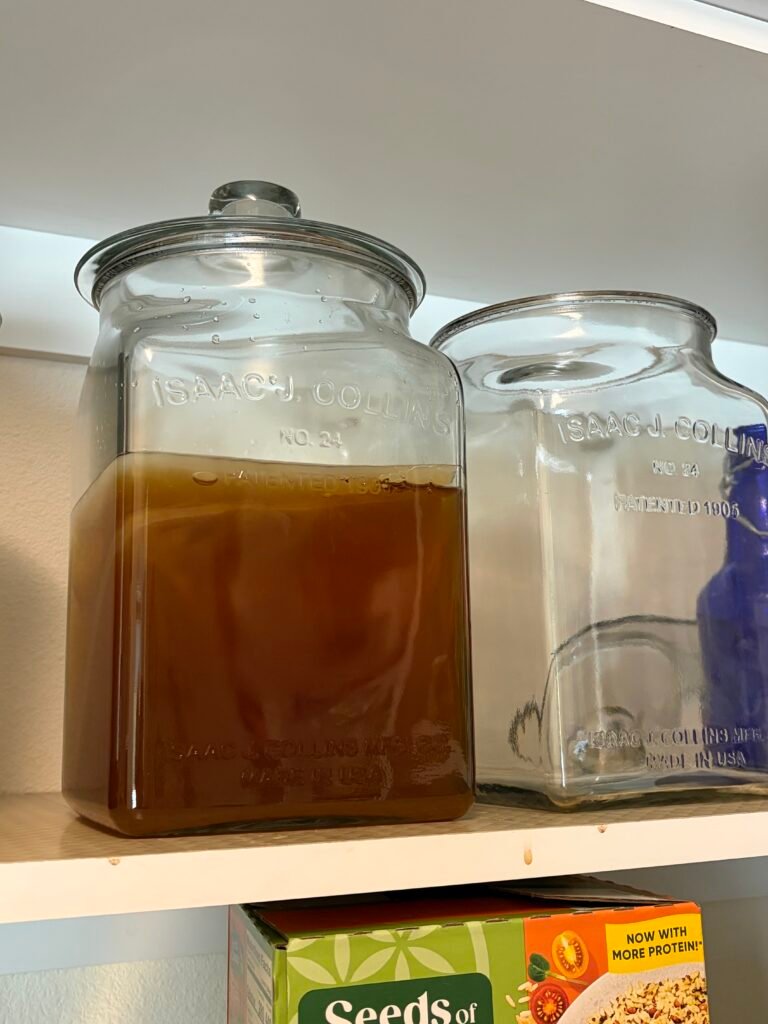
Yogurt is just as simple, and it only takes about 20 minutes of active work to prepare a batch.
You’ll need a yogurt maker, which keeps the milk at the right temperature the whole time, inexpensive and far simpler than trying to manage it in an oven or dehydrator. You’ll also need milk, a food thermometer, and a yogurt starter culture.
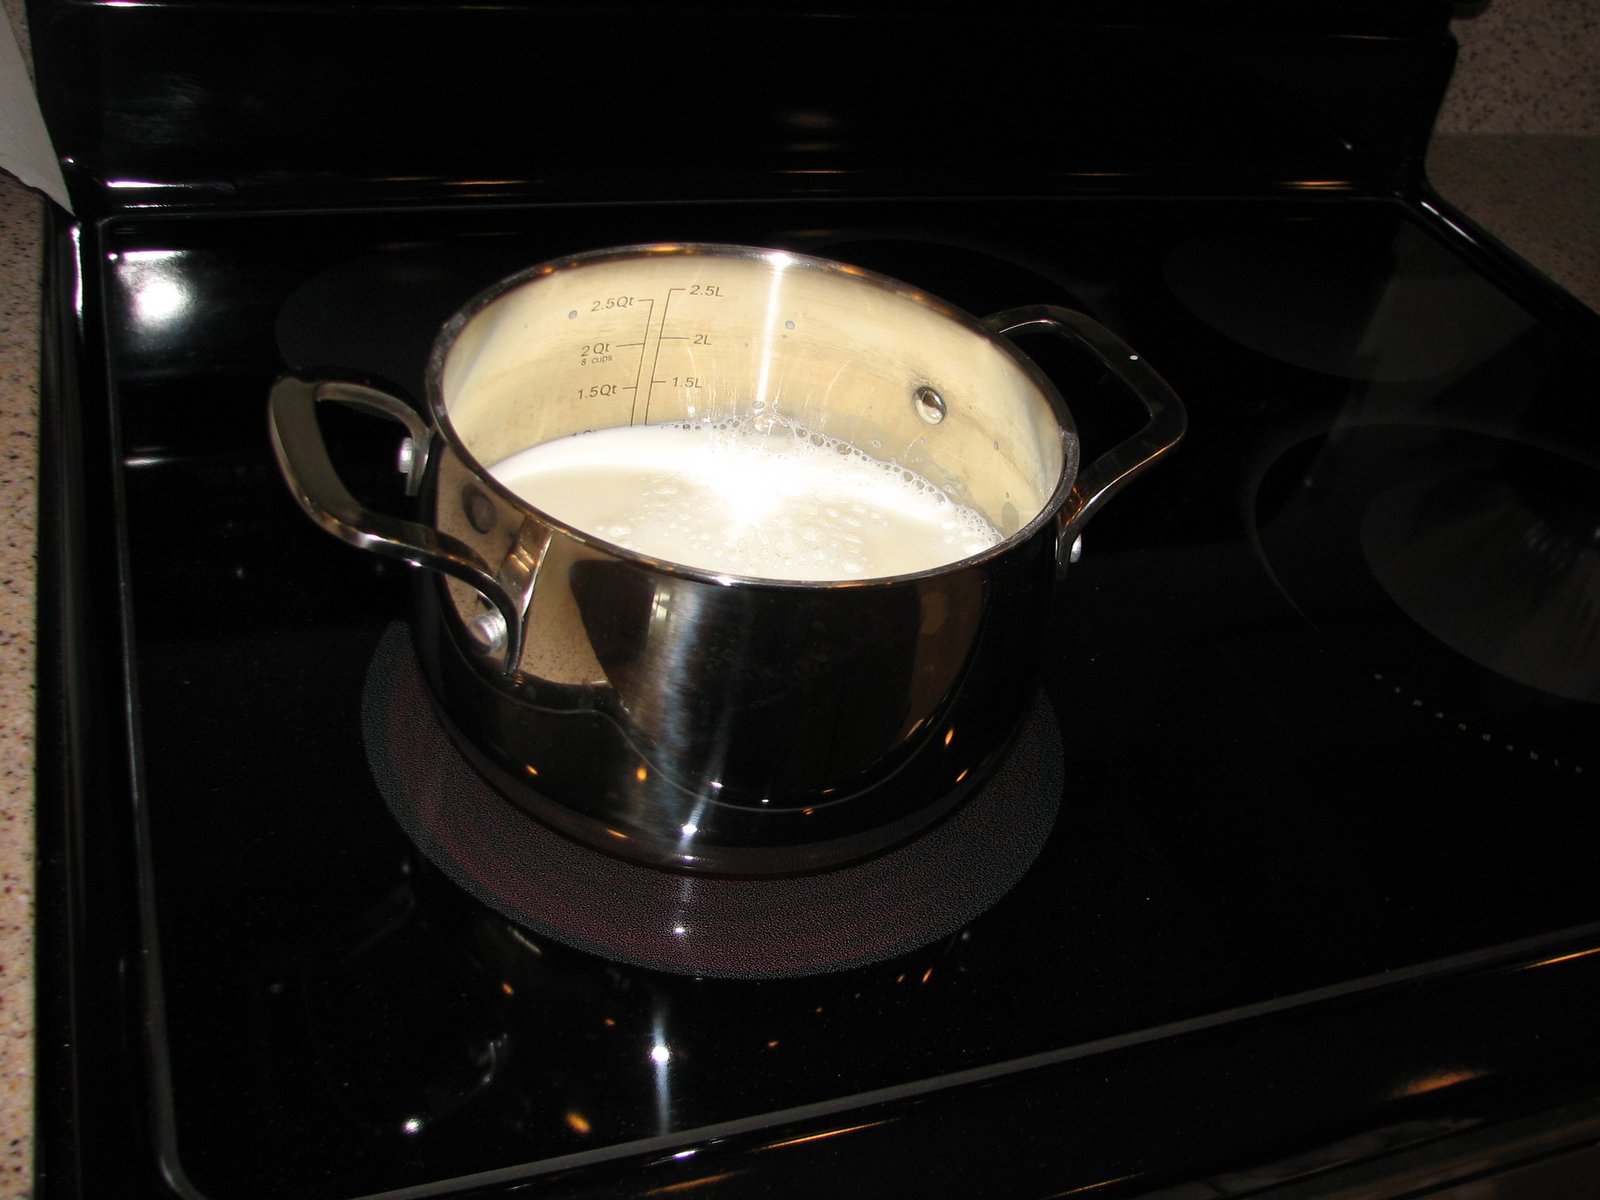
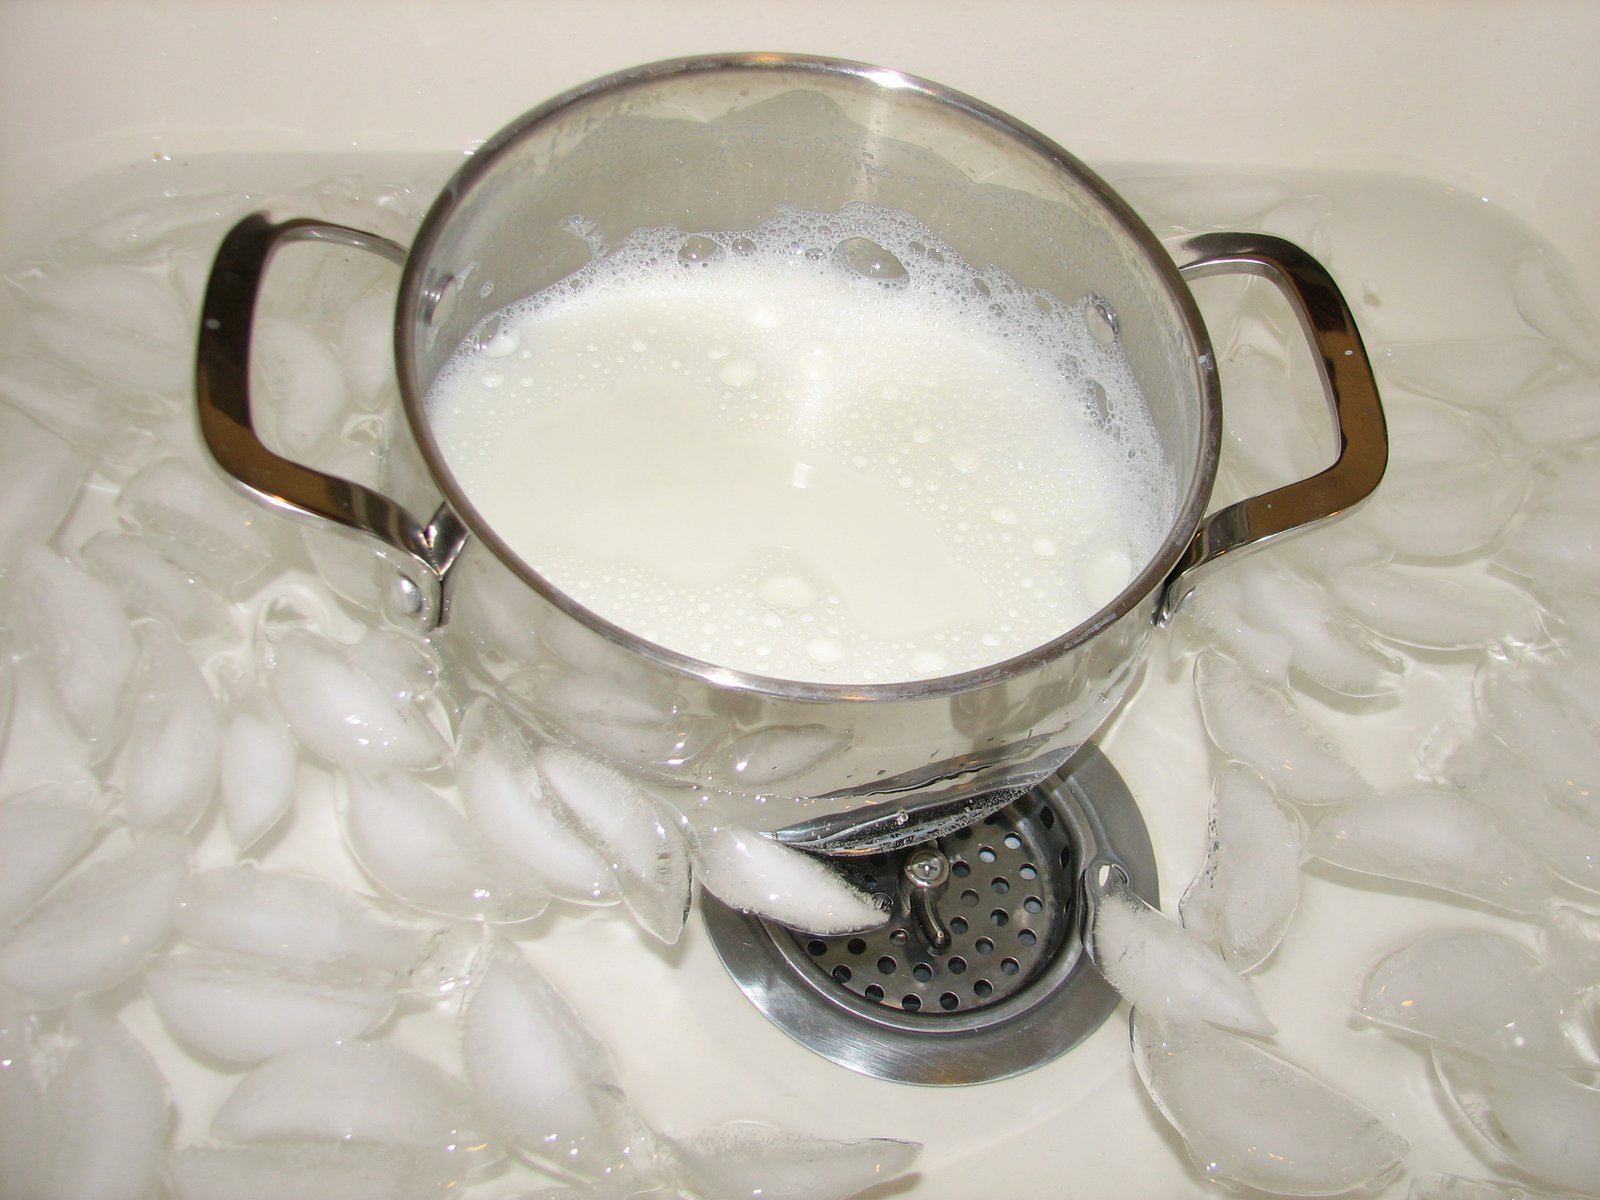
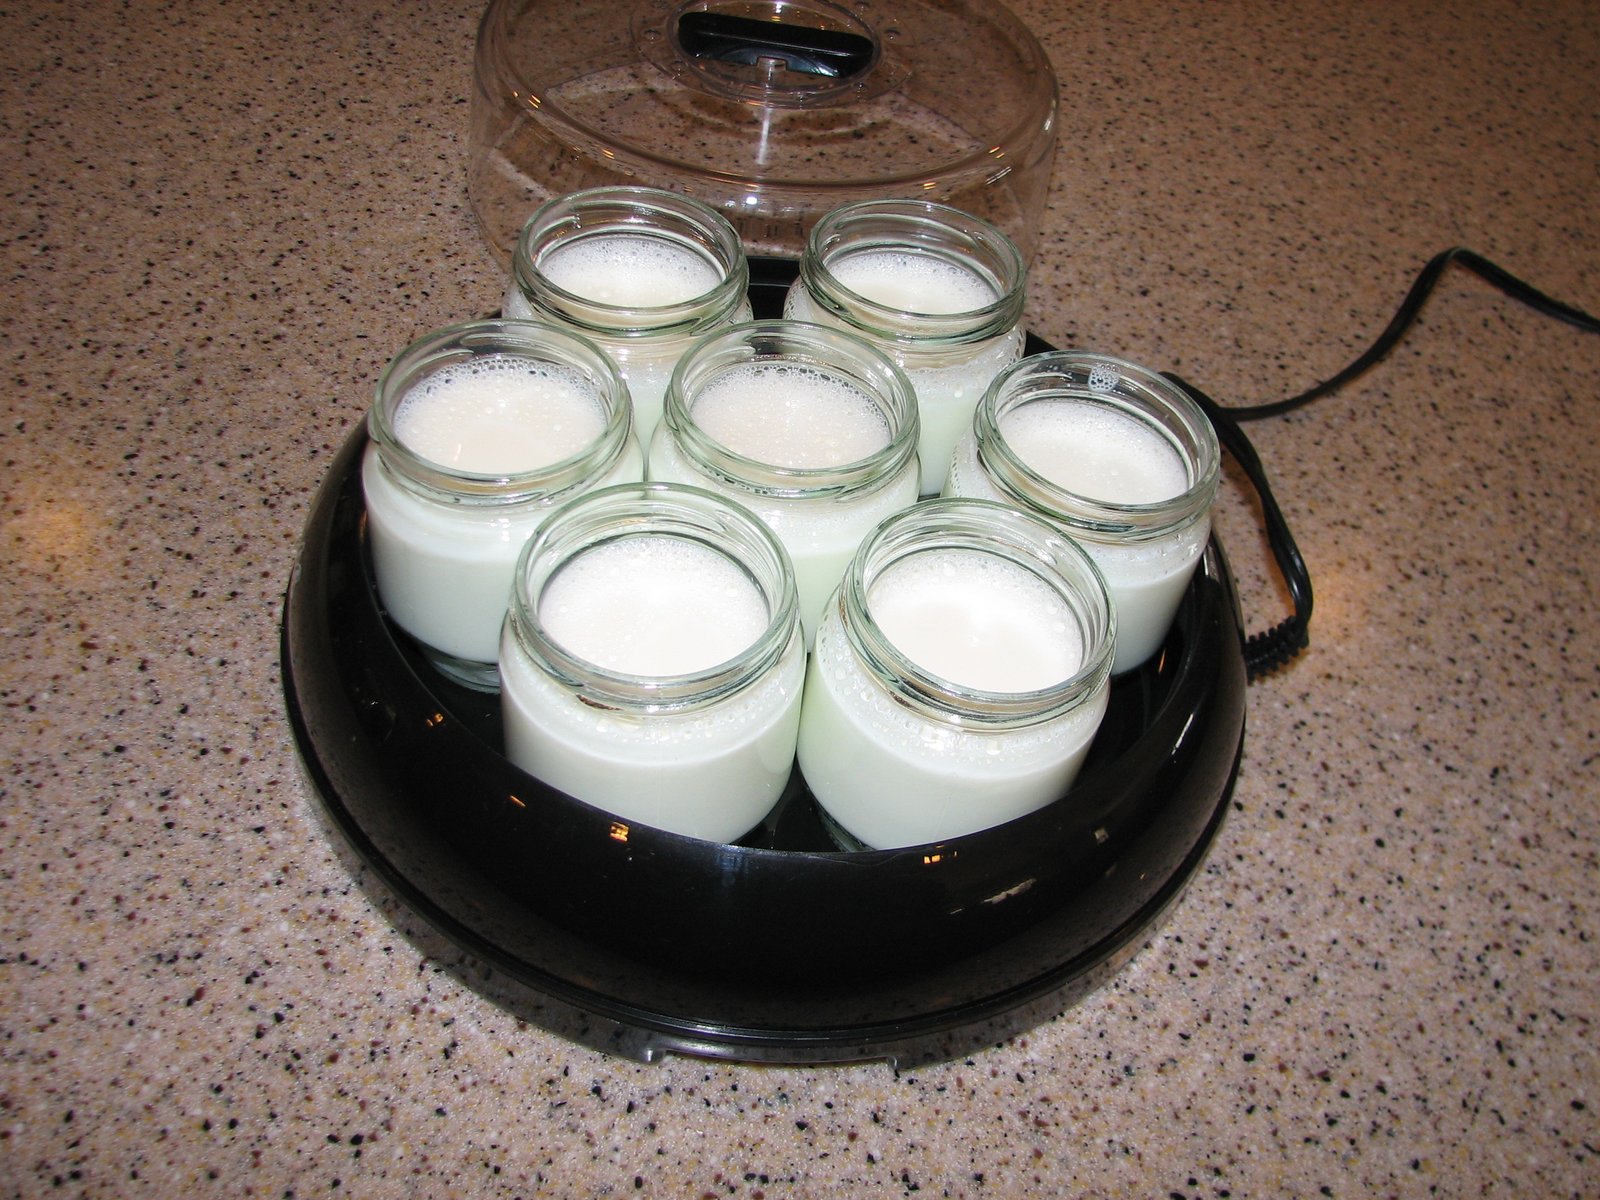
Heat your milk to about 180 degrees to kill off competing bacteria, then cool it to around 110 degrees, ice speeds this up, or let it cool naturally if you’re busy with something else. The key is adding your culture at the right temperature, too hot and it kills the culture, too cold and it won’t set. Mix the culture into a small amount of the cooled milk first, then stir that into the full batch. Pour into containers, load into the maker, and let it sit 8 to 12 hours. I usually go longer, starting it before dinner and pulling it out the next morning. Larger jars take longer to set.
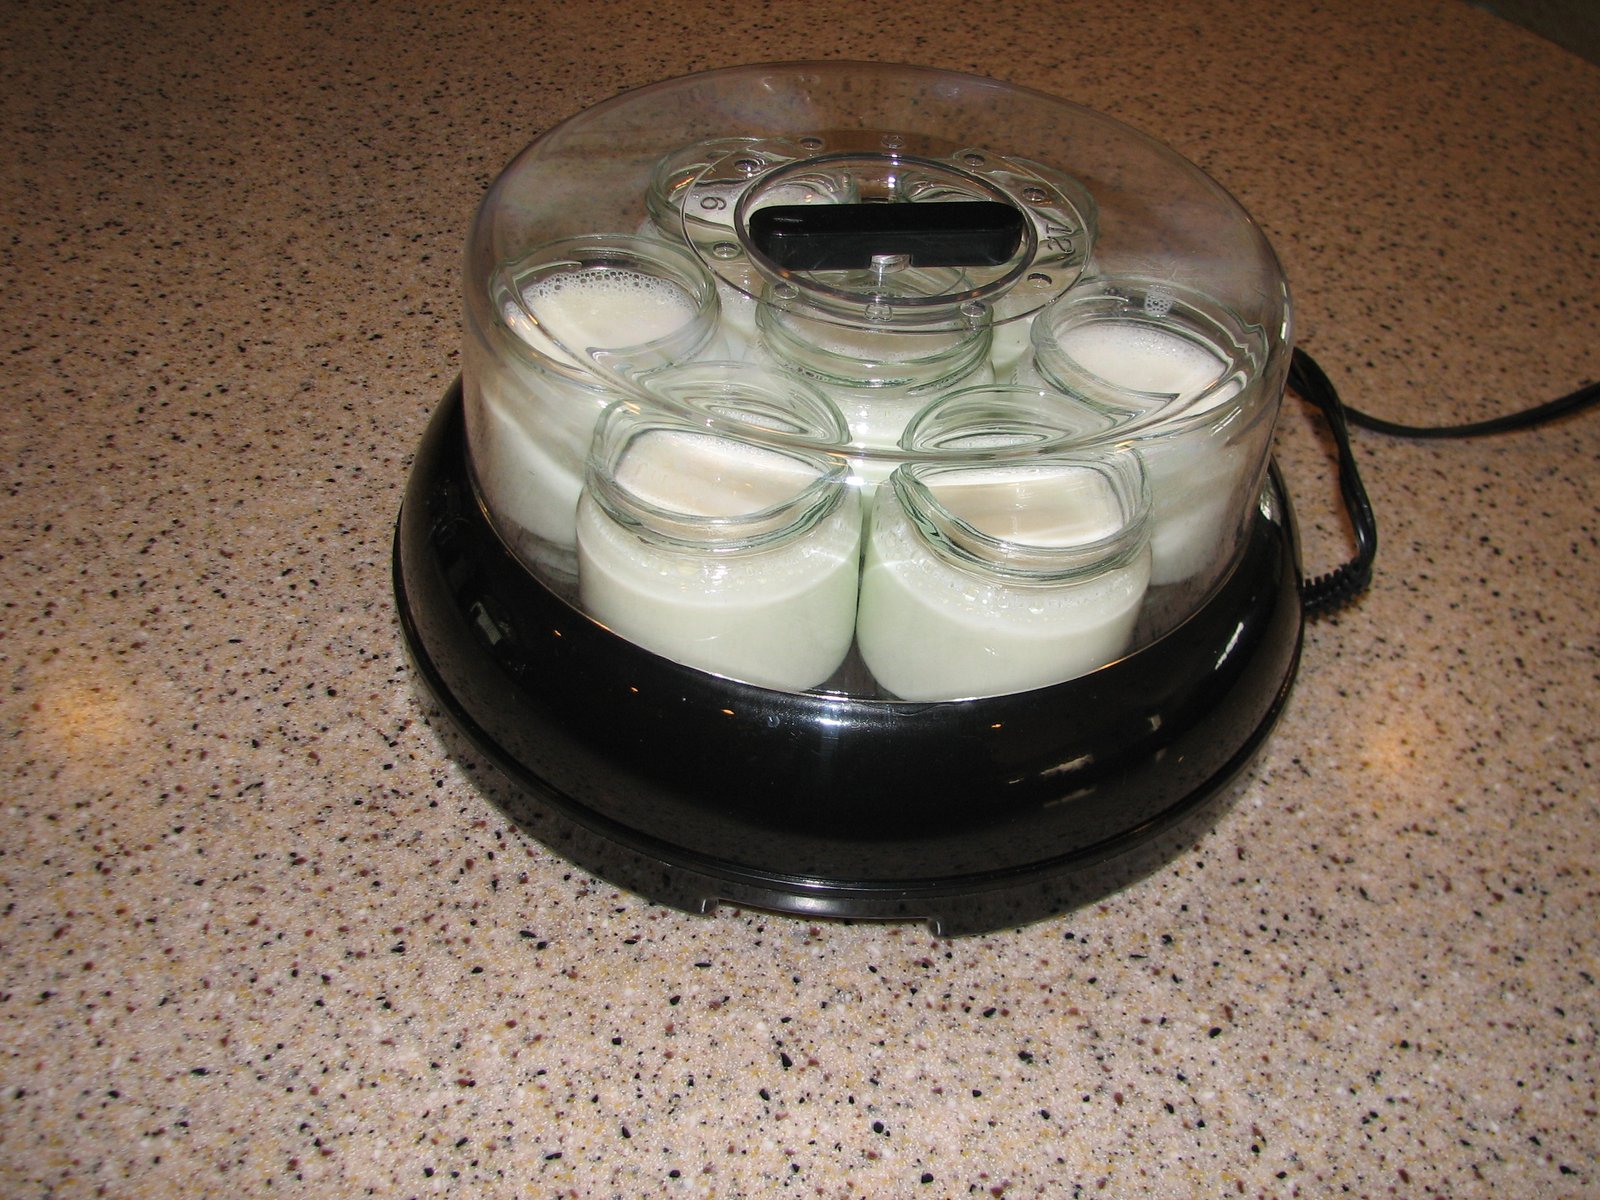
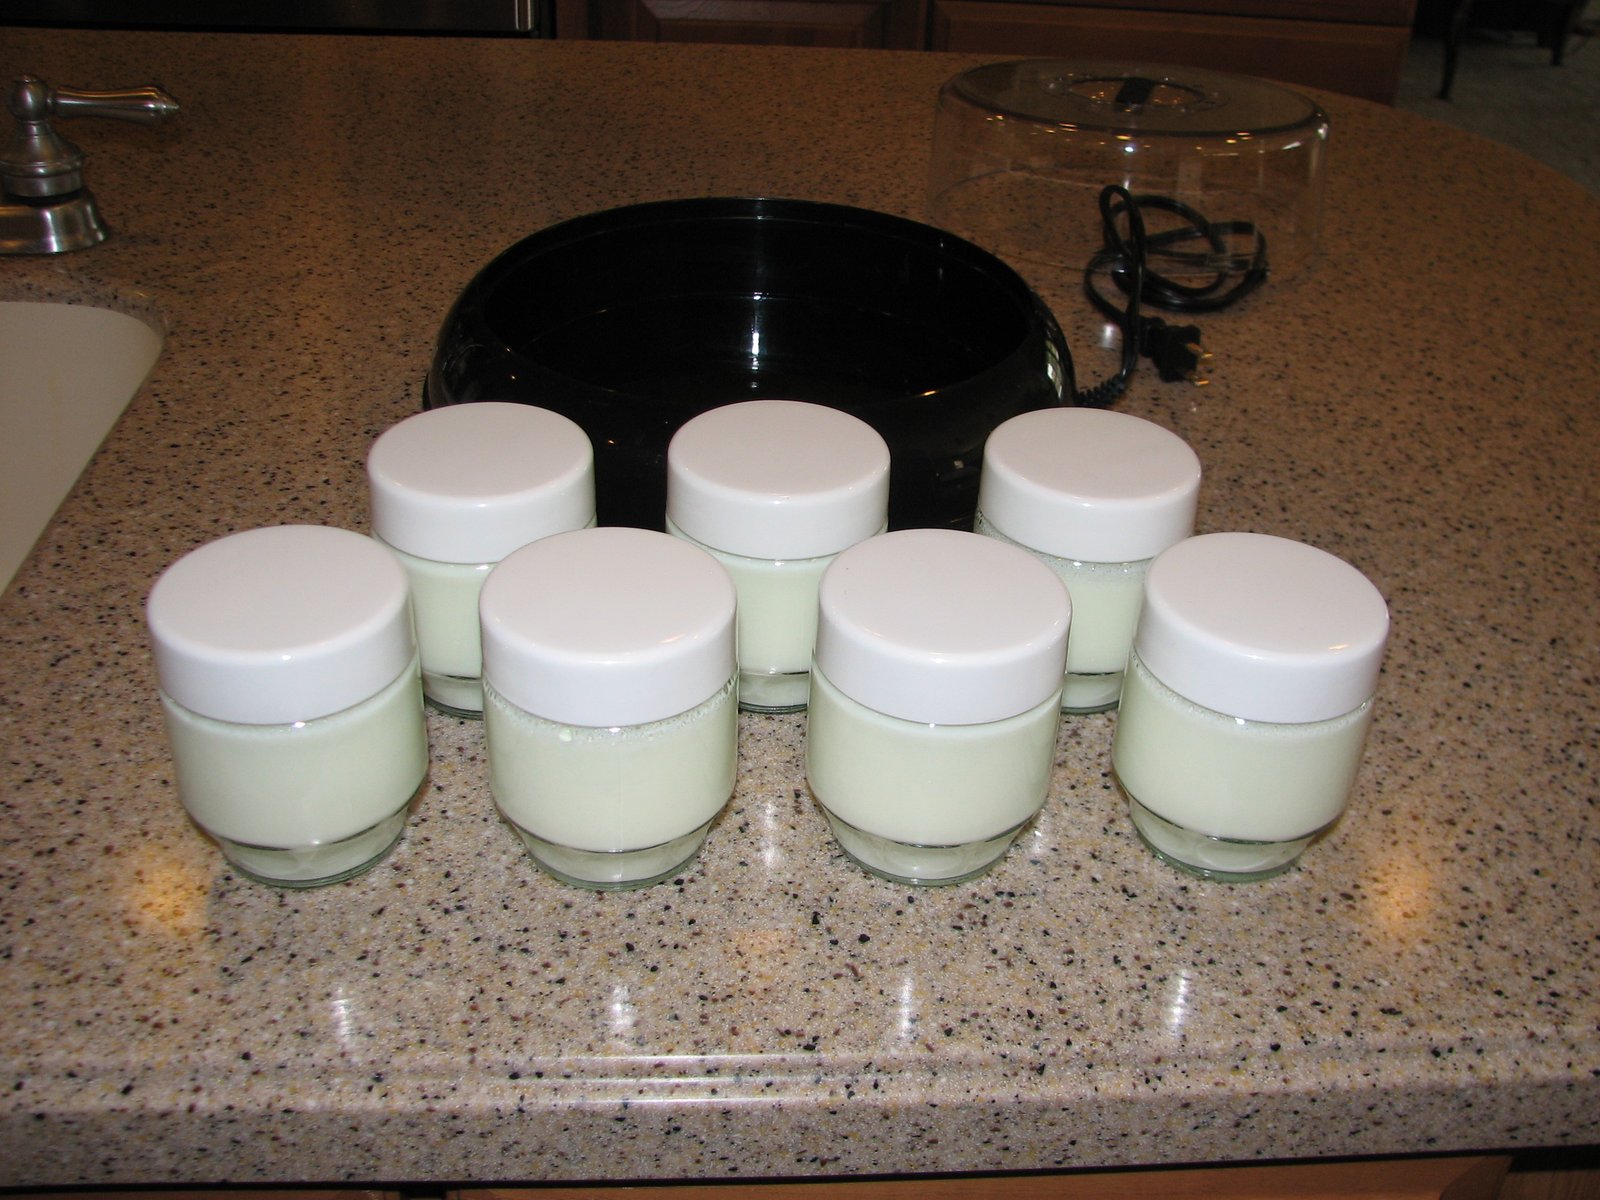
The yogurt comes out plain, so flavor it however you like once it’s done. I like smashed blackberries, my wife prefers maple syrup. You can add jams, jellies, fresh fruit, or syrup, or flavor it before processing if you’d rather. I like keeping a batch plain, though, since it’s useful for cooking or salad dressing too.
Cost-wise, it runs about 73 cents a jar today using 2 percent organic milk, cheaper milk brings that down even further, and you still end up with something fresh.
Step 3: Lettuce (a few weeks)
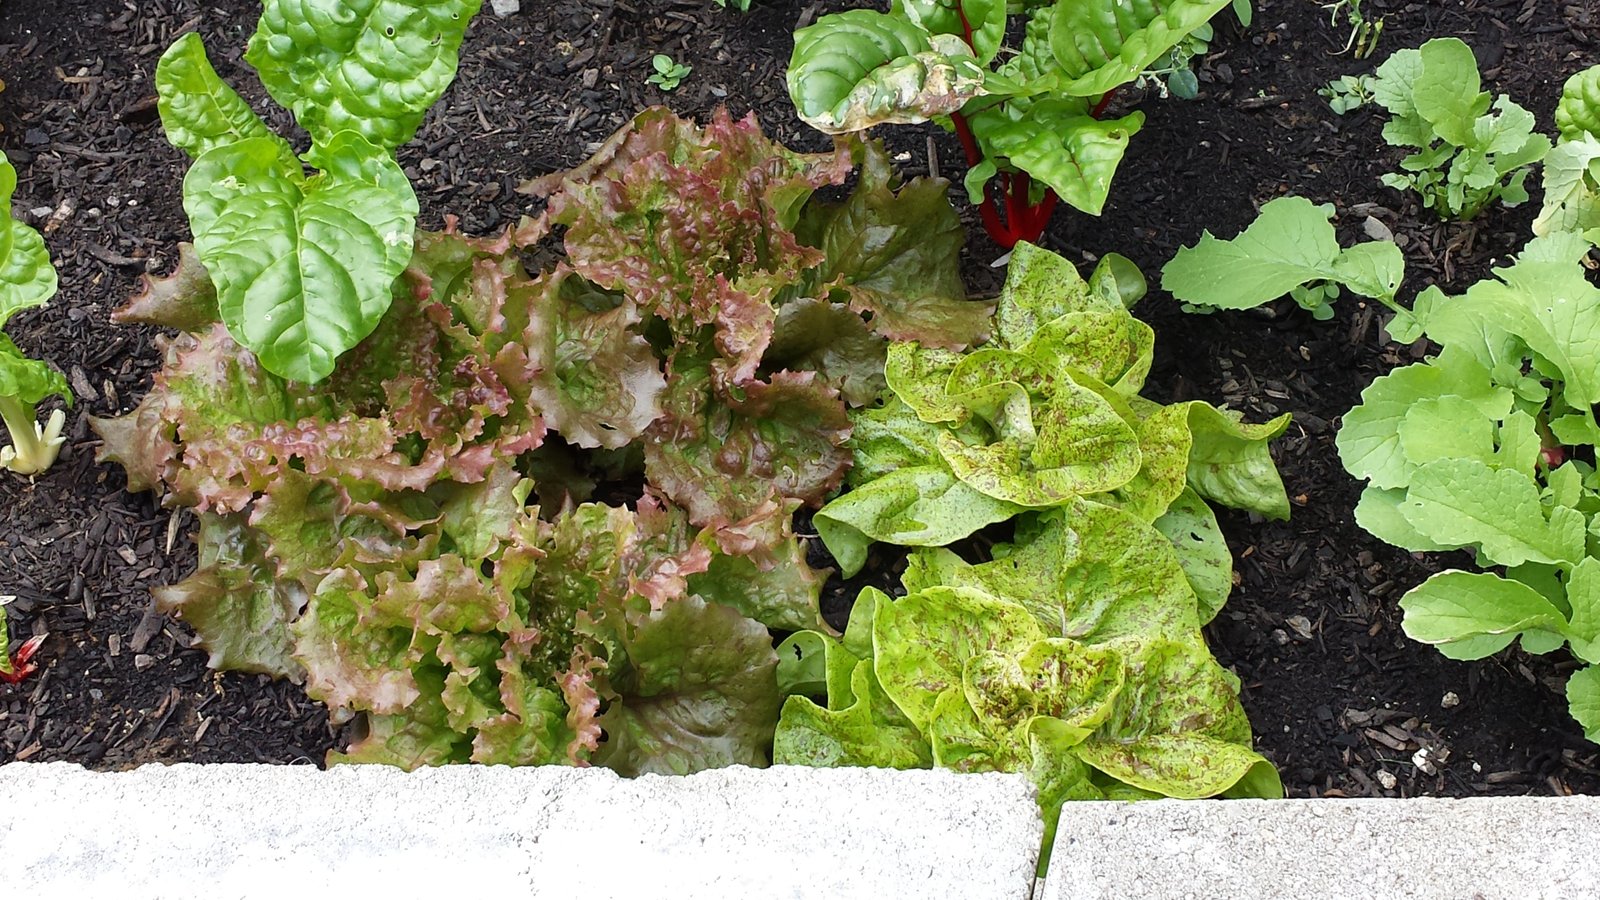
Lettuce is easy to grow, indoors or out, and this step is about growing something you can eat, not becoming a master gardener. Too many people stall out overanalyzing soil quality or pot size. My take, short of your yard sitting on a toxic waste dump, whatever you grow will beat store produce. That said, if your soil’s poor, improve it over time, just don’t let the search for perfect conditions stop you from planting today. Lettuce is forgiving either way, eat it small, let it grow larger, or trim leaves as you go and let the plant keep producing.

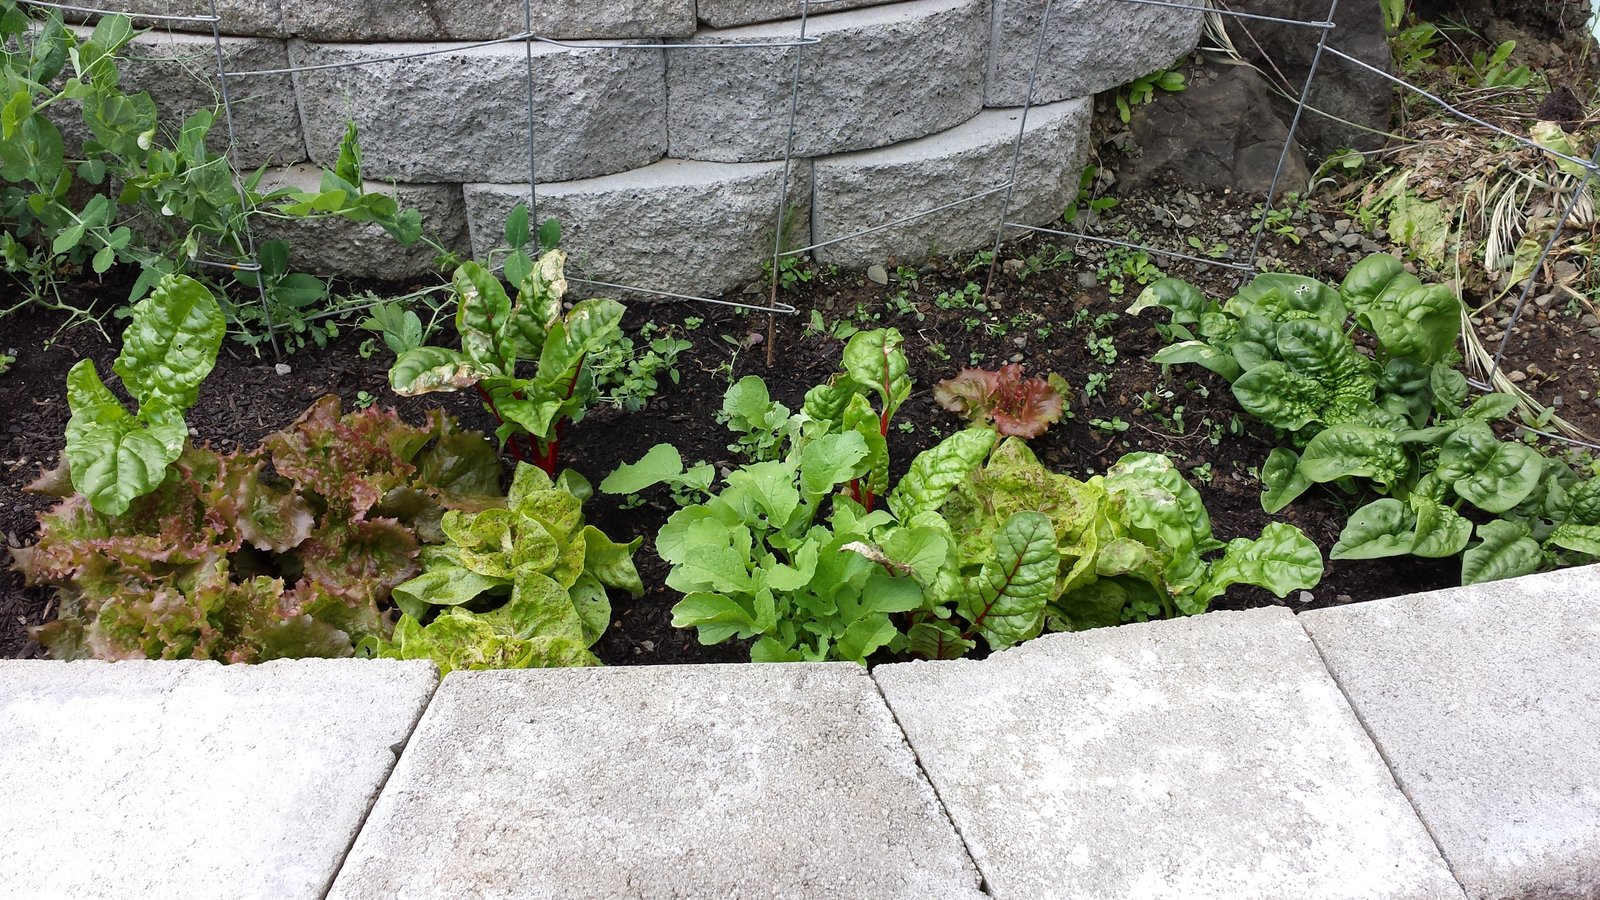
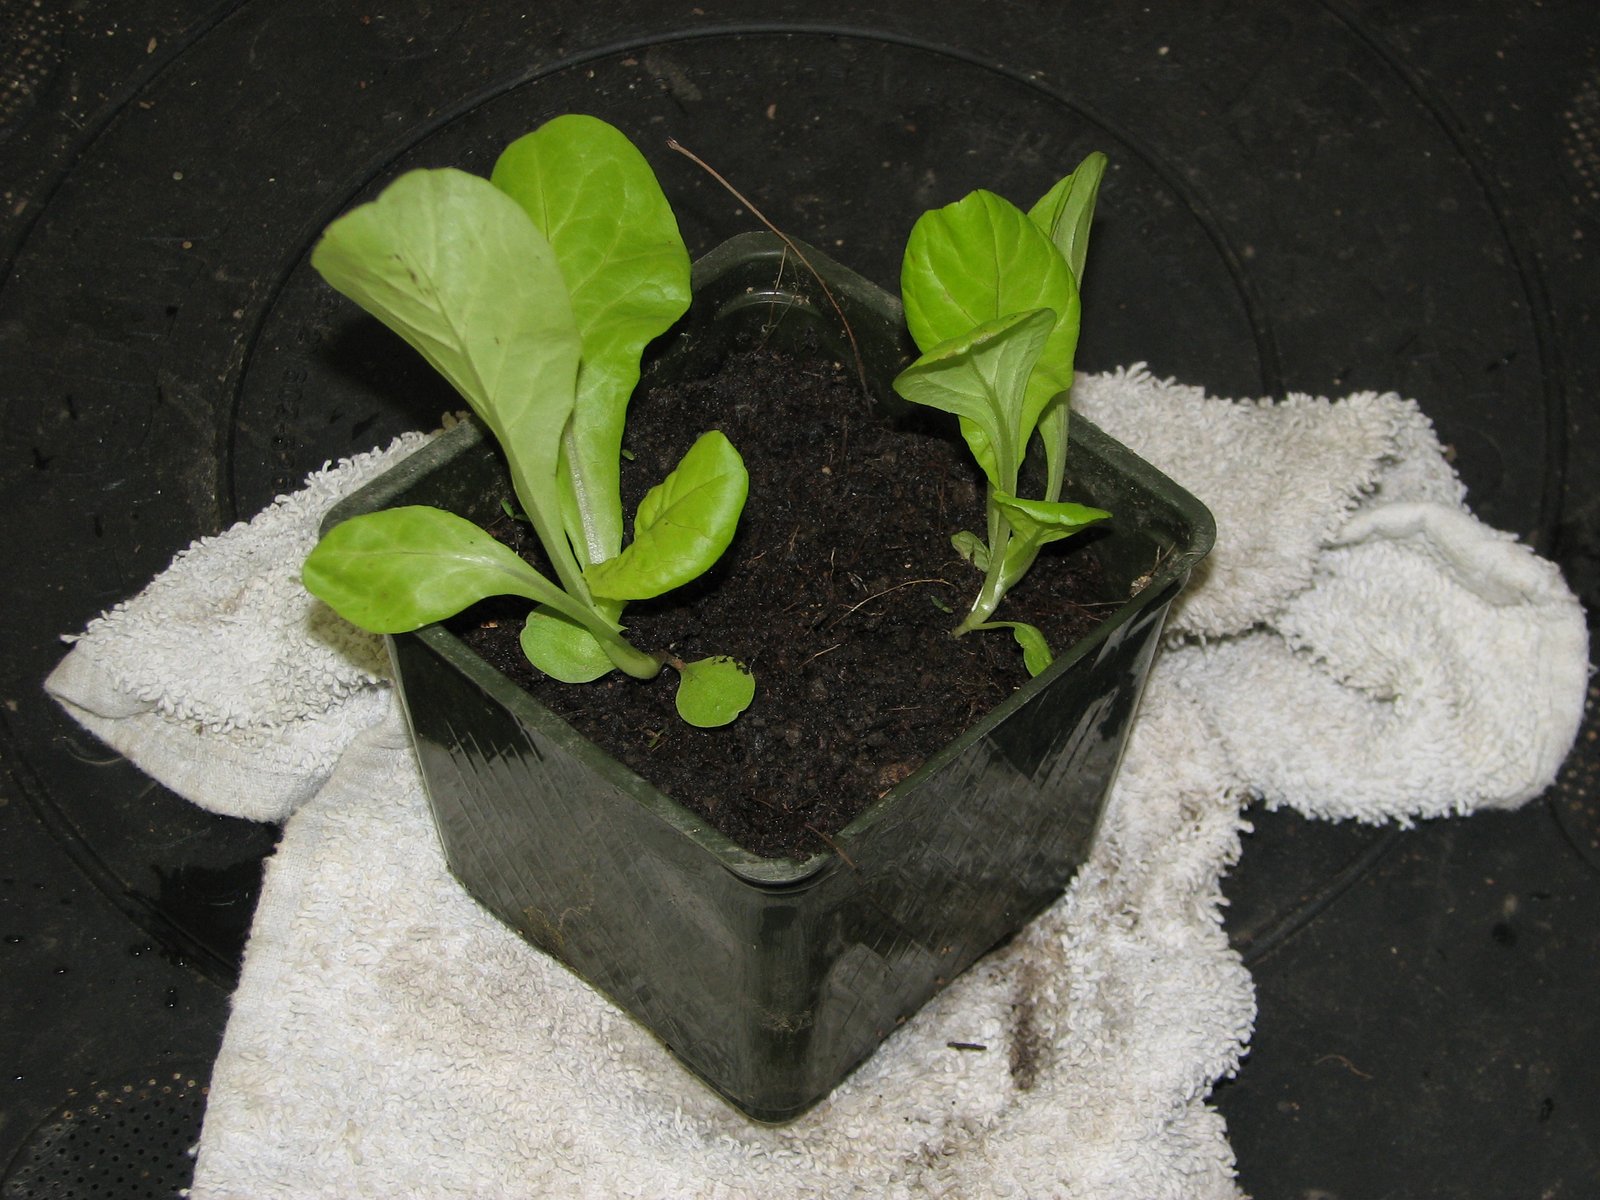
For space, a windowsill, a spot under grow lighting, or a corner of a flower bed outside all work. If you already have garden space, you probably already know how to grow lettuce. Otherwise, you just need lettuce seeds, or other greens like chard or spinach if you’d rather, and potting mix if you’re using pots.
Don’t overanalyze this, get seeds, follow the packet directions, keep the soil damp, not wet, and wait. Growth speed depends on temperature and daylight, cold weather means slow or no growth, so start indoors, with grow lighting if needed, in winter, and plant outside once it’s warm. Every climate is different, so the best advice if you’re gardening outdoors is to find a local gardener close to your own area, what works at my house may not work at yours.
Why This Matters More Than It Looks Like It Does
Producing sprouts, yogurt, and lettuce might not seem like a big deal on its own, but it proves you can start producing your own food immediately, sprouts in 3 to 5 days, yogurt in 8 to 12 hours, lettuce in a few weeks. All three are also the basic ingredients of a real salad, you can even make dressing from the yogurt. It’s not really about the food. It’s the skills you build and keep building on that create real progress.
Once you’ve got the basics down, you can get more selective. I personally lean organic when I can, skip pesticides in my own garden, and choose heirloom, open pollinated seeds most of the time, but that took years of learning to settle into. Your choices might land differently, and that’s fine. The basics of growing a lettuce plant stay the same no matter what you eventually choose. Nobody says, I want to learn to ride a bike, and buys a Harley to learn on.
Start with sprouts today. Move to a small flower bed or windowsill pots for lettuce as you go. As your skills grow, you can even turn a garage into a food producing space and keep building from there. I’ll tell you from experience, the first time you serve a salad with your own homegrown ingredients in it is a genuinely great feeling. It tastes better too.