I’ve been making kombucha for about ten years now, and I don’t have a recipe. Not really.
A friend brought me a SCOBY and a written recipe when I first started. I followed it for a while. But once I had the pot and the ingredients, I just started making it, and at some point the written recipe stopped mattering. Now I fill my pot, which happens to have measurements marked on the inside, so I know it’s 3.5 quarts. Was that the actual recipe my friend gave me? I have no idea. I boil the water, dissolve a cup of sugar, turn off the heat, drop in 8 tea bags, and let them steep somewhere between 10 and 20 minutes. Is that the correct amount of time? Who knows. It works, every time, and it’s worked that way for ten years.
That’s the part people don’t expect about kombucha. It isn’t a precise process. It’s a forgiving one. As long as you have the SCOBY, the cycle goes on and on.
If you’re starting from nothing, you’ll need a SCOBY and two cups of kombucha to go with it. A friend can give you one, the way mine did, or you can order one online, and it’ll come in a bag with some kombucha already in it.
Step 1: Make the Tea and Let It Cool
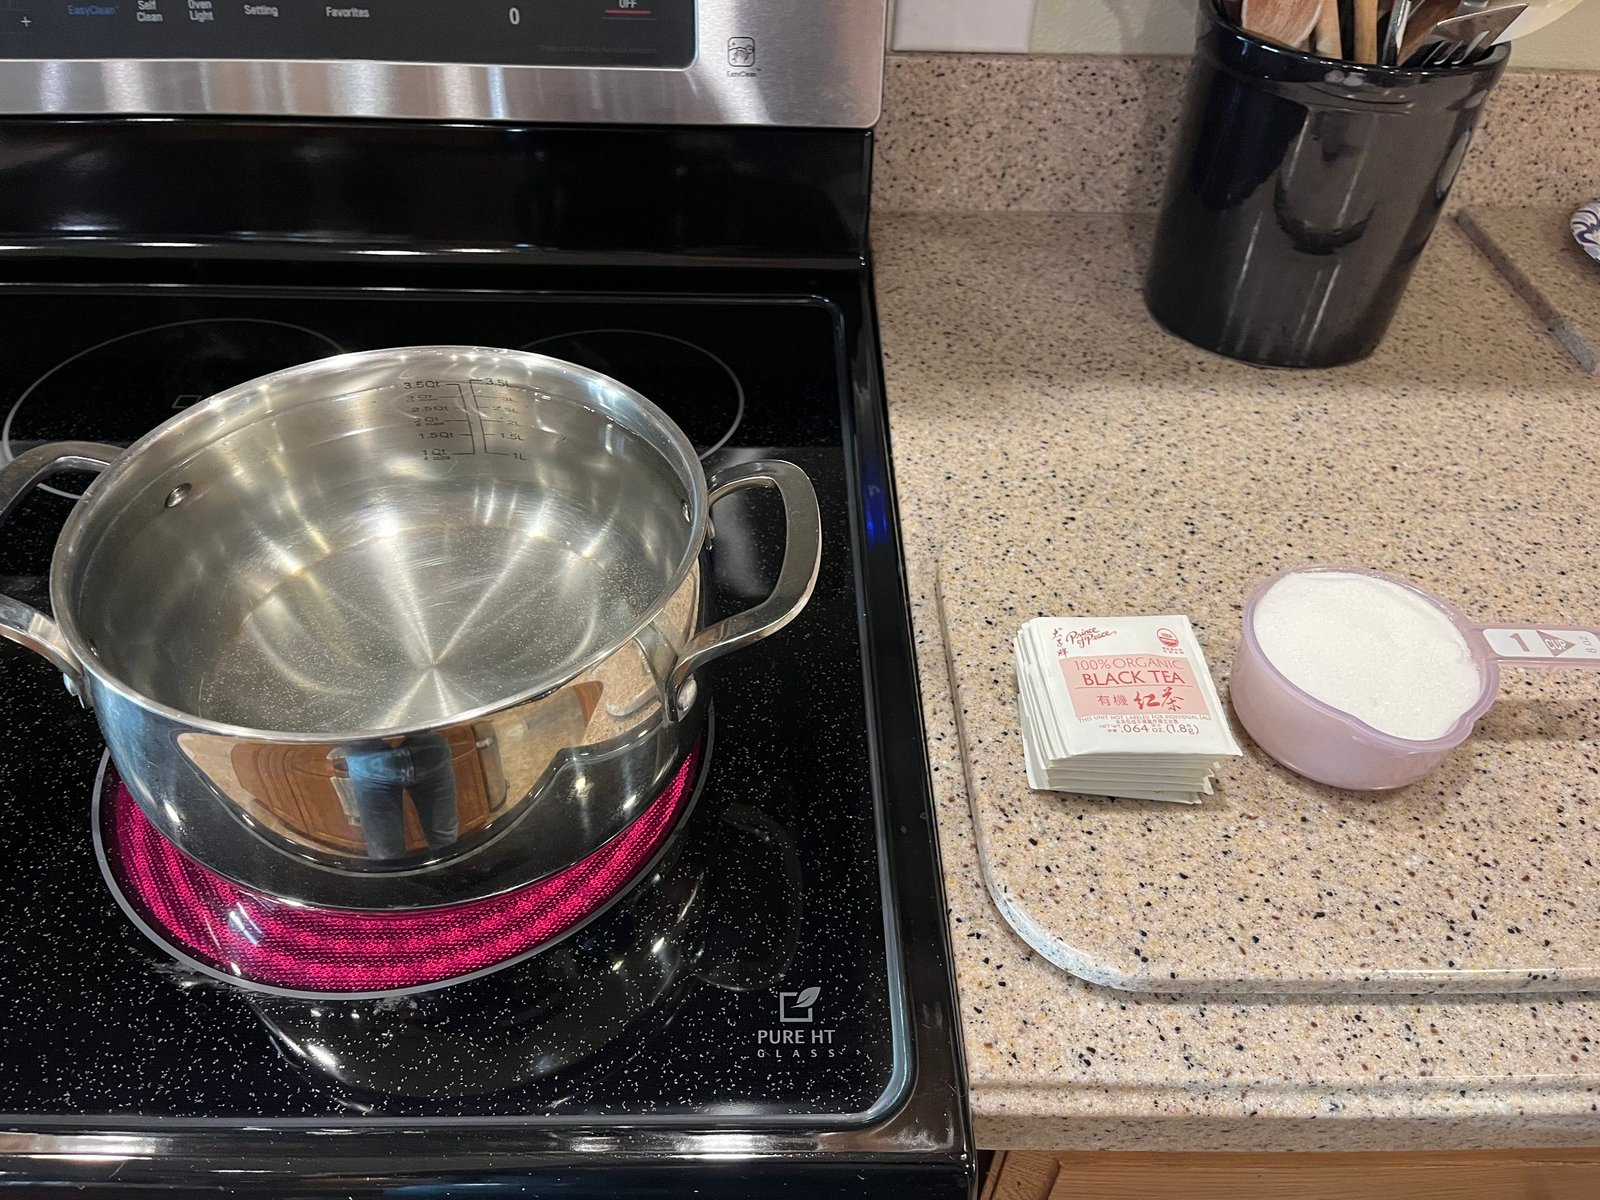
Boil 3.5 quarts of water. Dissolve one cup of sugar into it. Turn off the heat, add 8 tea bags, and let them steep for 10 to 20 minutes. I used straight black tea for years. Lately I’ve been doing 4 black and 4 green. Either works.
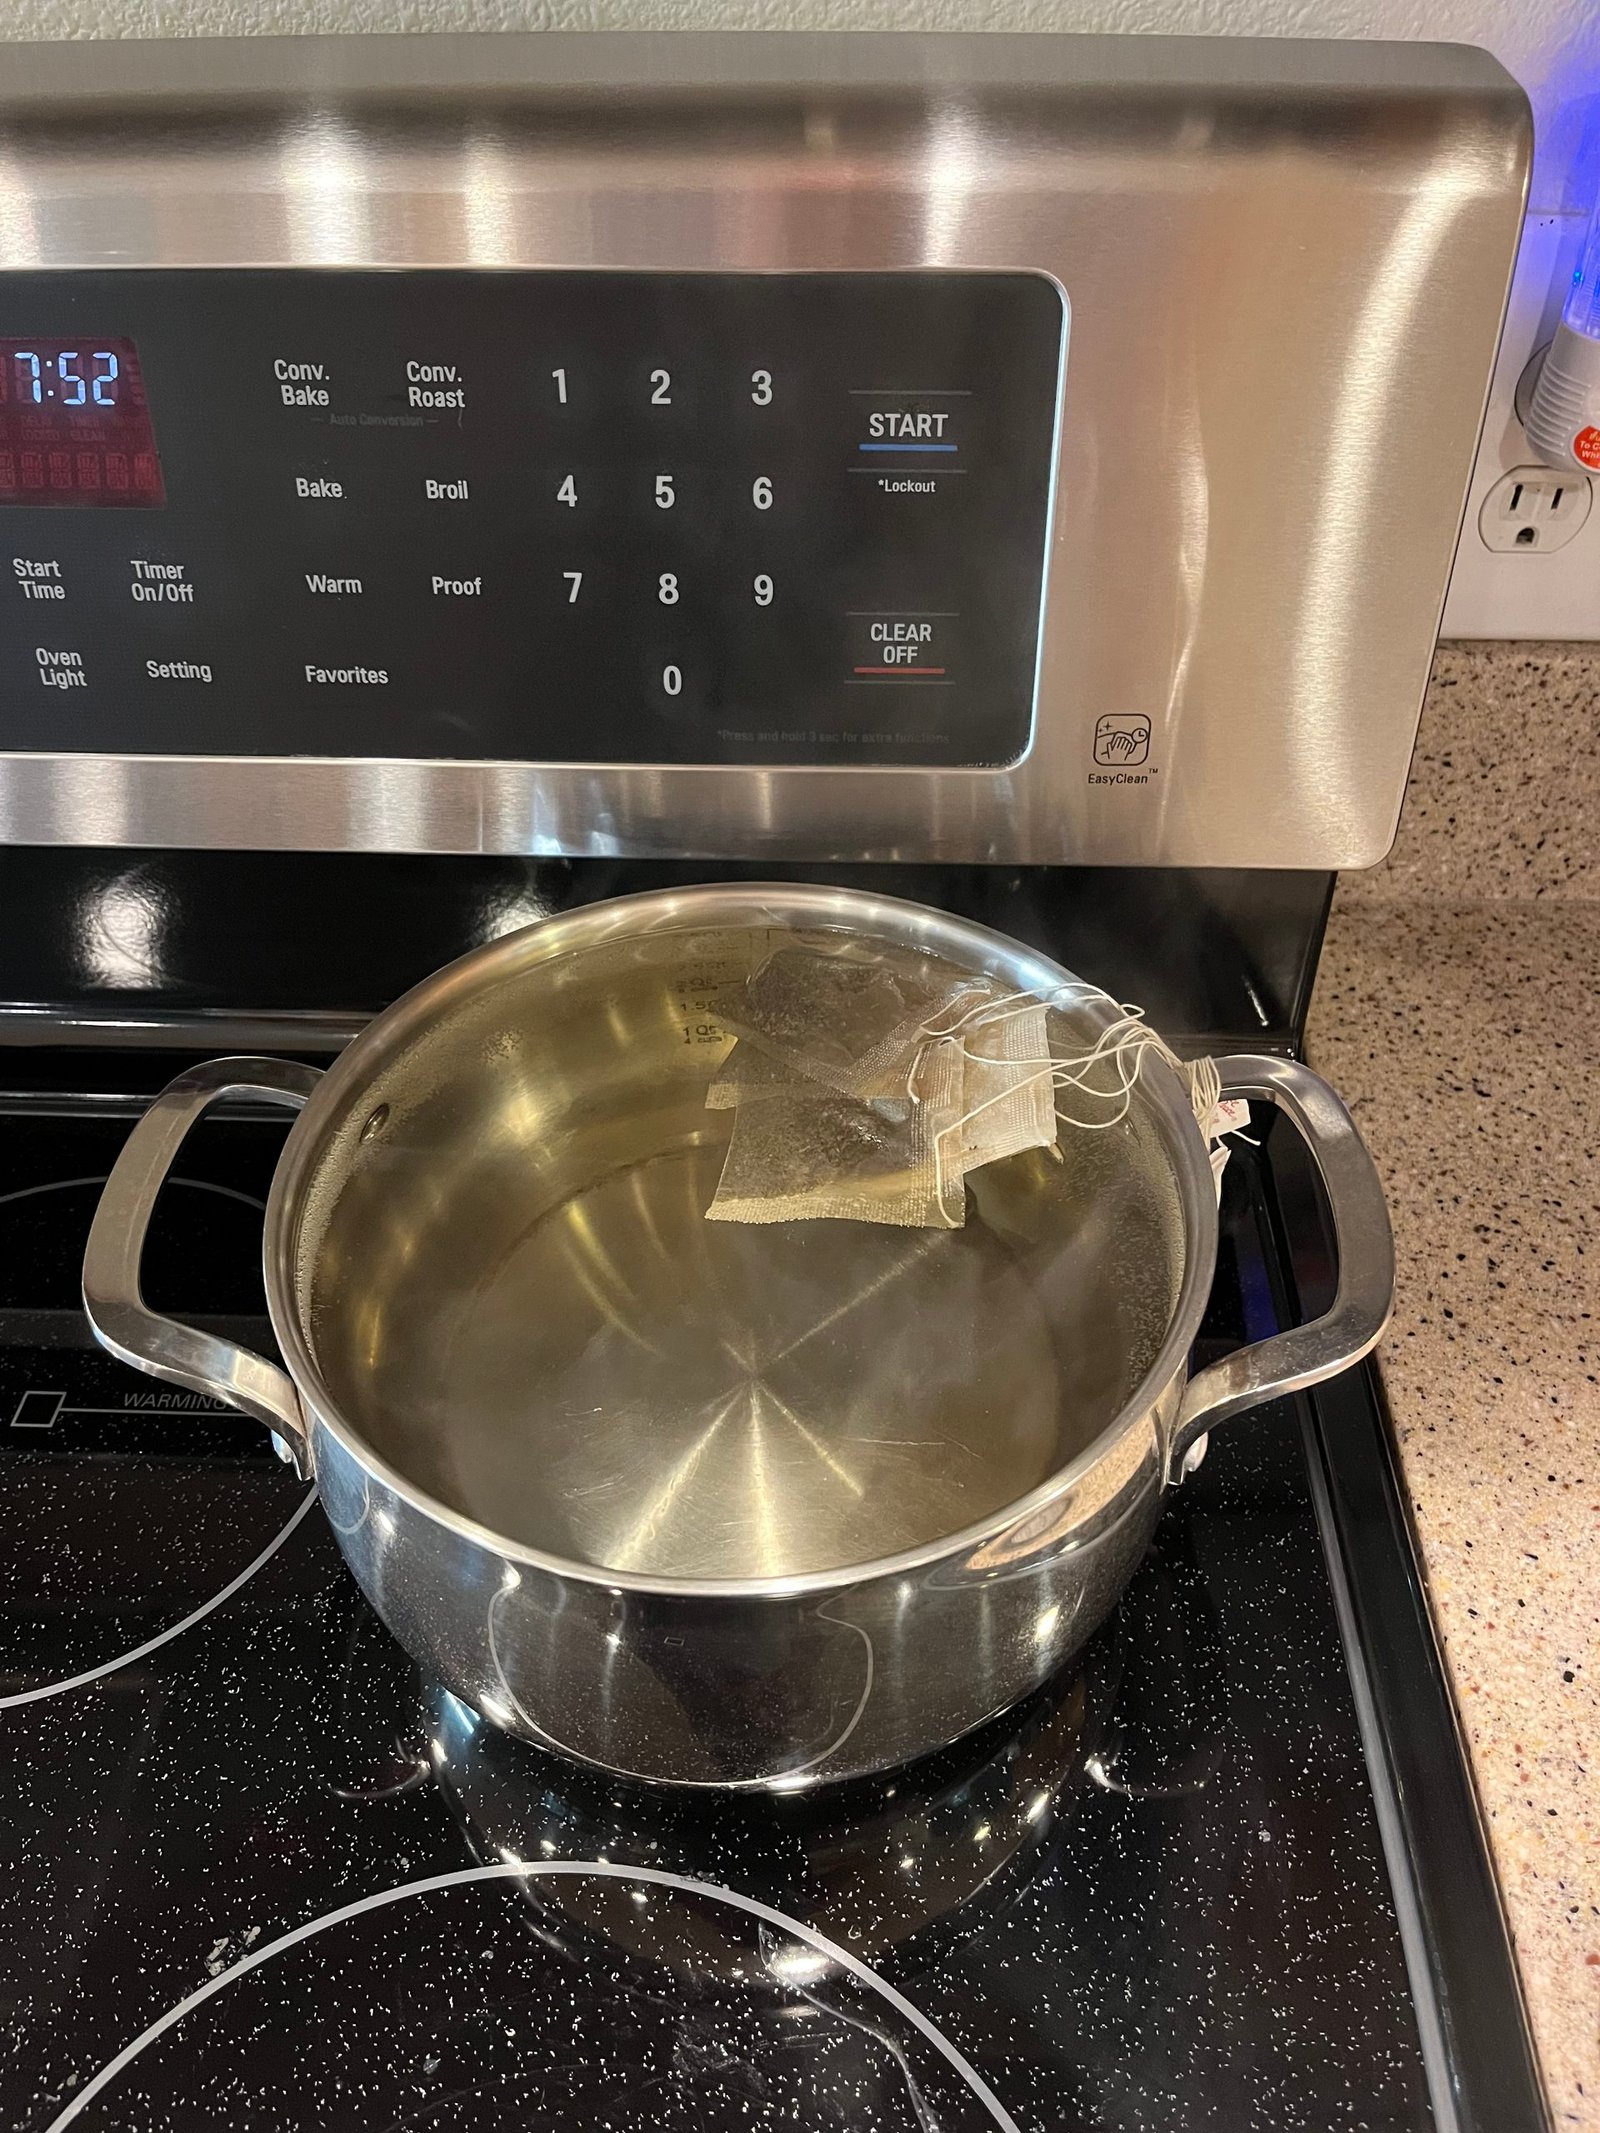
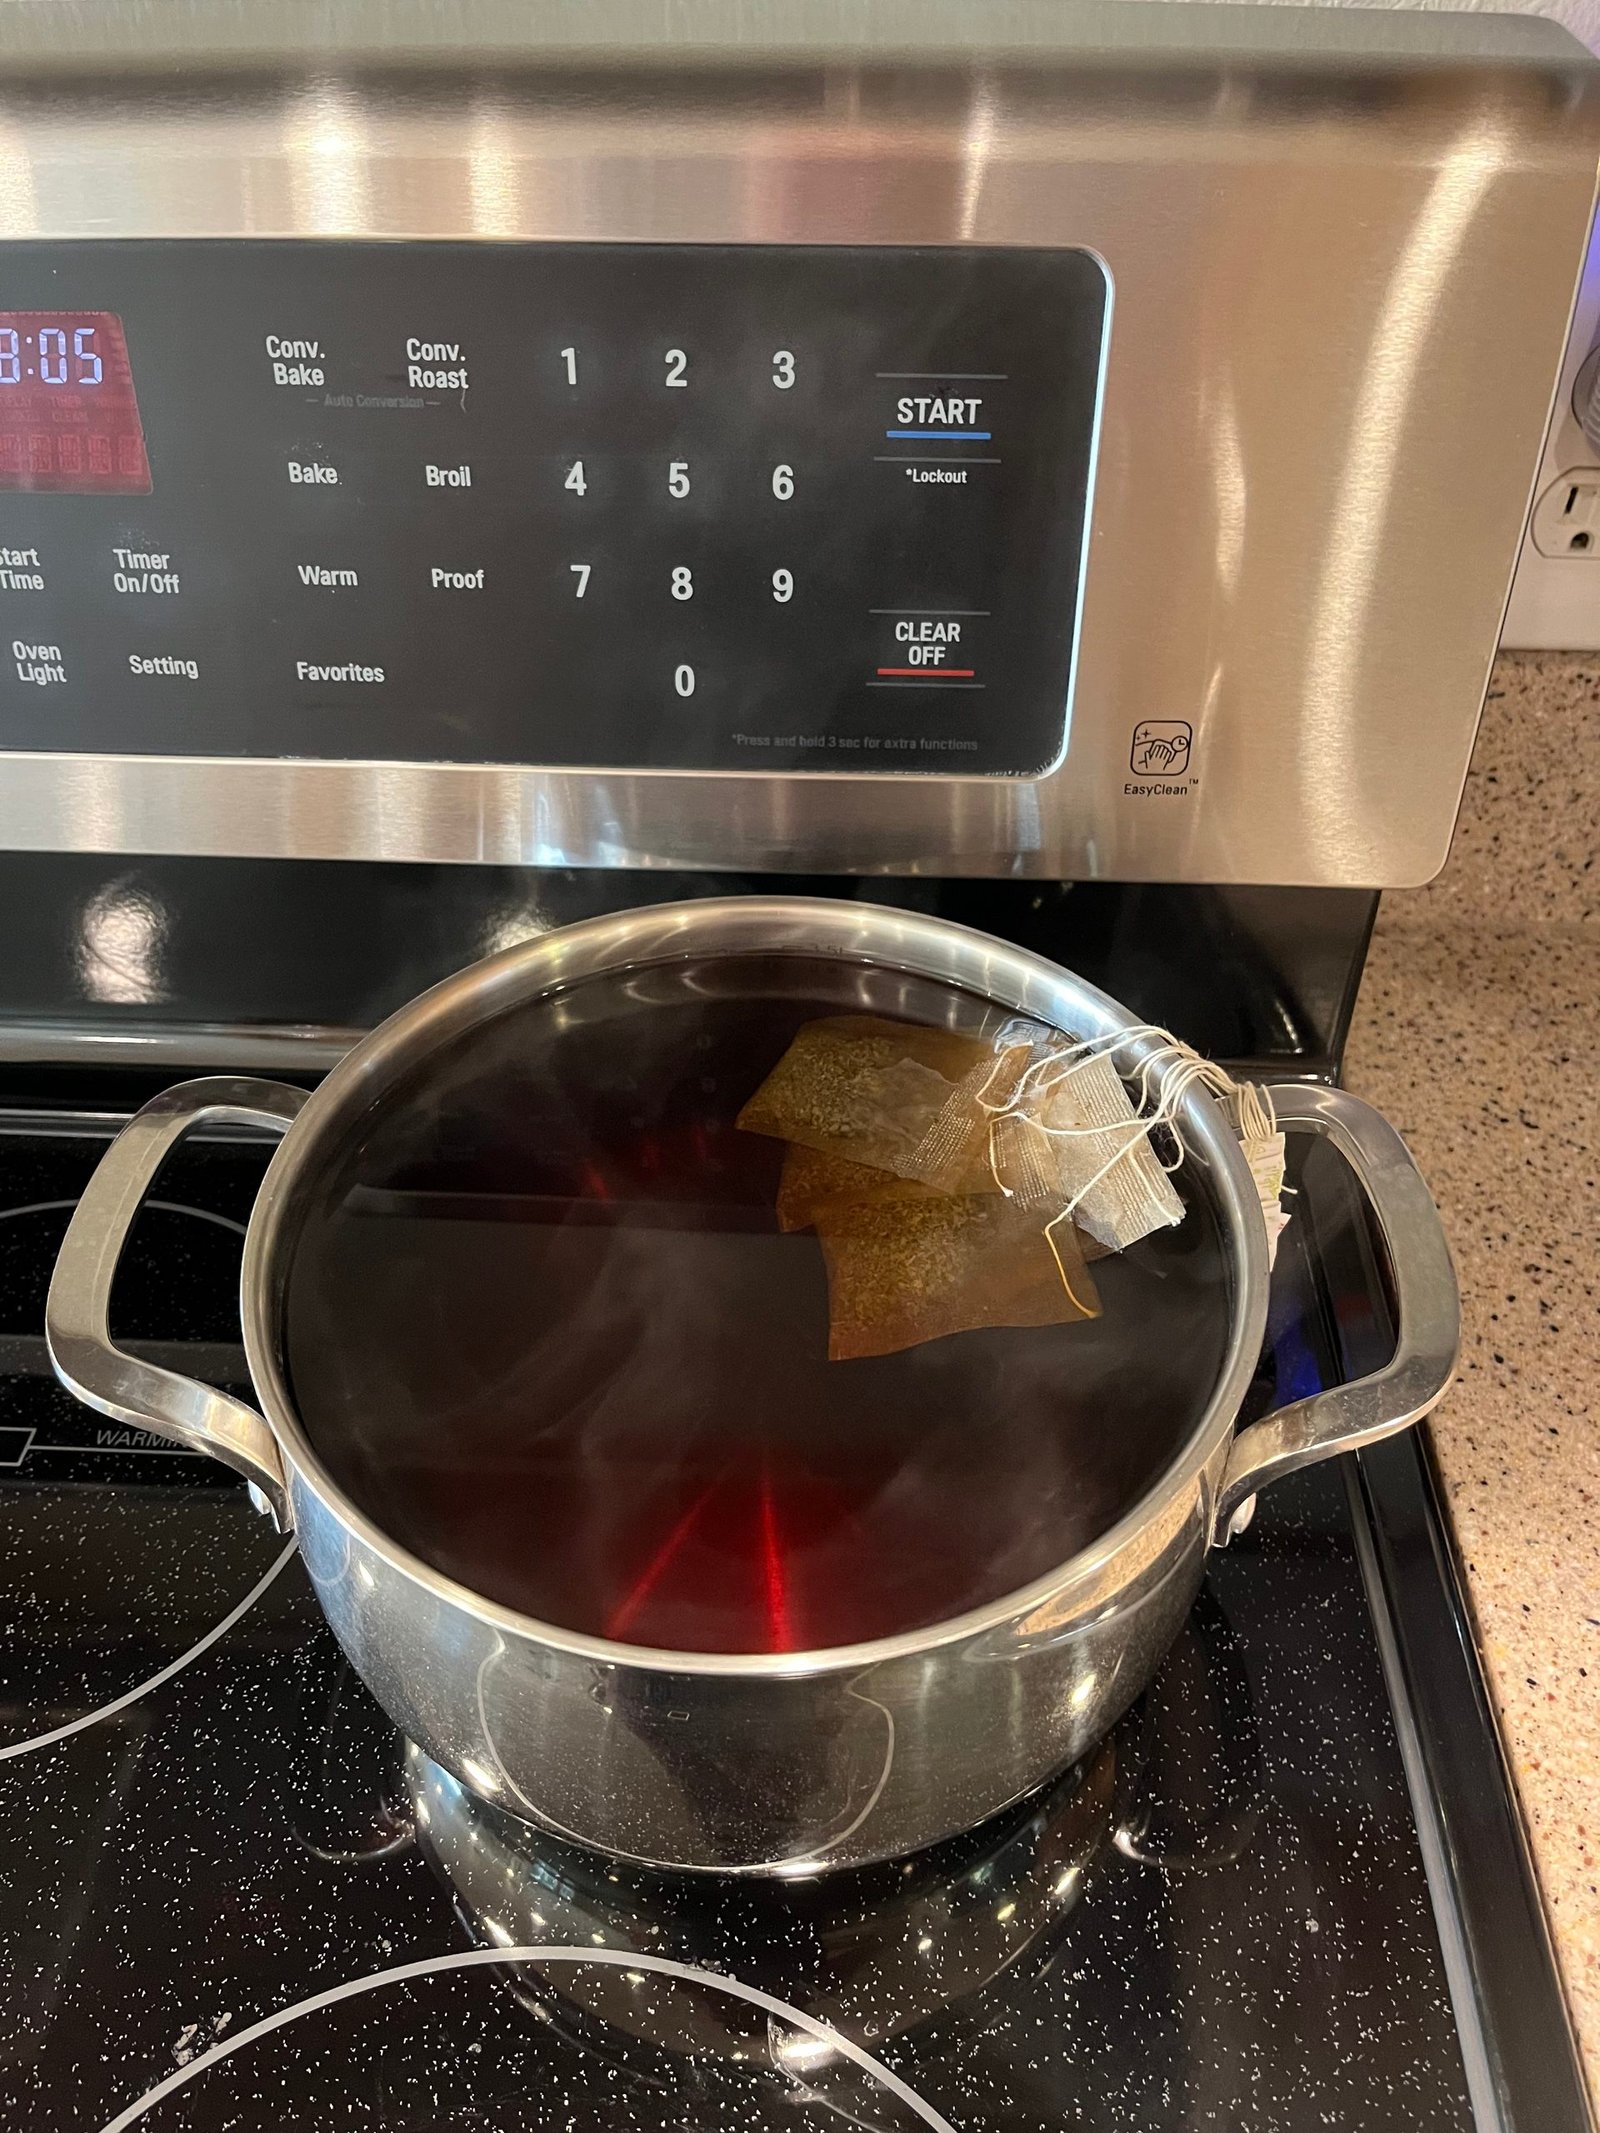
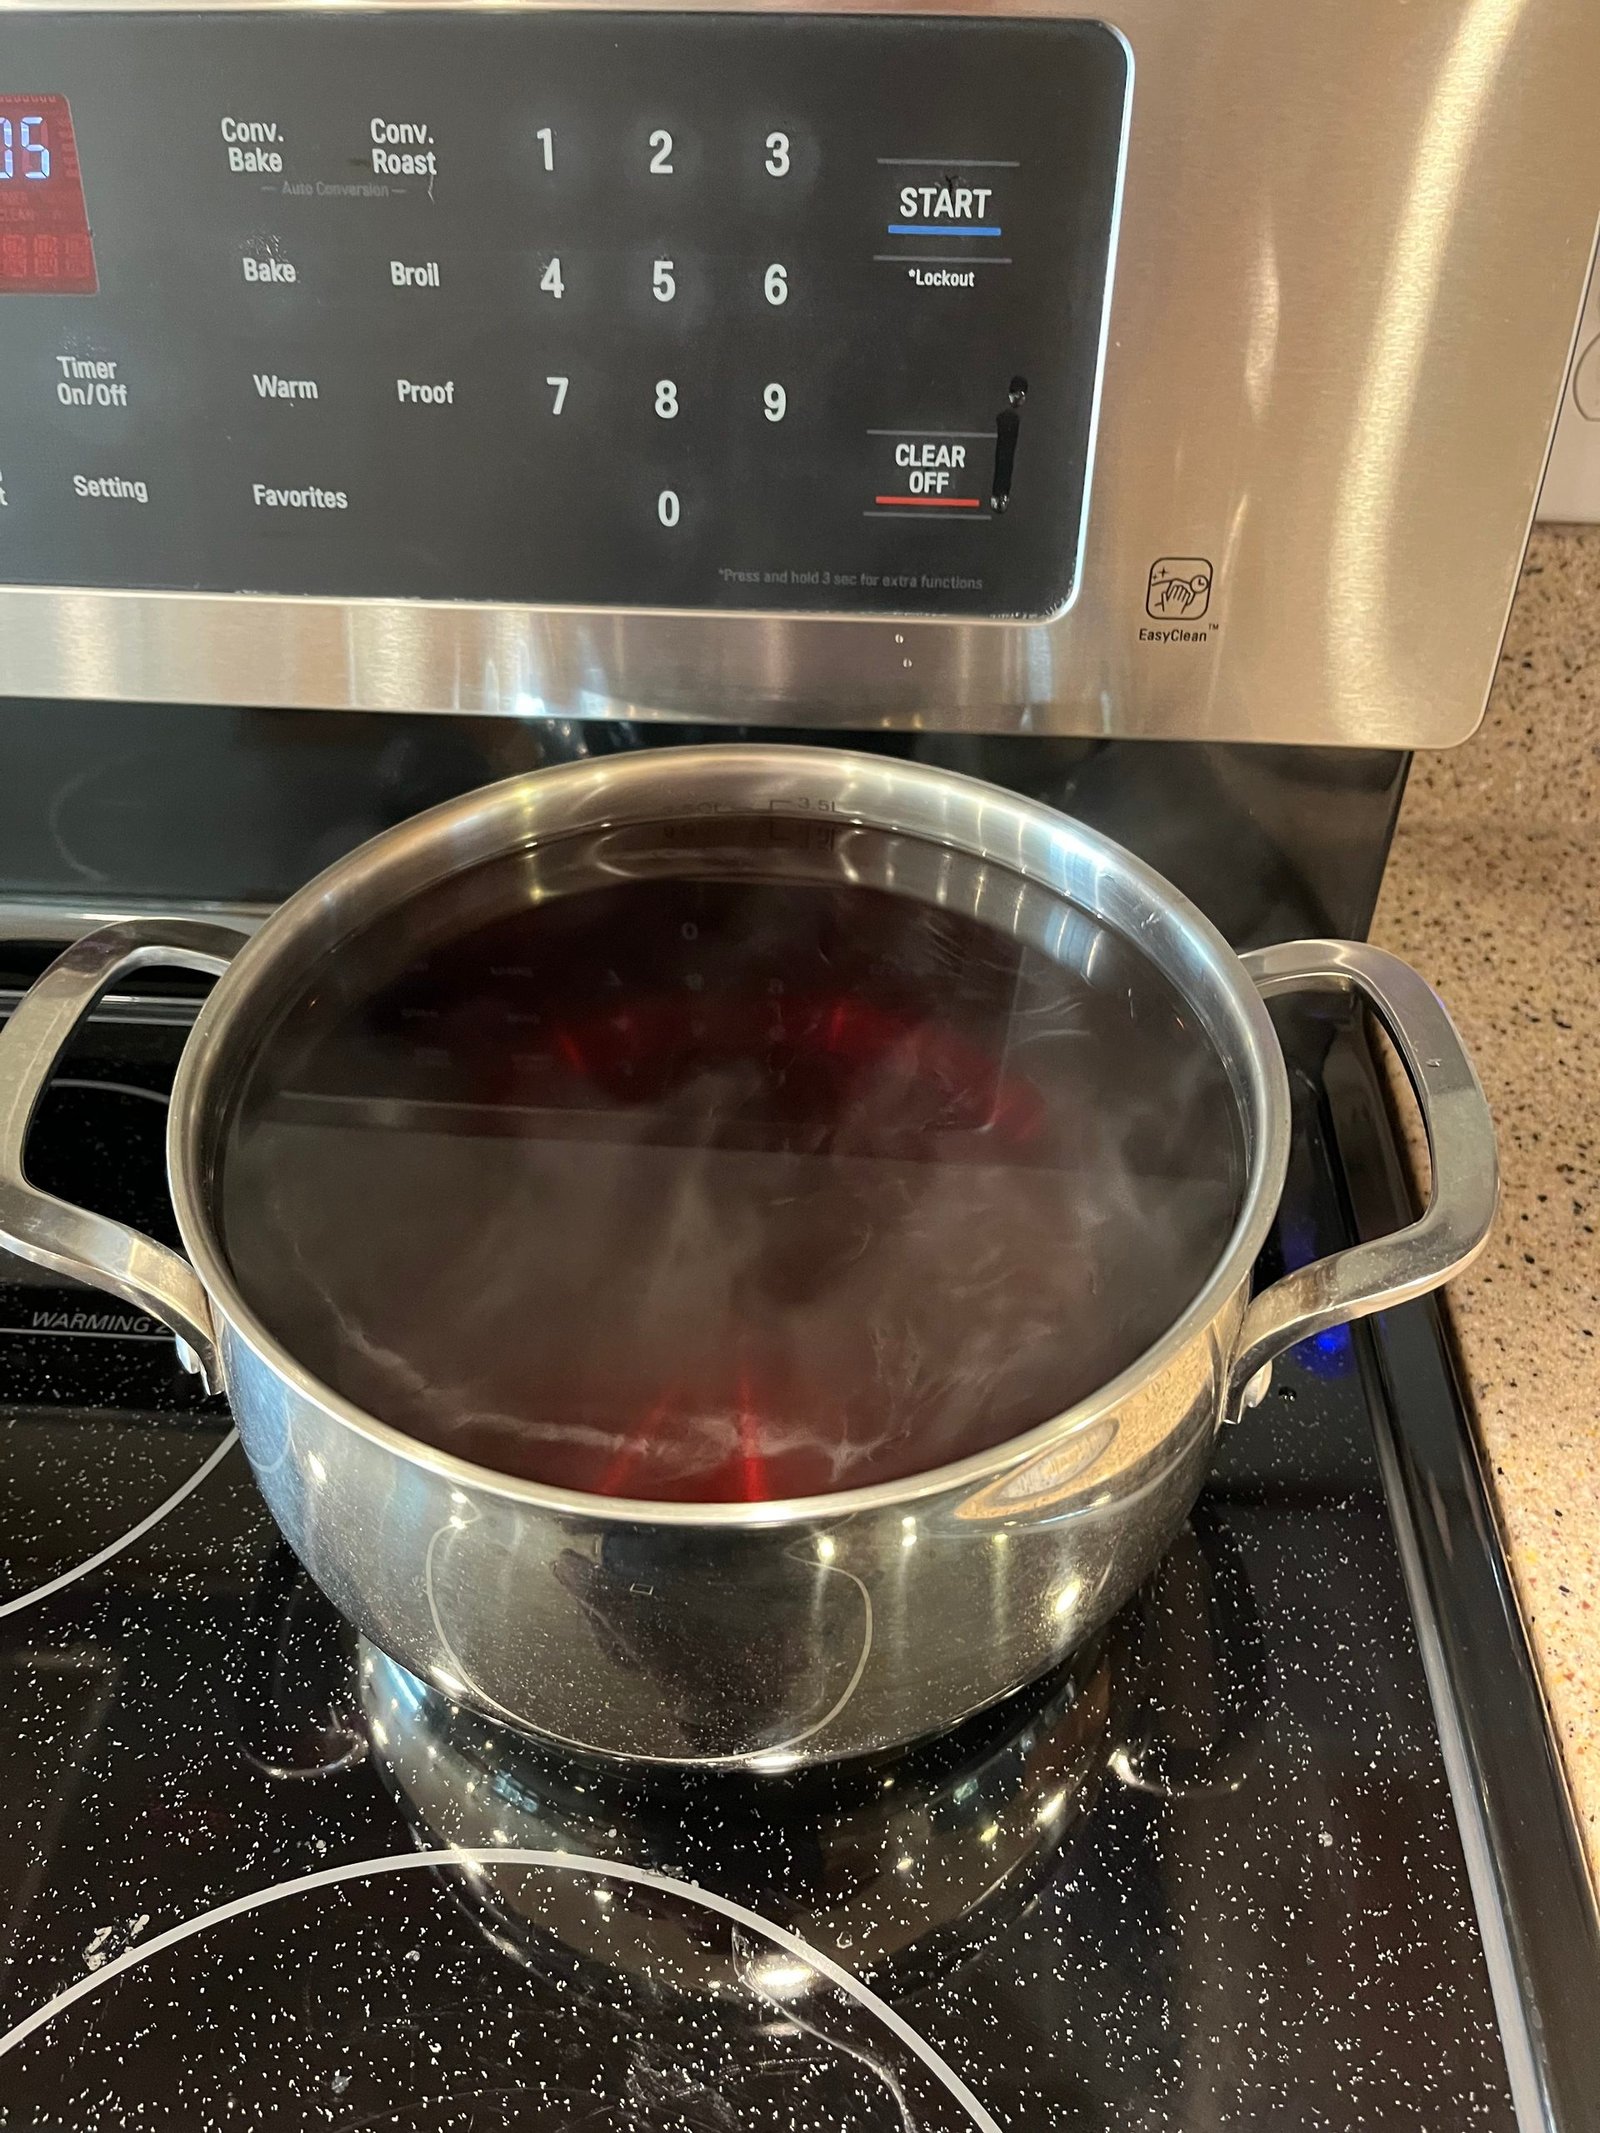
Then take the tea bags out and let the mixture cool. This takes more than an hour on its own. You can rush it by setting the pot in ice water, but there’s no real reason to, because there’s other things to do while it cools.
Step 2: Set Up the New Jar
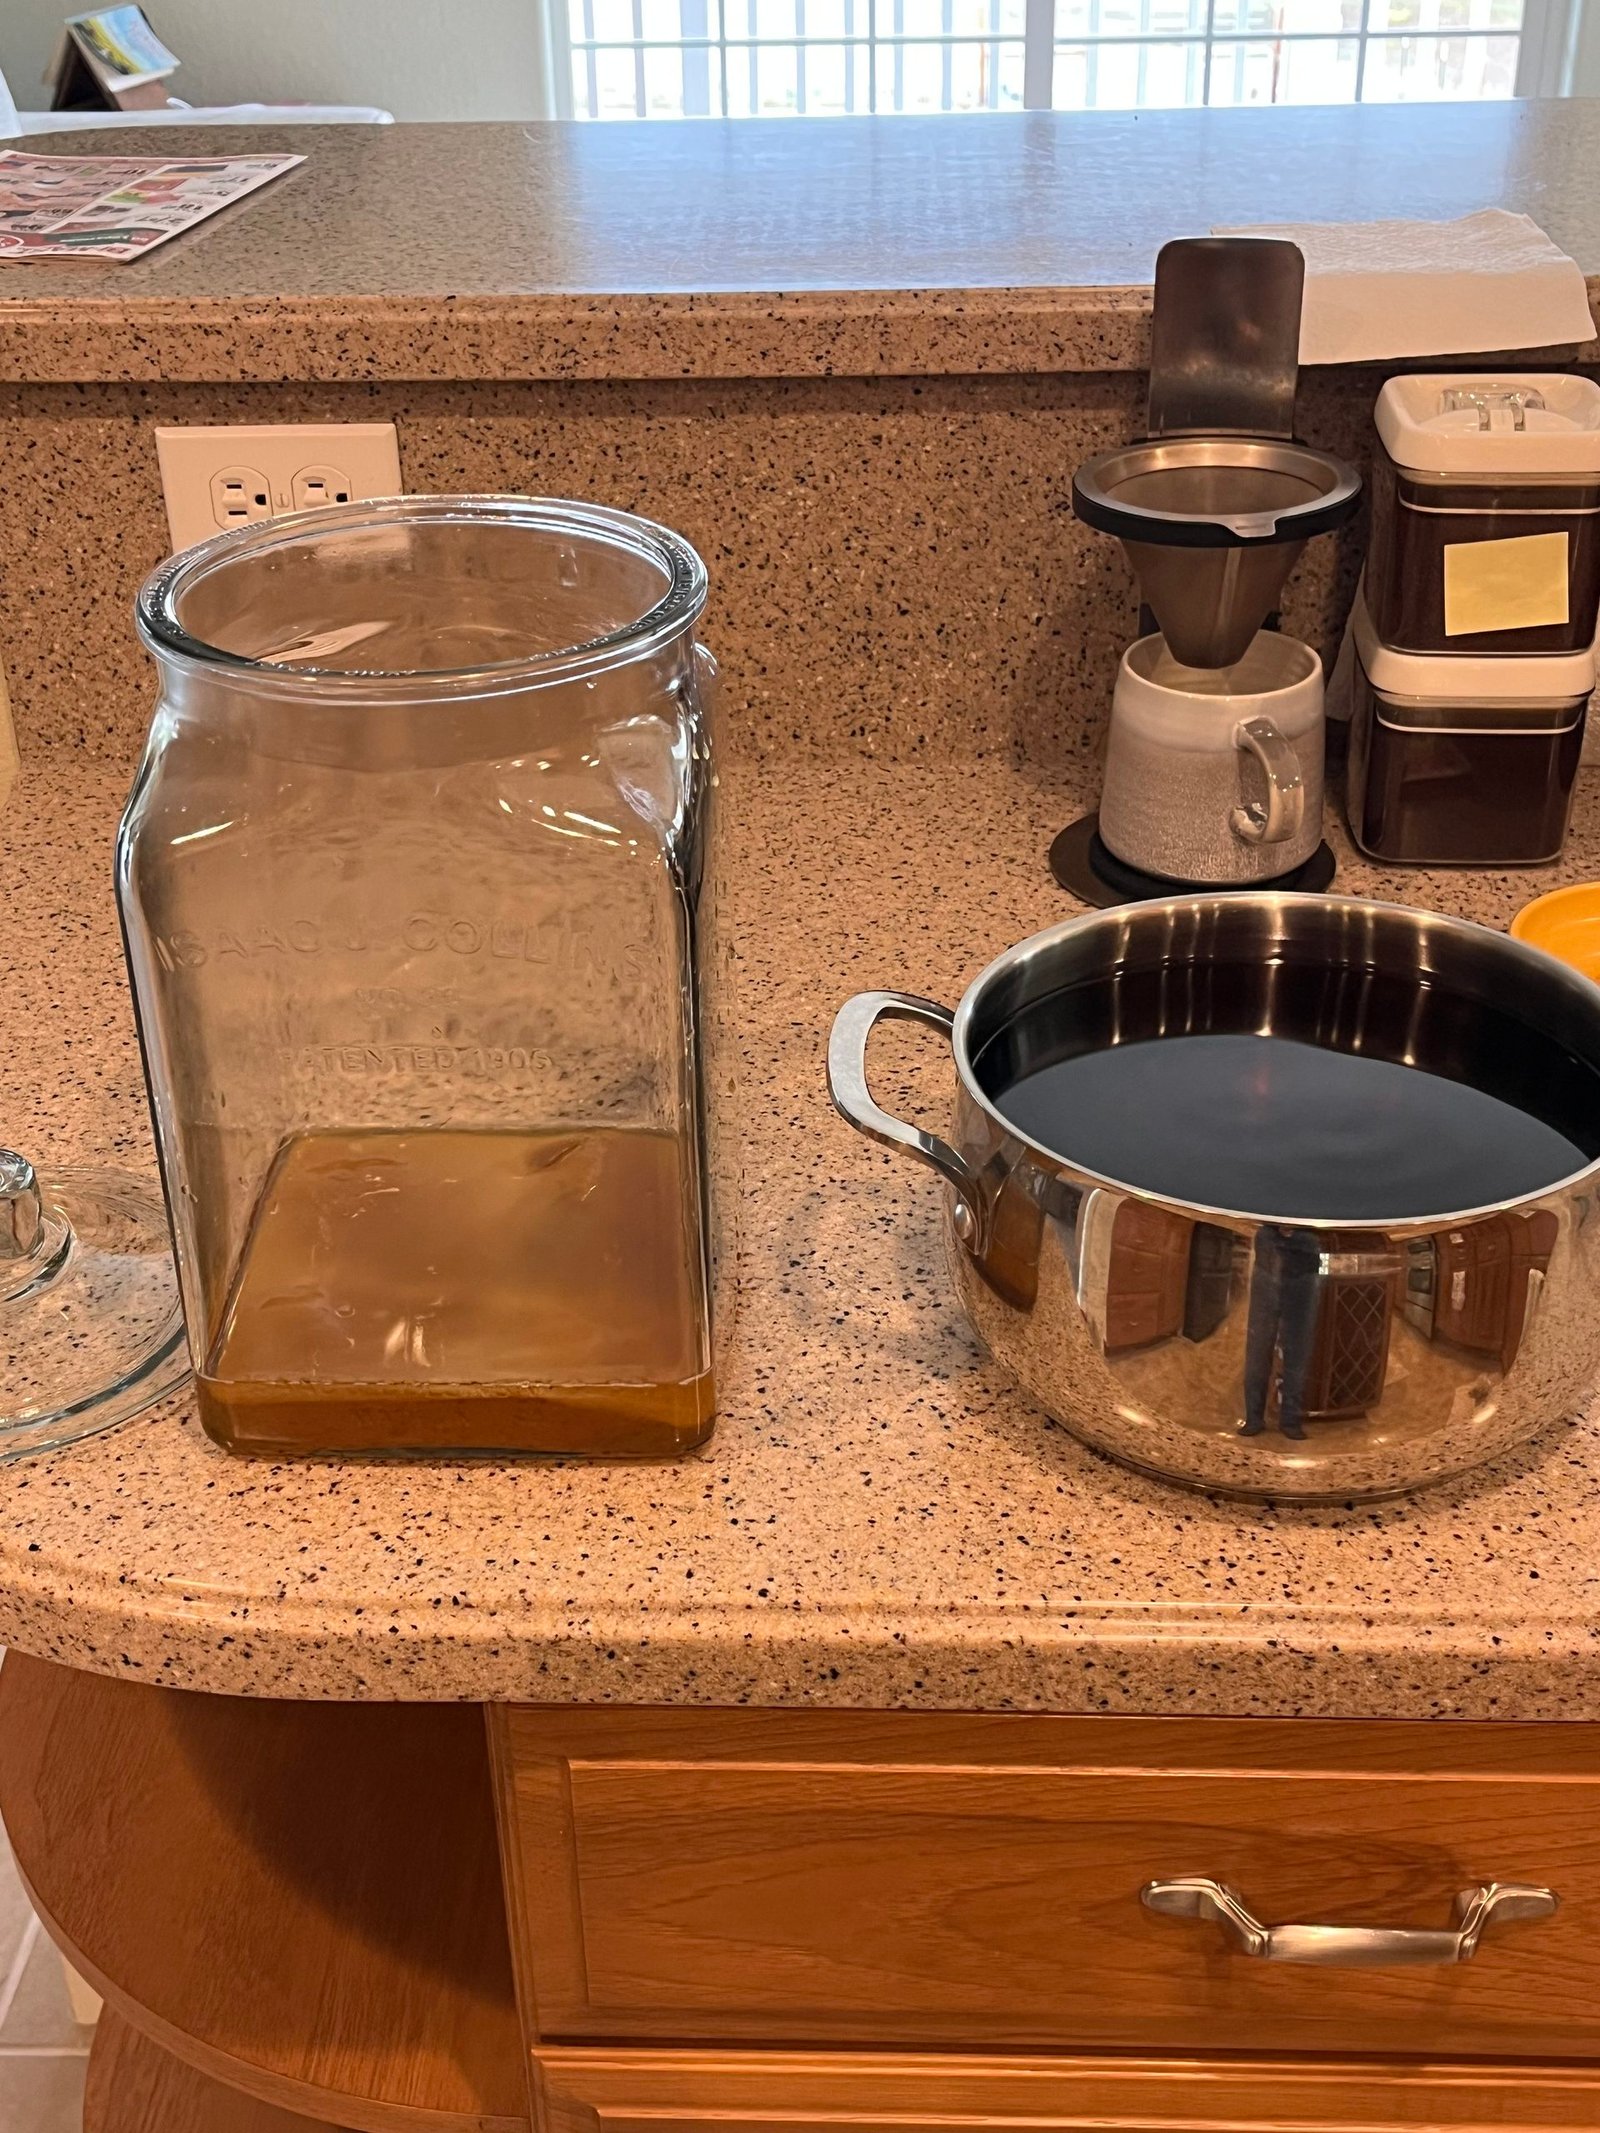
While the tea cools, get the new jar ready. If this is your first batch, put in the SCOBY and kombucha you were given or ordered. After that, you use your own. Separate the SCOBY from the batch you’re finishing and set aside a cup or more of that kombucha. I usually add more than one cup. Most of what I found recommends about 2 cups of starter per gallon, so one cup is the minimum, and more is better. The acidity of that starter is part of what protects the new batch.
A SCOBY grows with every batch, usually doubling or tripling in size by the next one. It grows in layers, so you don’t need the whole thing, you just peel off a layer. The photo below shows a batch that sat for at least three months (I told you it was forgiving), and the SCOBY has grown a couple of inches thick.
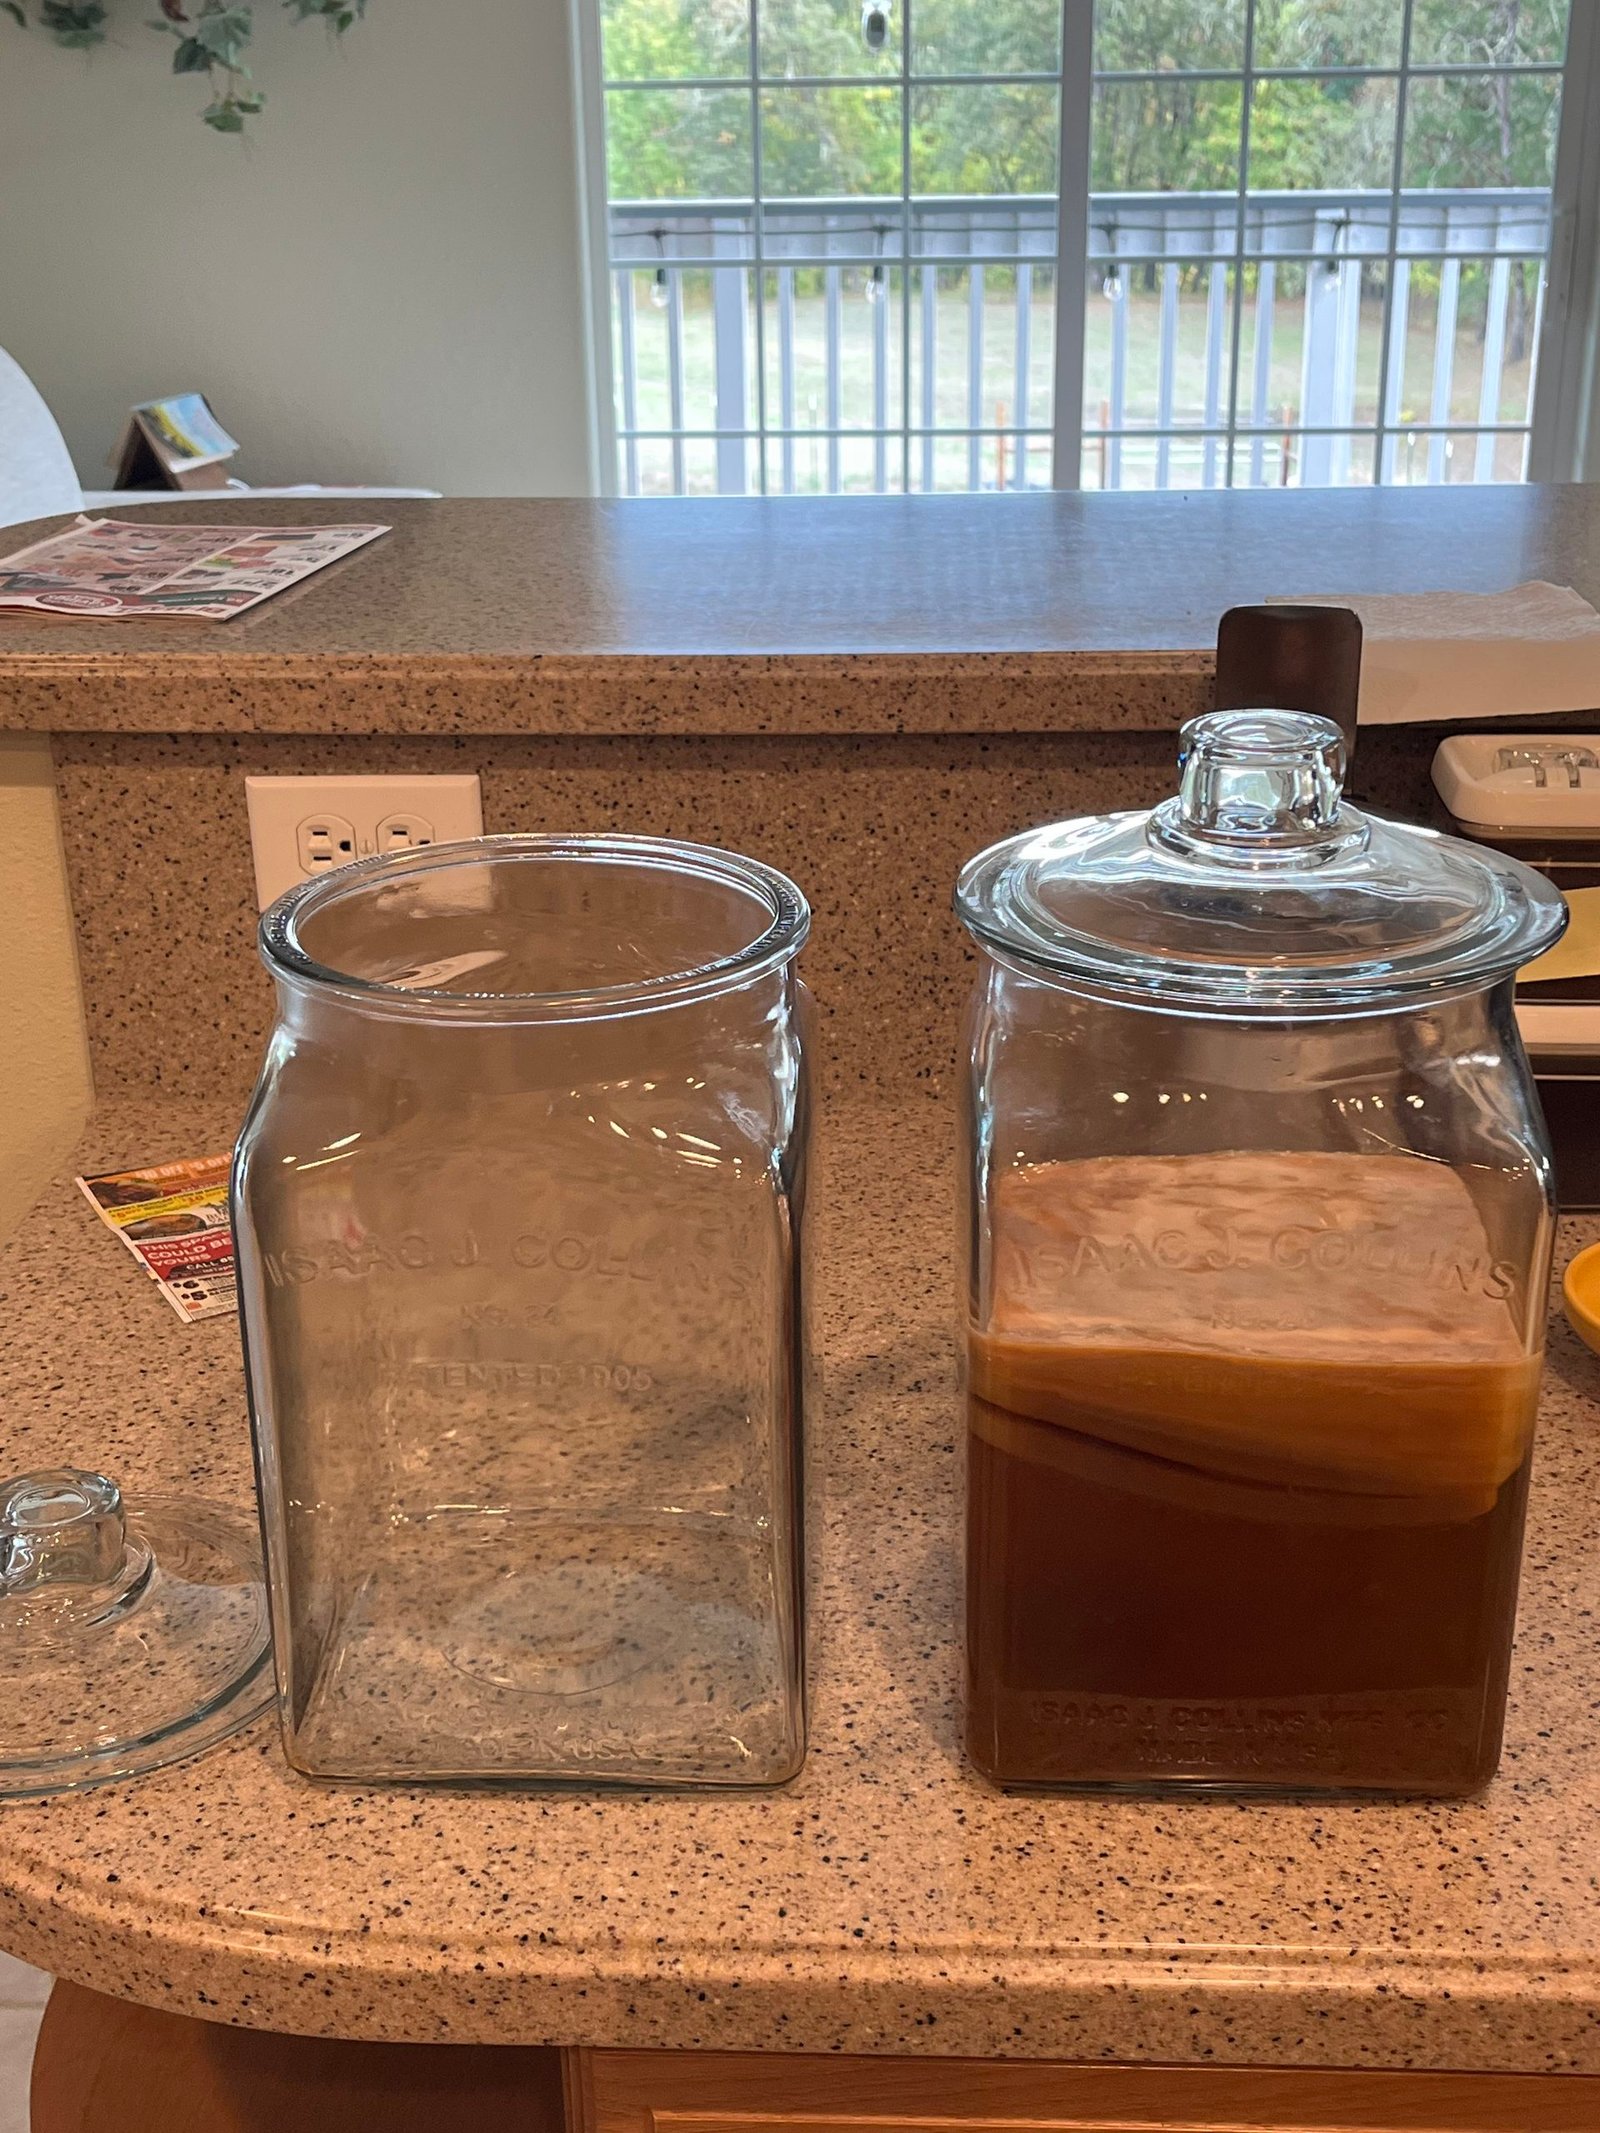
I peel off a layer, keep two cups of kombucha from that batch, and put both in the clean jar.
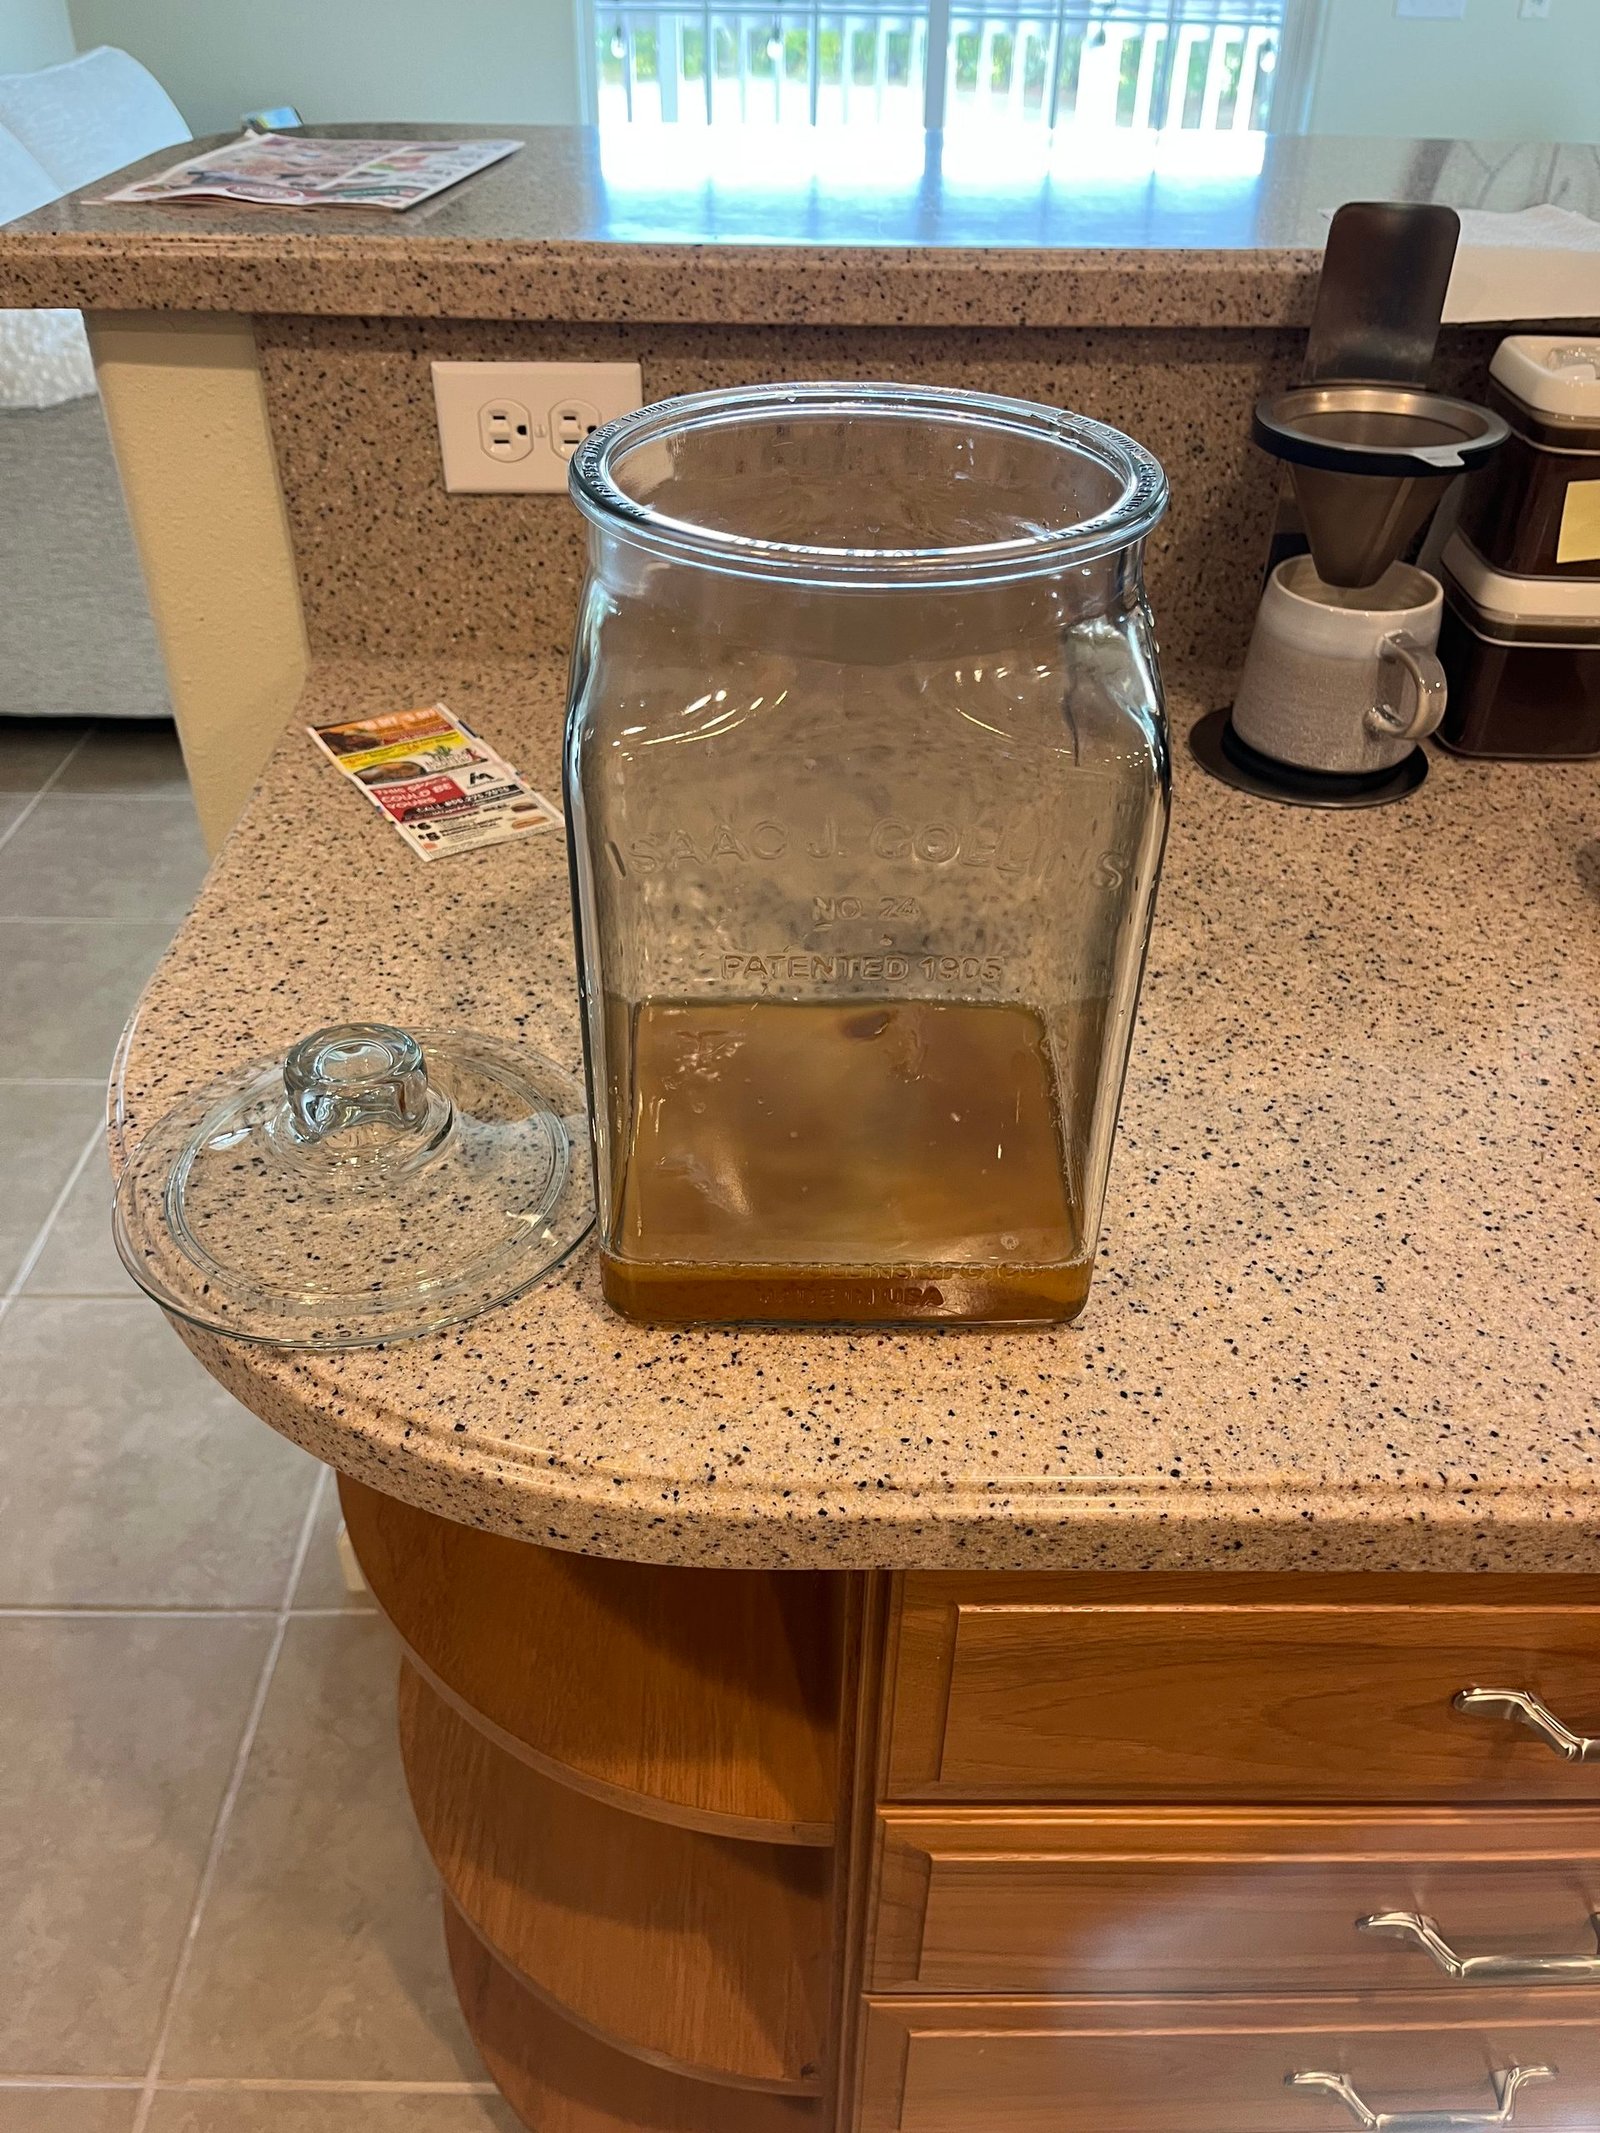
I usually throw the extra SCOBY away, though you don’t have to. You could start more batches with it, give it to friends, or probably sell it if you wanted to.
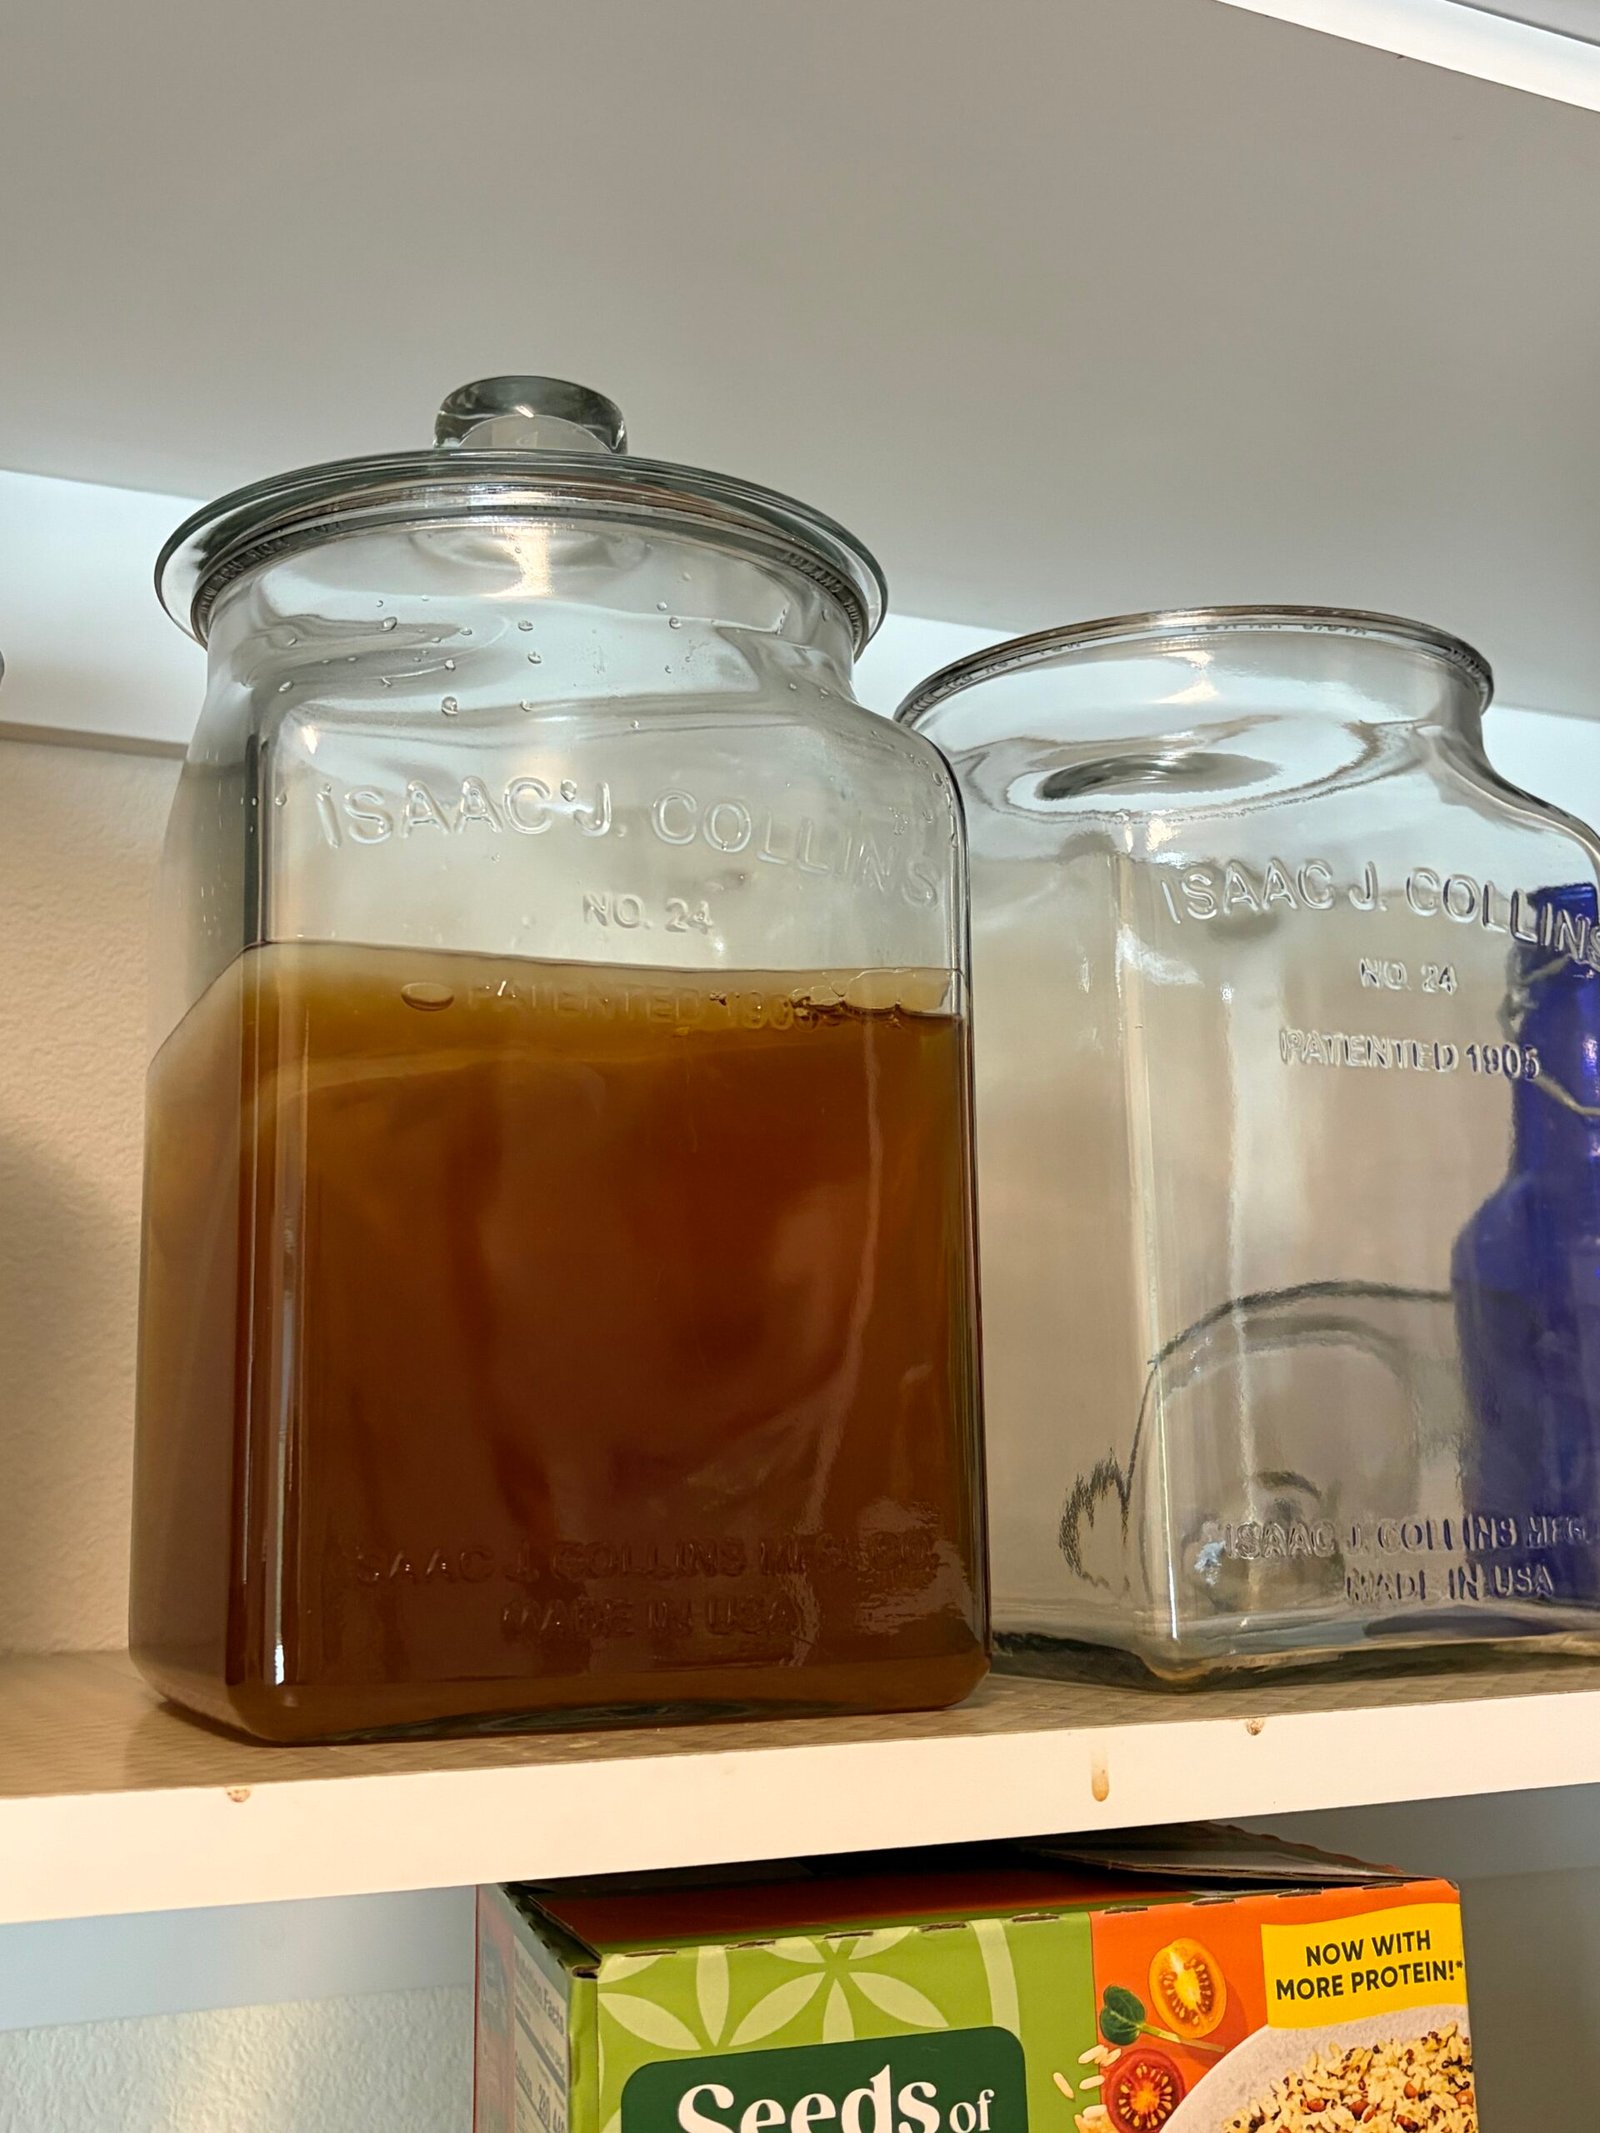
I didn’t like the idea of covering a jar with cloth and a rubber band, which is the usual advice. I found glass jars with lids instead, the kind that don’t actually seal, so the batch can still breathe, and they’re a lot easier to keep clean. I keep two jars going, one with the current batch and one clean and ready for the next batch.
Step 3: Bottle the Current Batch
While the tea is still cooling, bottle the batch you’re finishing. I use bottles with attached flip-top stoppers, along with a funnel and a mesh strainer. I’m not sure the strainer is strictly necessary, but it does catch some residue, so I keep using it.
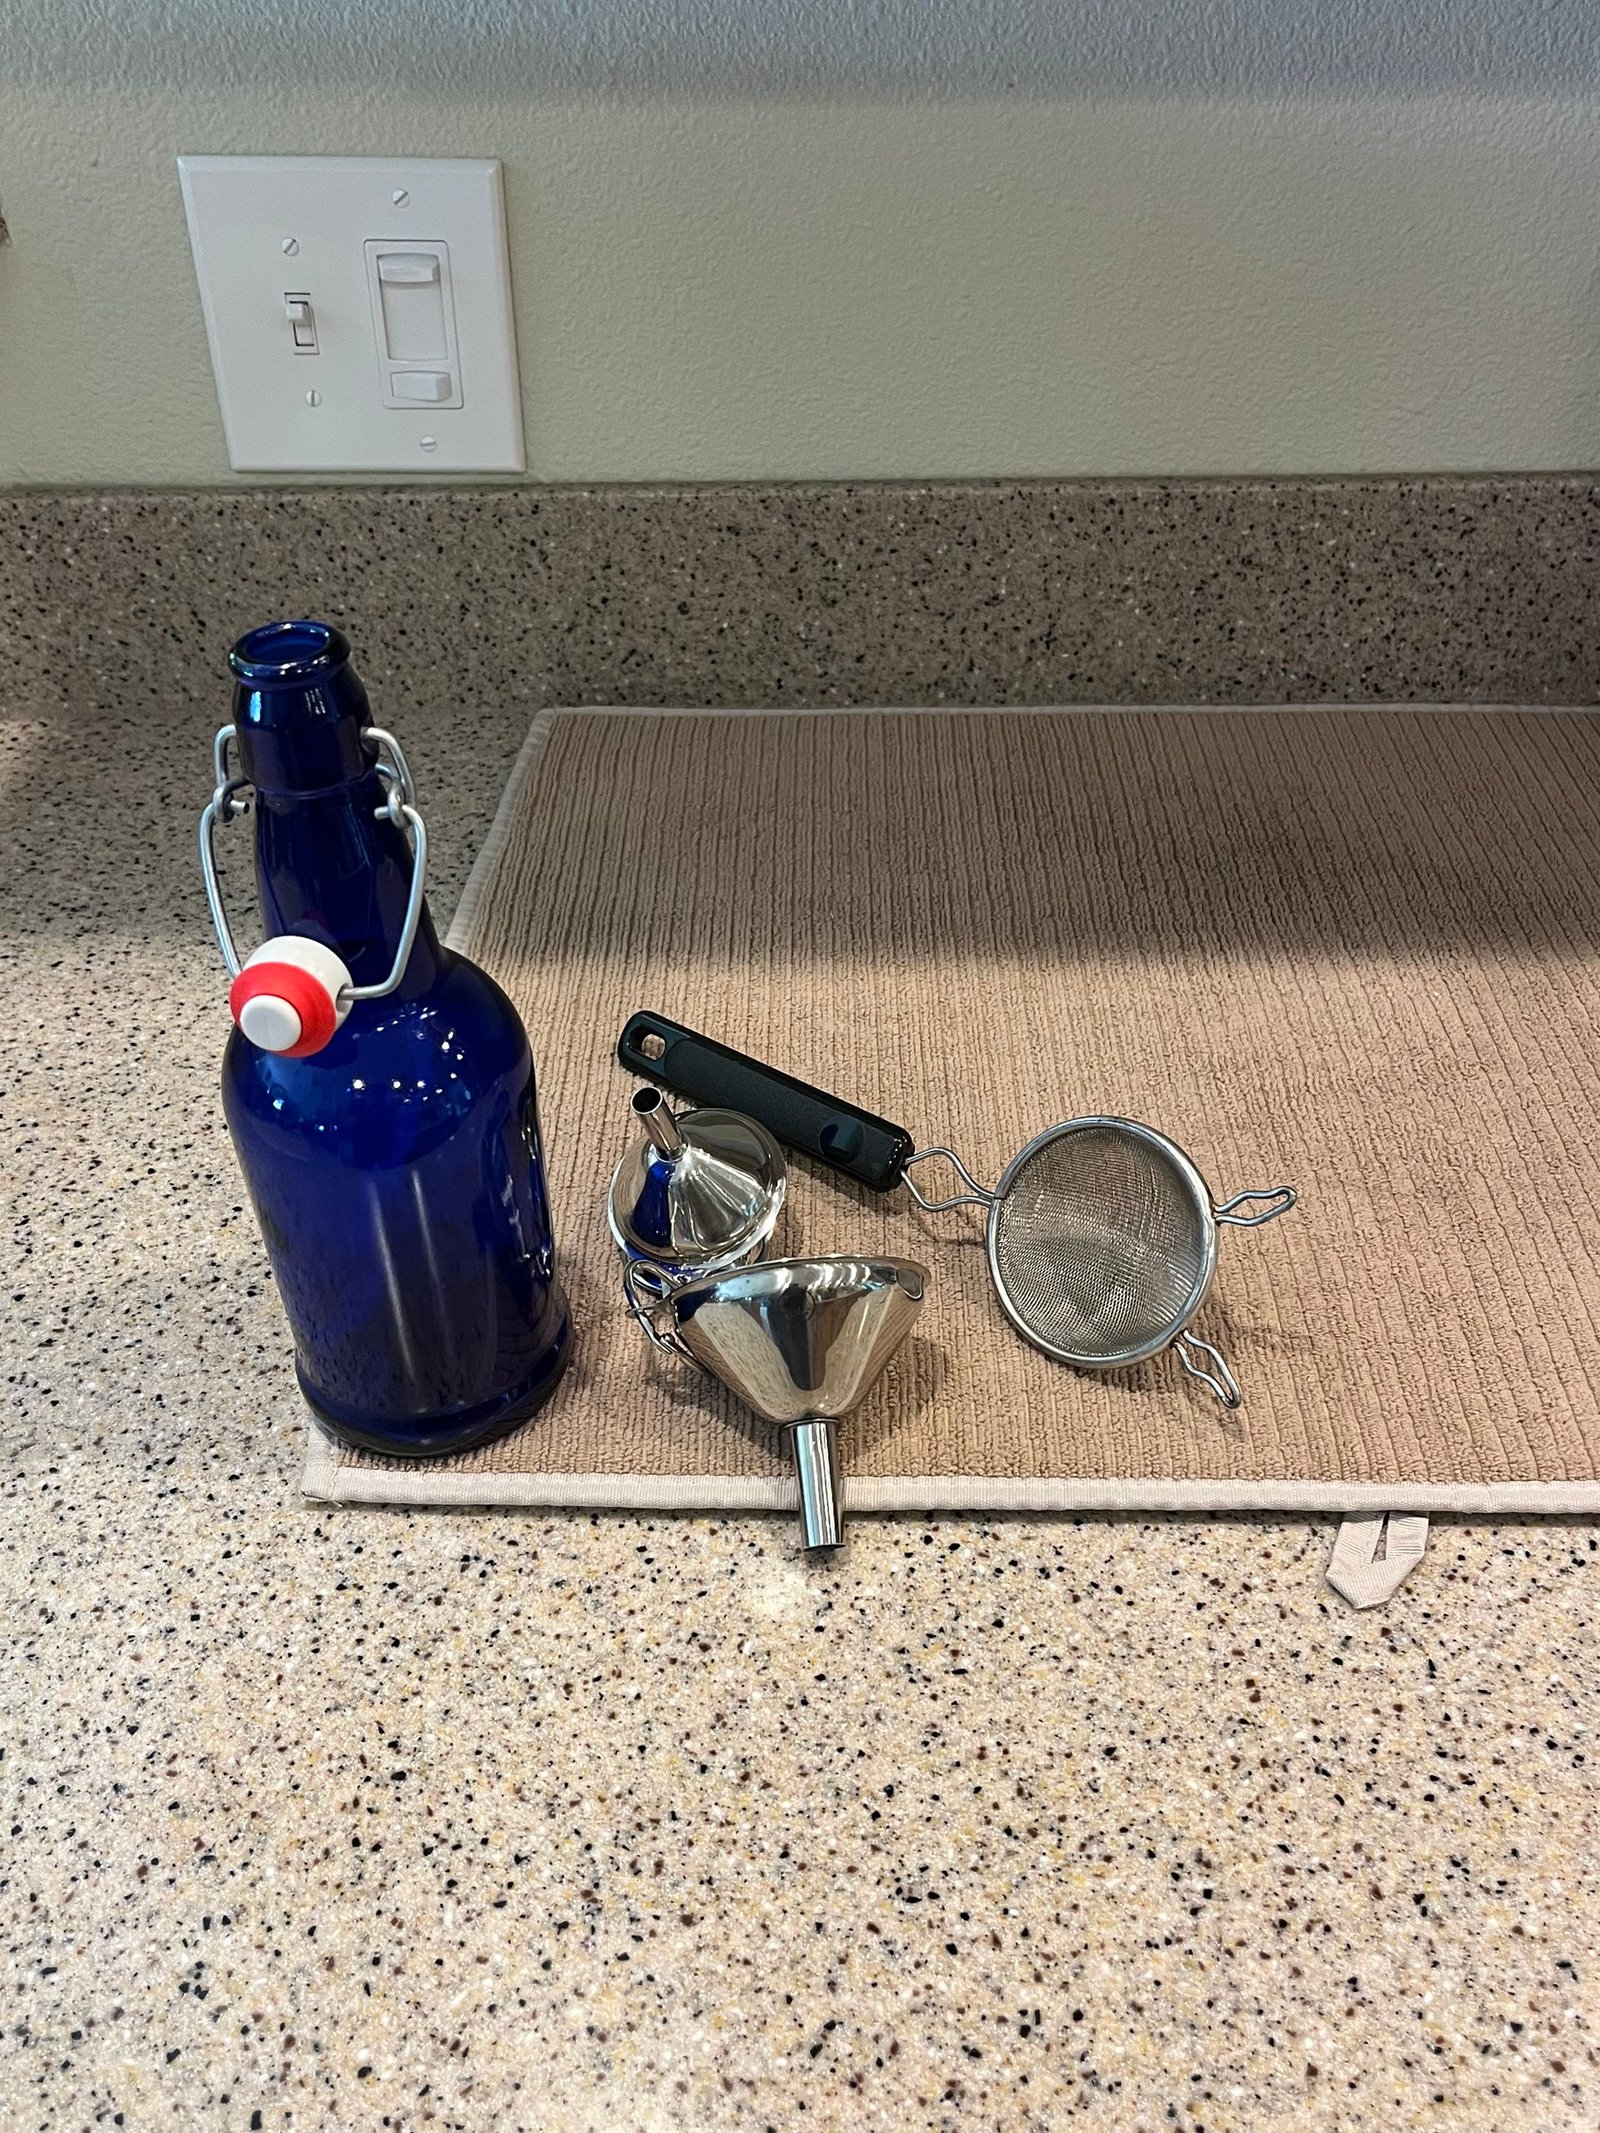
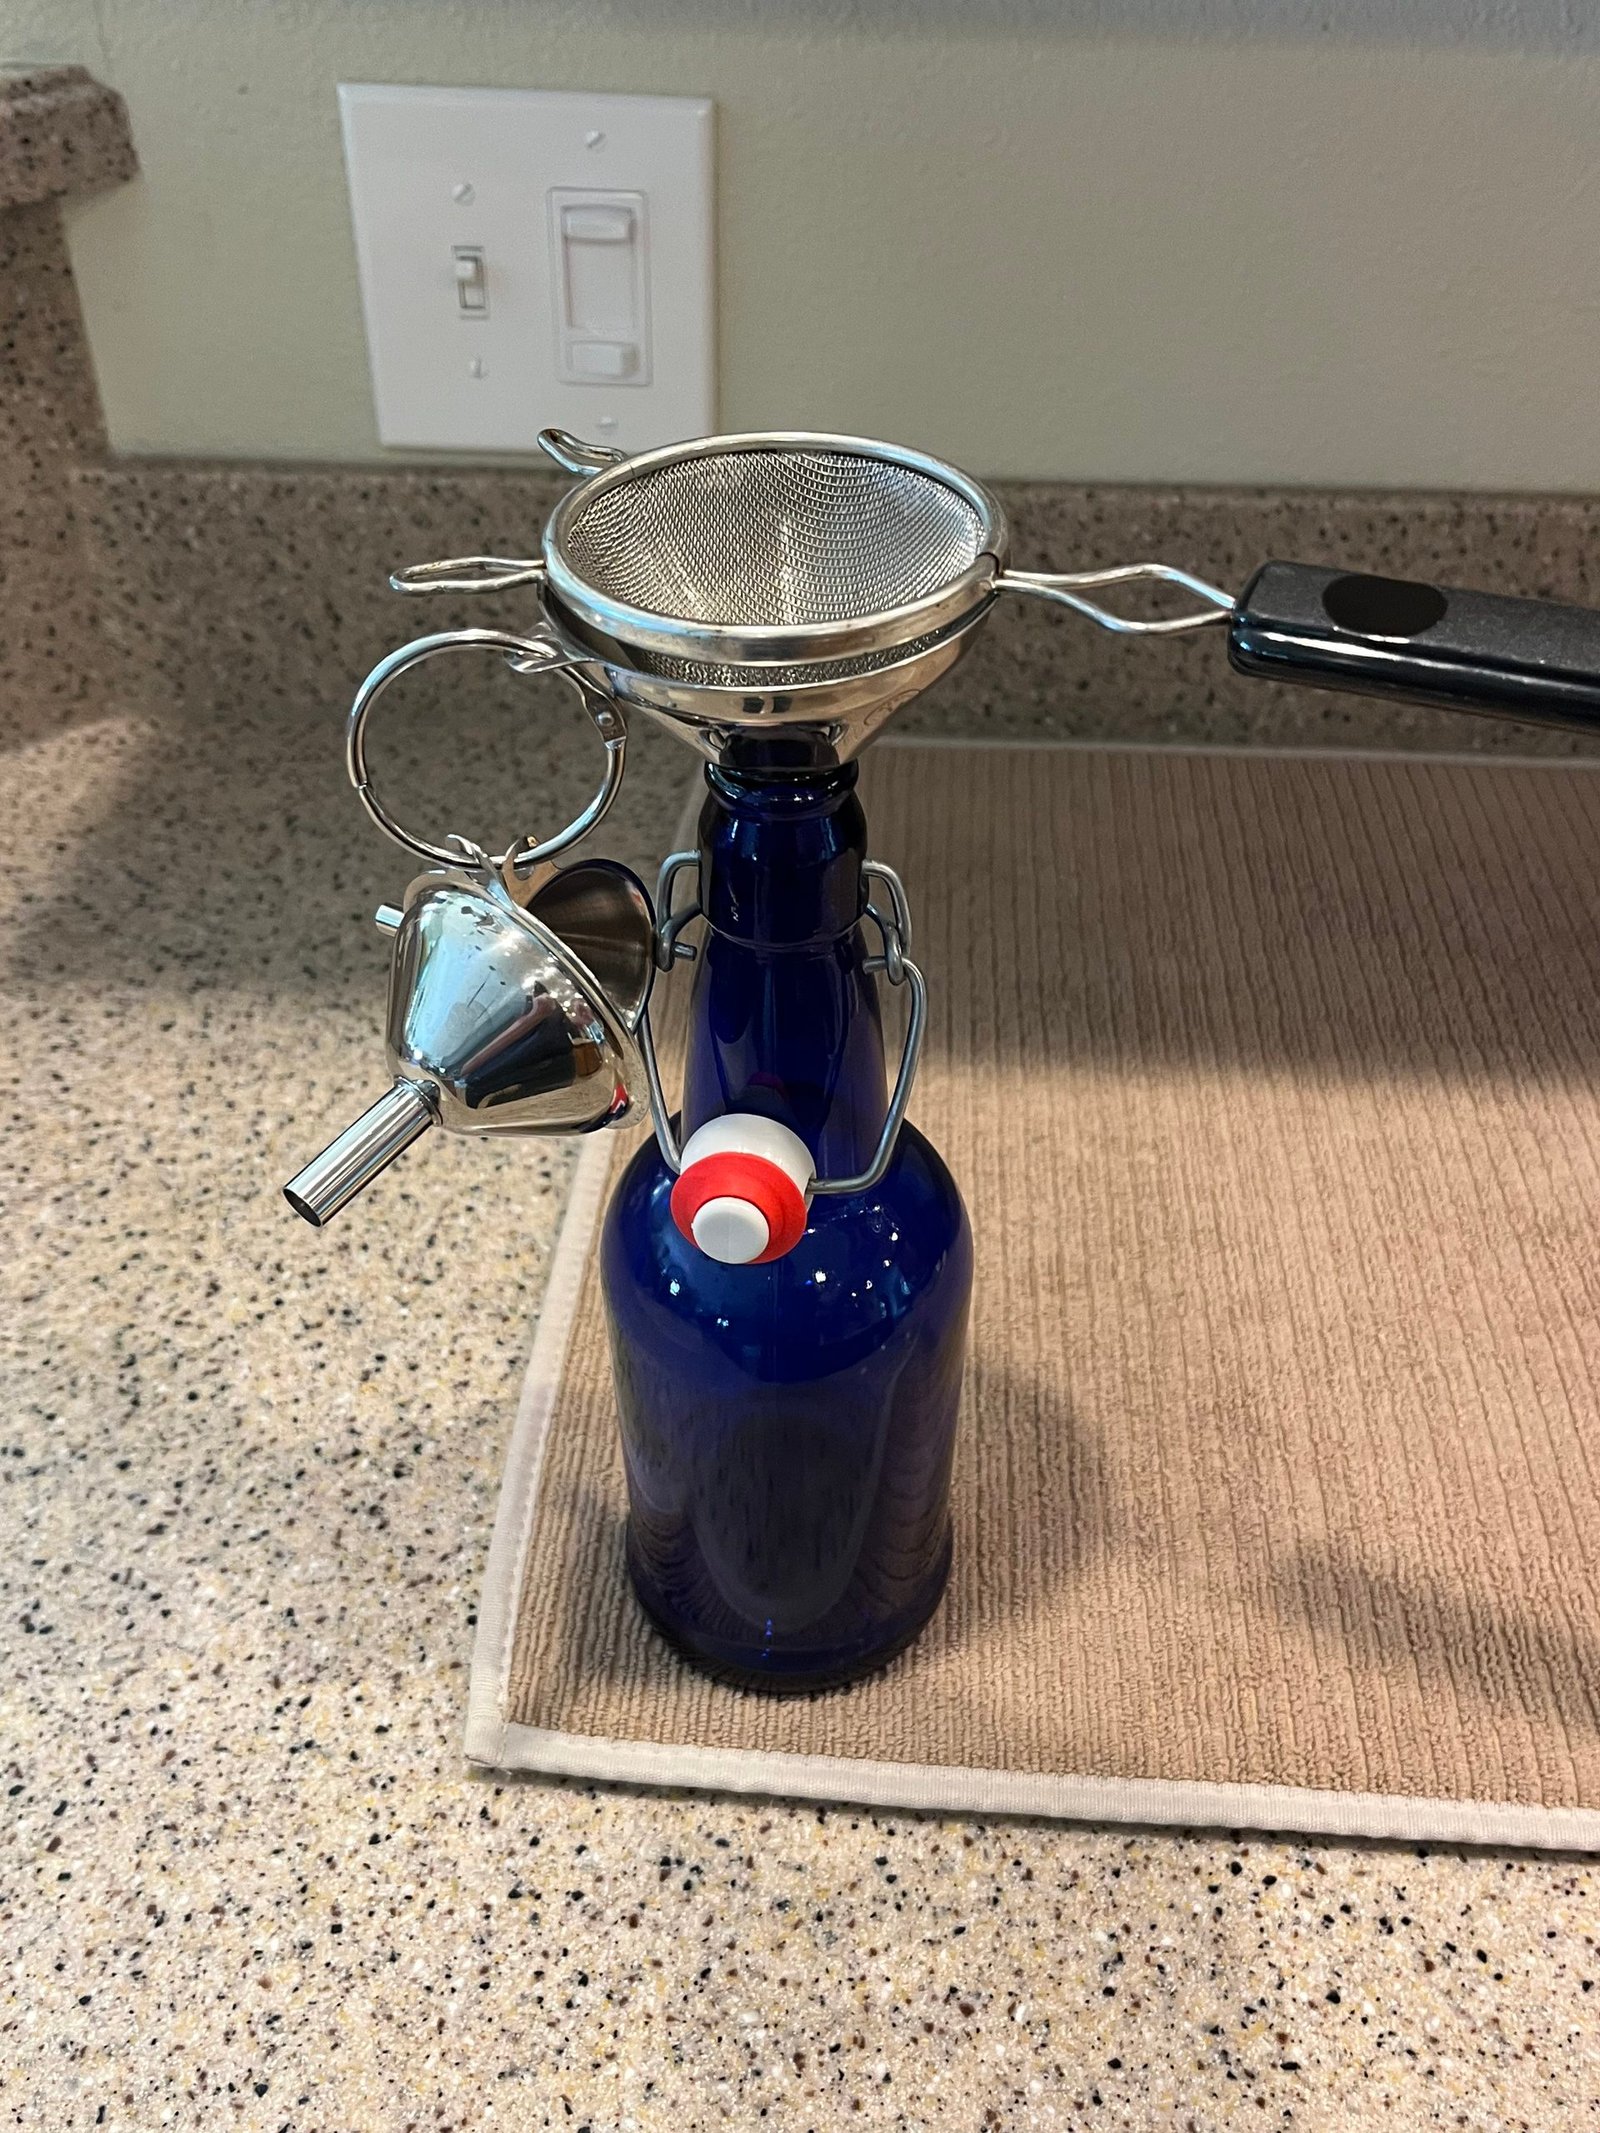
Pour the kombucha into clean, sterilized bottles, leave an inch or two of headspace, and close them up. The picture is on the counter but I fill them in the sink. I usually get four to five bottles from a batch, but you can make larger batches or multiple batches if you want more.
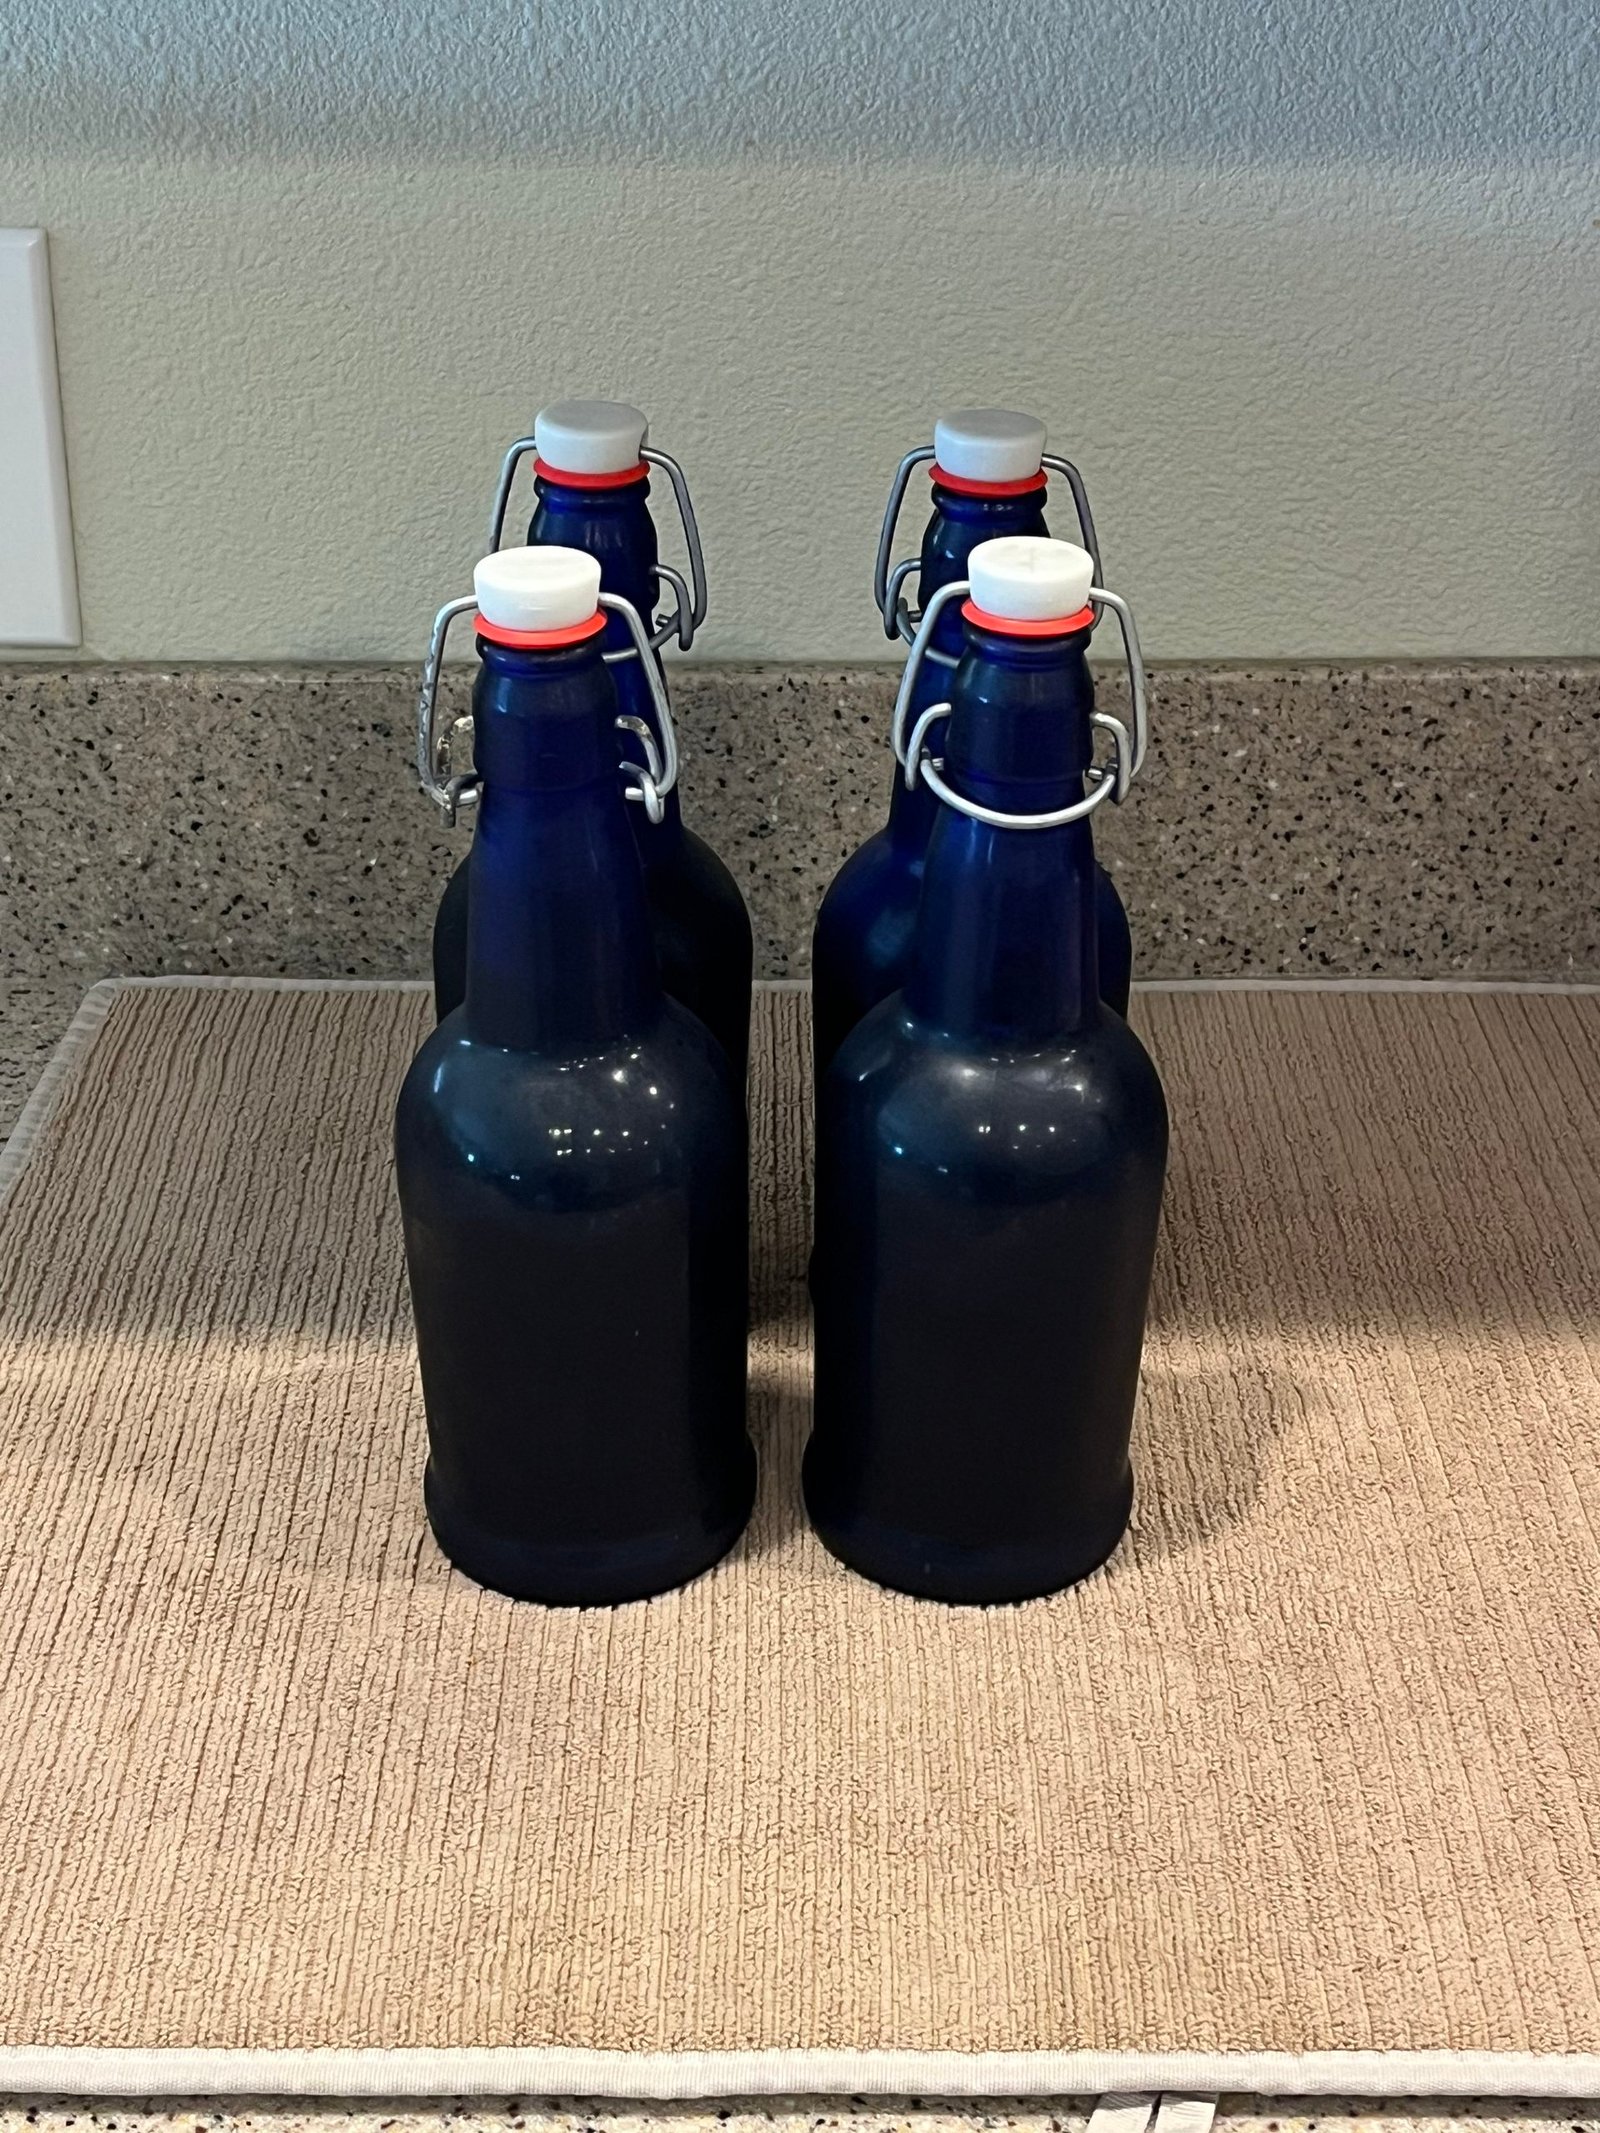
The filled bottles sit at room temperature with normal light for three to 7 days, then go into the refrigerator. They say that the timings change the taste, so if you let the batch sit for 14 days instead of 7 before you bottle it and you leave the bottles at room temperature for 7 instead of 3 it will taste different, you can experiment with the timing to get the taste you like. Personally, it usually all taste the same to me.
One caution on the bottles. Pressure builds up in sealed bottles, and it’s the main safety issue in this stage. I drink mine plain and have never had a problem, but if you add fruit or flavoring, that feeds extra fizz. In that case, use thick glass bottles made for it, leave the headspace, and burp the bottles daily by opening them slowly and letting the gas out. Don’t bottle kombucha that still tastes sweet, because it will keep fermenting and build more pressure.
Step 4: Think About Your Cycle
The new batch needs at least 7 days to sit, and the bottles need 3 more days after that, so the minimum from start to finished kombucha is 10 days. That matters when you decide when to start the next batch.
If you don’t need more kombucha when the 7 to 14 days are up, you have two choices. You can refresh by making a new batch and discarding the old one, or you can let the SCOBY keep growing and start a new batch whenever you’re ready. The catch with waiting is that you won’t have more for at least 10 days after you start, so plan around that rather than starting when you’re already out.
Step 5: Combine Everything
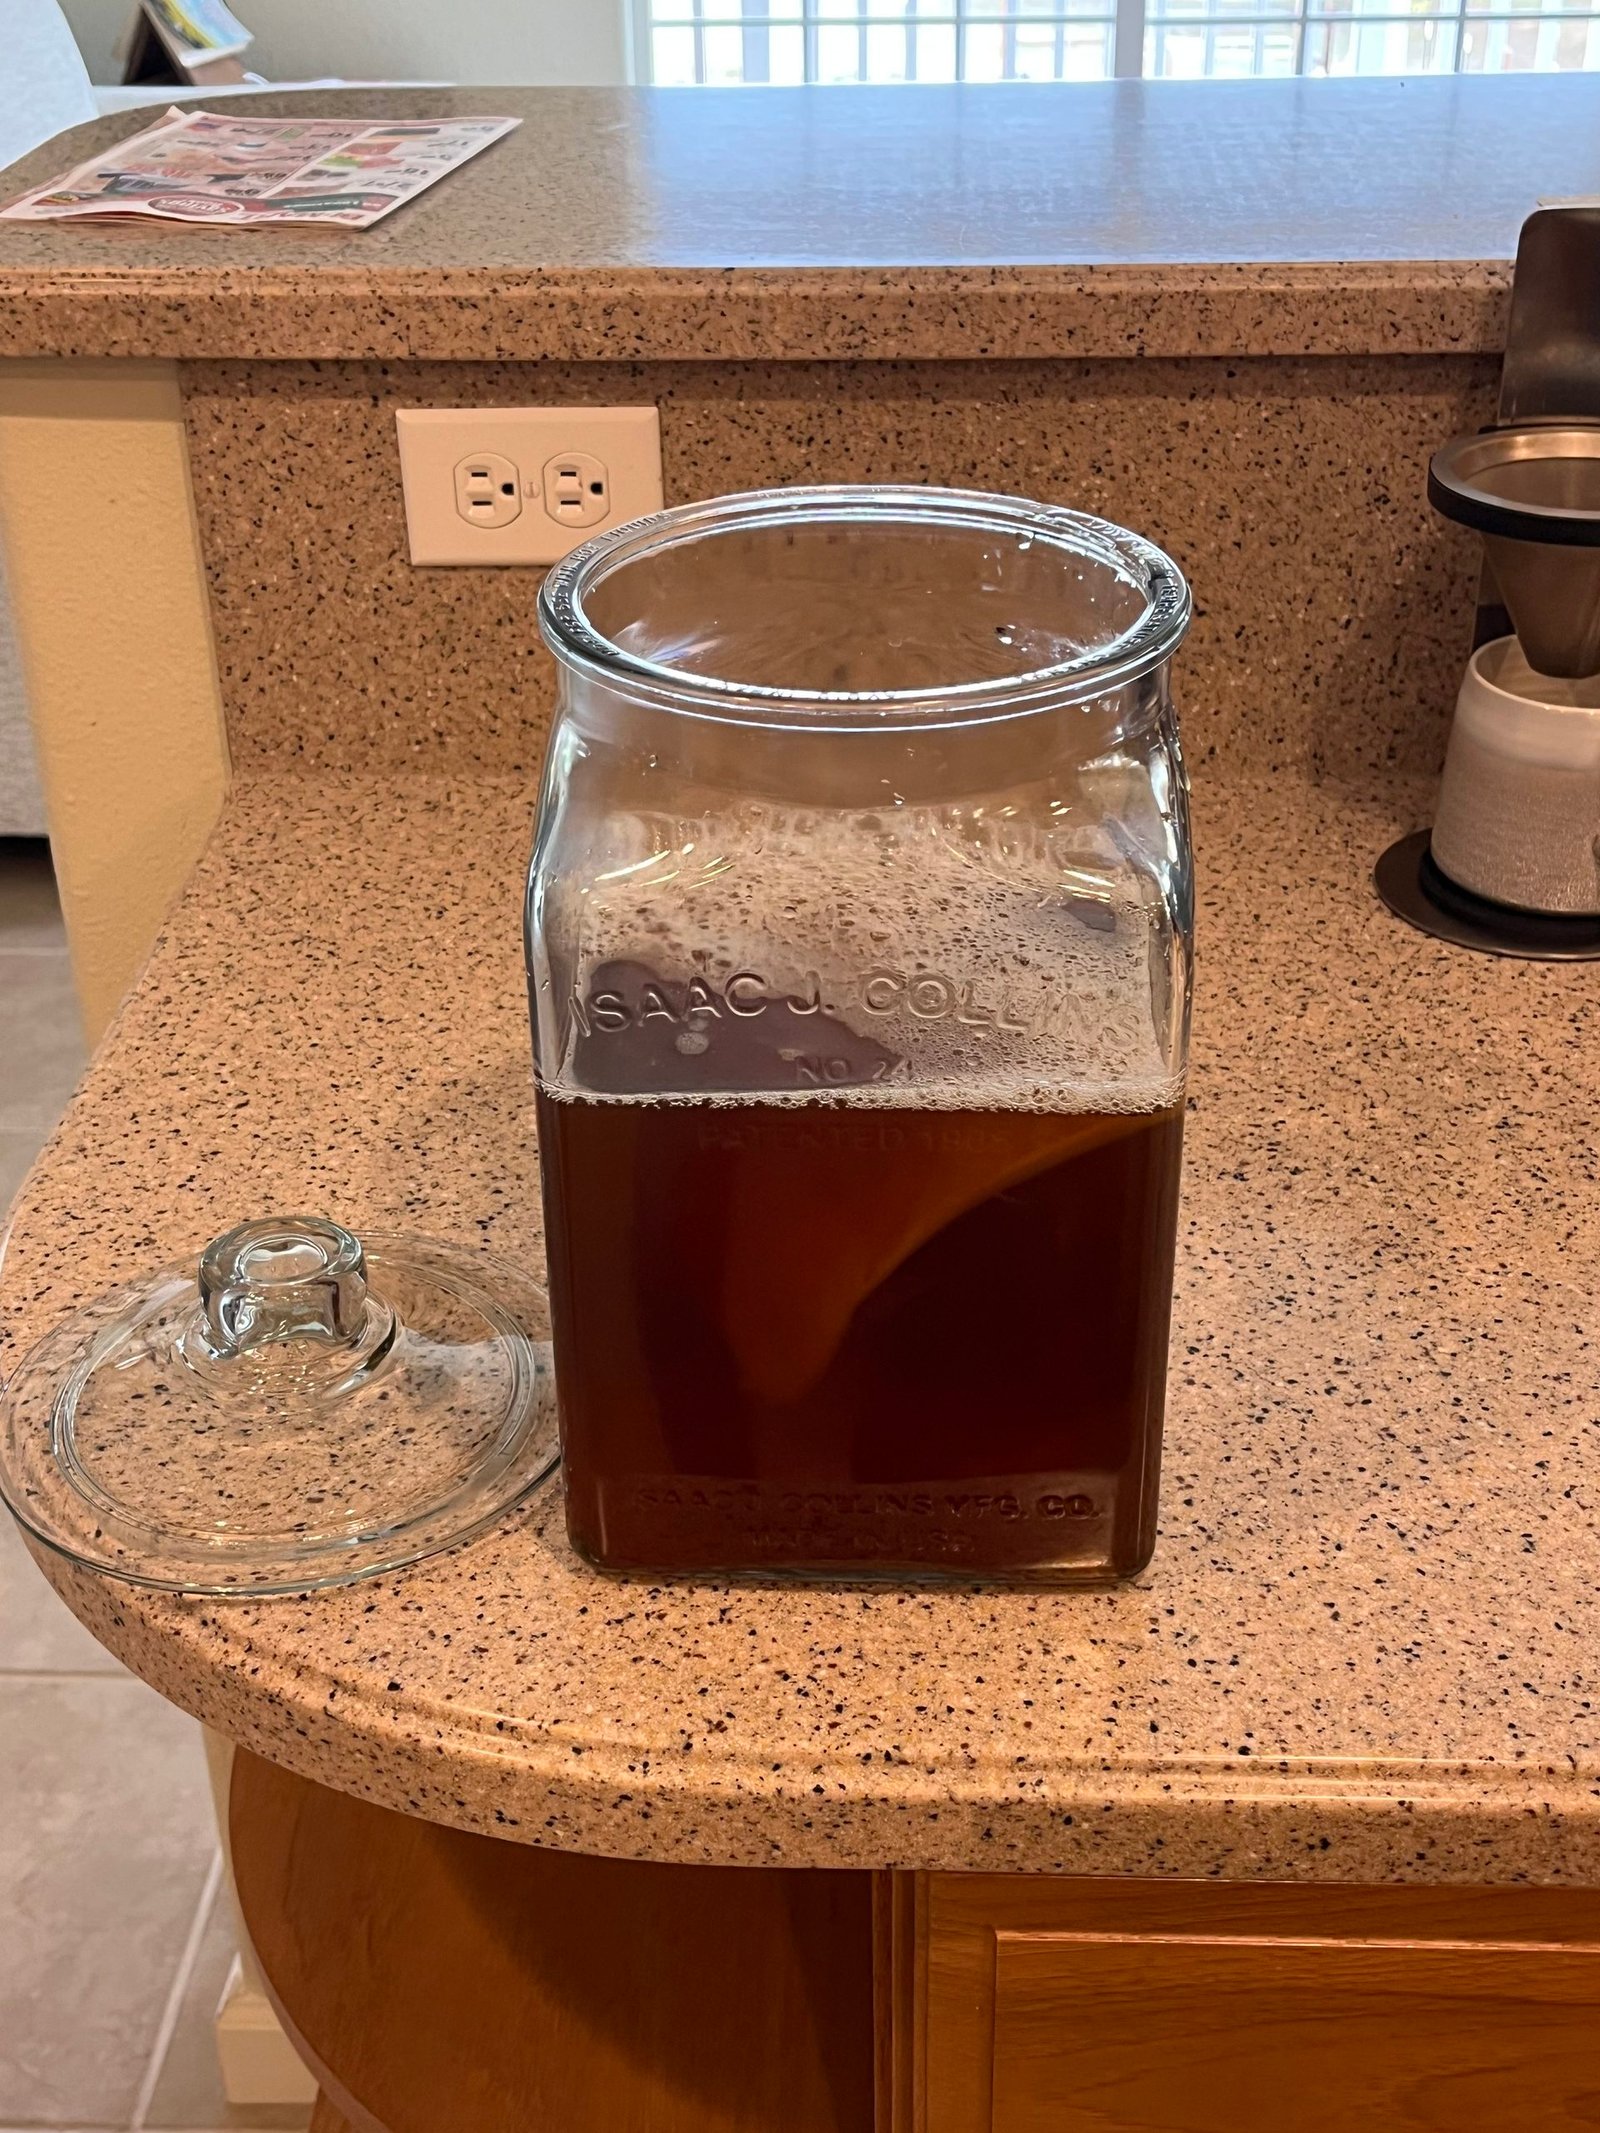
Once the tea has cooled completely, pour it into the jar with the SCOBY and starter kombucha. Be sure it’s cooled. If it’s still warm, it will kill the SCOBY.
Step 6: Let It Sit
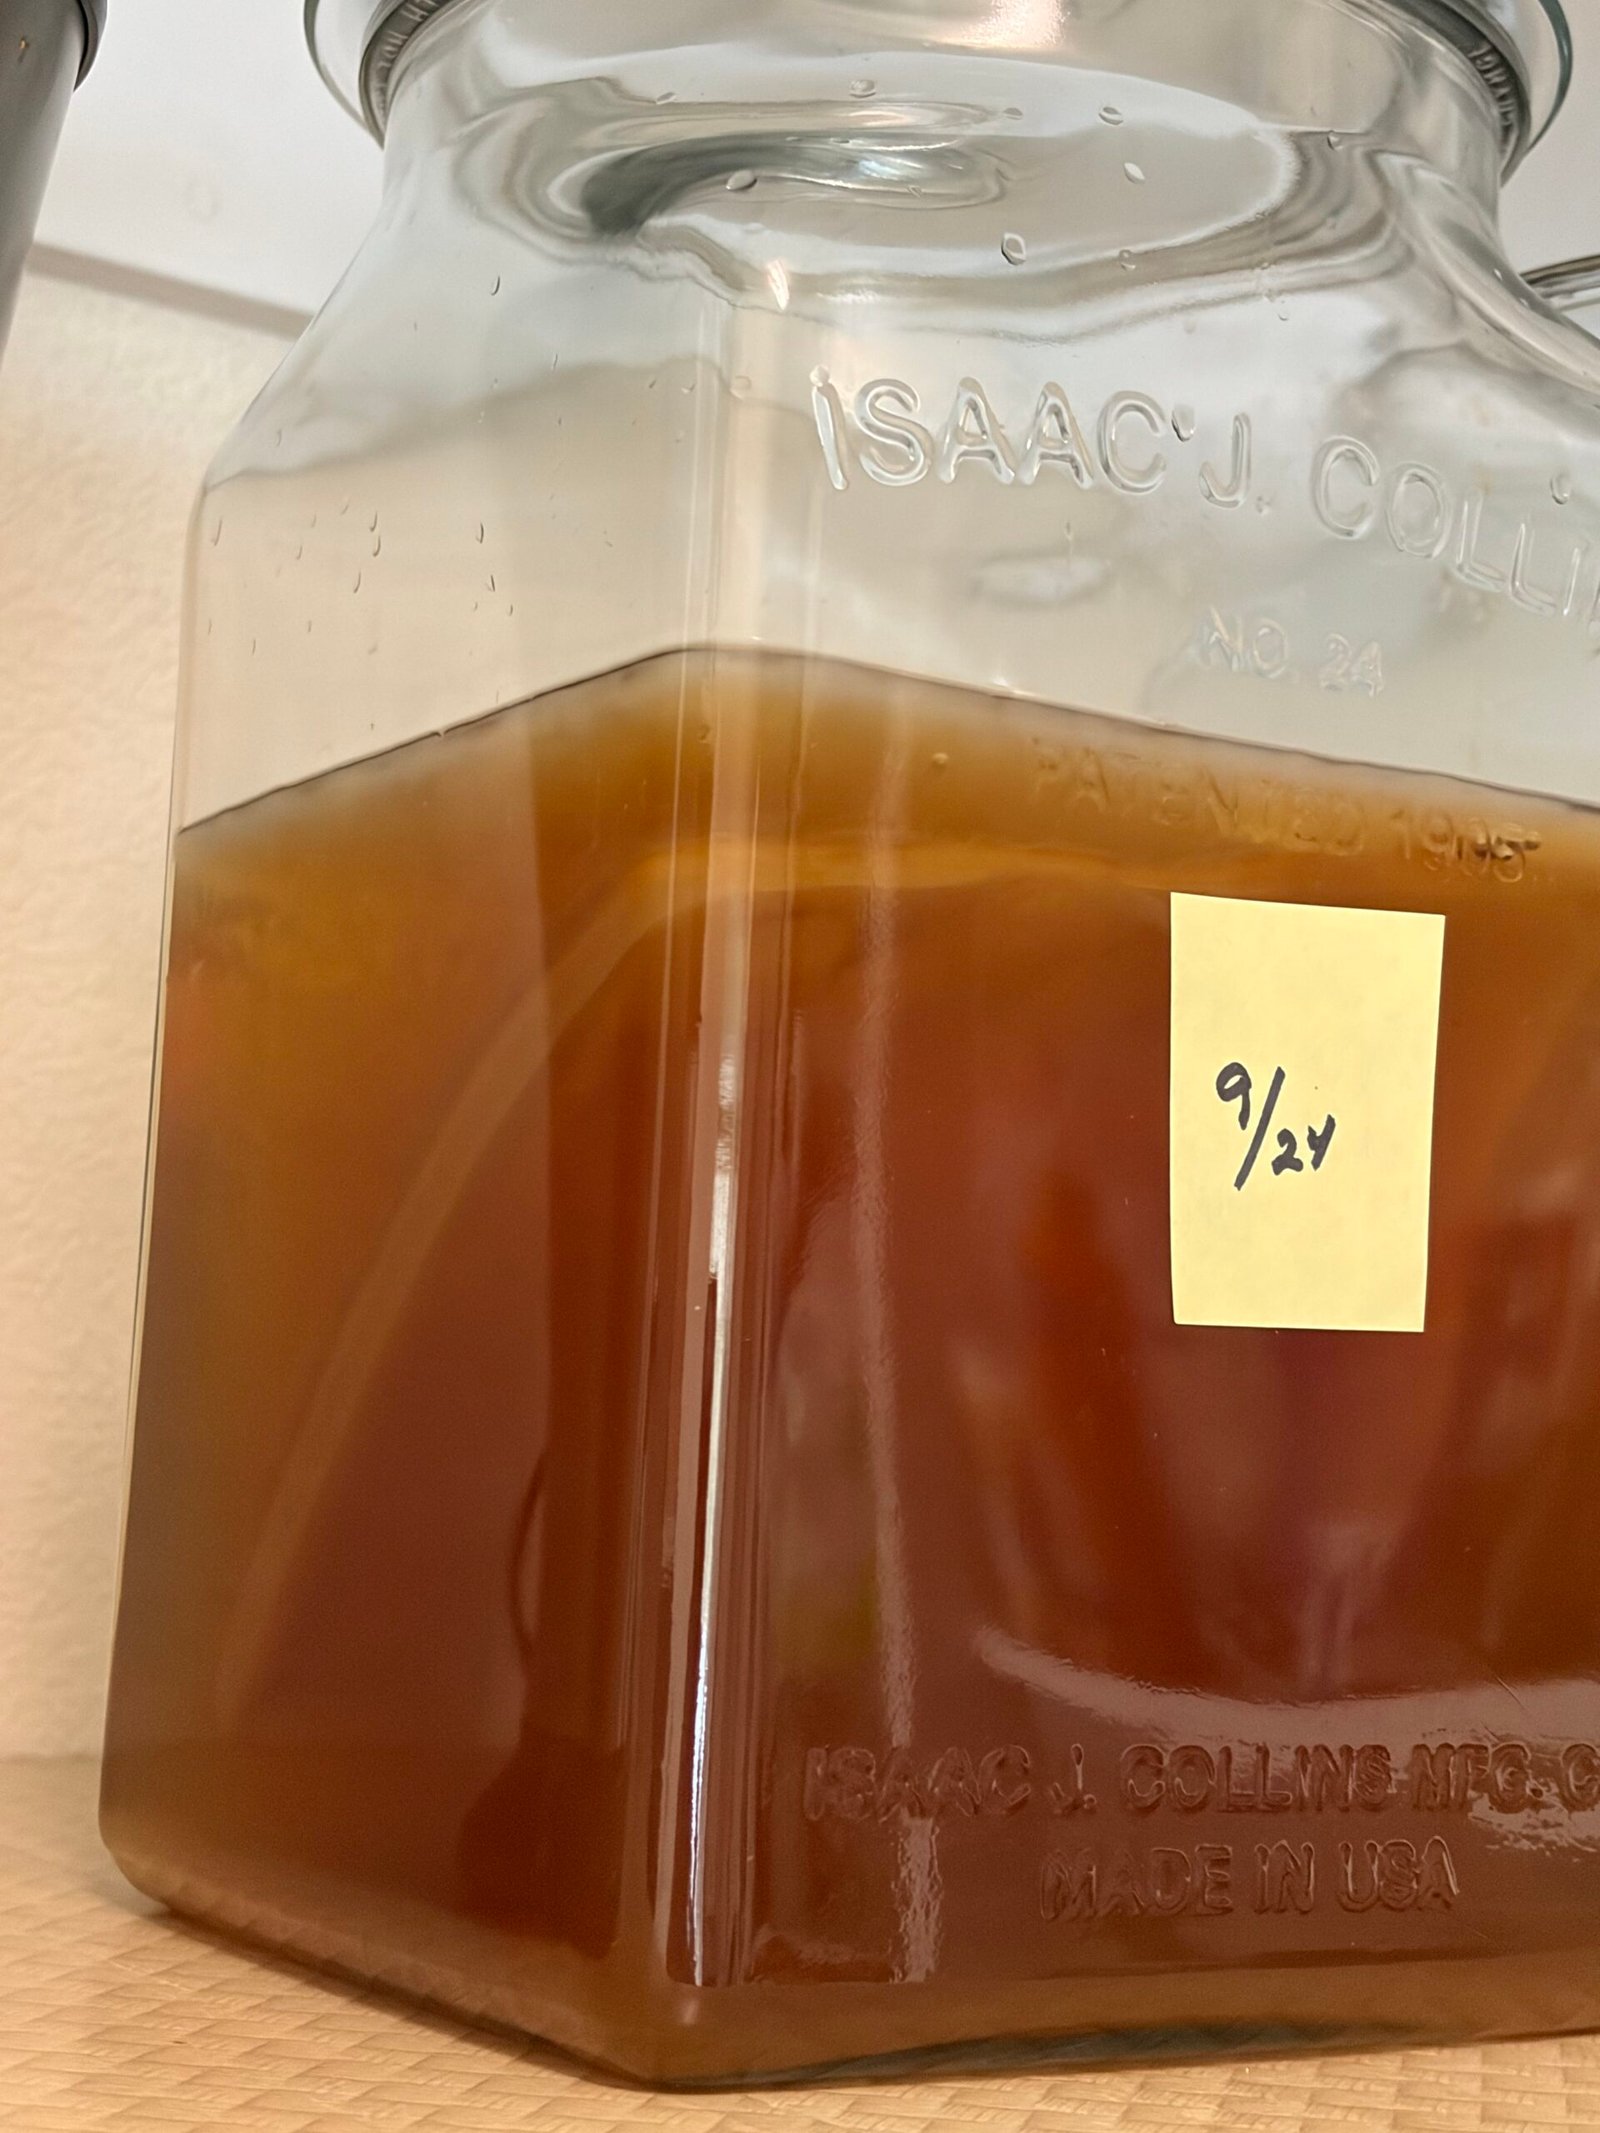
Put the new batch somewhere cool and barely lit, and leave it for at least 7 days. I’ve bottled mine anywhere from 7 to 14 days and haven’t noticed much difference, though I’ve heard the taste changes the longer it sits. You can read up on the chemistry if you’re curious. For me, the routine I have gives me the kombucha I like, so I haven’t gone looking for more precision than that. I drink mine straight, no added fruit or flavoring, though you can add that if you want it. If you look closely in the picture below the old Scoby is in the Kombucha and a new one is forming on the surface and the cycle continues.
Then you do it all again.
About the Warnings
If you look kombucha up online, you’ll find no shortage of warnings, mold, contamination, bad batches, every horror story in the book. I’m not saying none of that can happen. I’ve been making it for over ten years, using clean equipment and the same basic steps every time, and I’ve never had a bad batch or a single problem. But that’s my experience, and it’s a raw, fermented drink, so it’s worth reading the safety details from a reliable source. The UC Master Food Preservers and the National Center for Home Food Preservation both have good ones. As for consuming it they also suggest starting small, no more than 4 ounces a day, if you’ve never had it before.
What I can tell you is that the skill matters more than the precision does. I don’t measure my steep time to the minute, I don’t know if my original friend’s recipe was ever “correct,” and none of that has stopped this from working, batch after batch, for a decade.