Have you ever grown something you really liked, and then had no idea what it was? I have. There are times I’ve planted something and still didn’t know what it was even after eating it. You know it’s a slicing tomato, and a good one, but you forgot what kind. So next spring you go to buy more seed and… buy what, exactly? You can’t buy a “whatever.”
So this post is about knowing what you planted, in the trays and in the garden, all the way from seed to harvest.
Mix-Ups Happen All the Time
If you’re not paying attention, it’s easy. You get a phone call in the middle of planting. A tray gets turned around on the shelf. You think you planted 18 cells and you actually planted 24. You set the seed packets down, and now which packet went where?
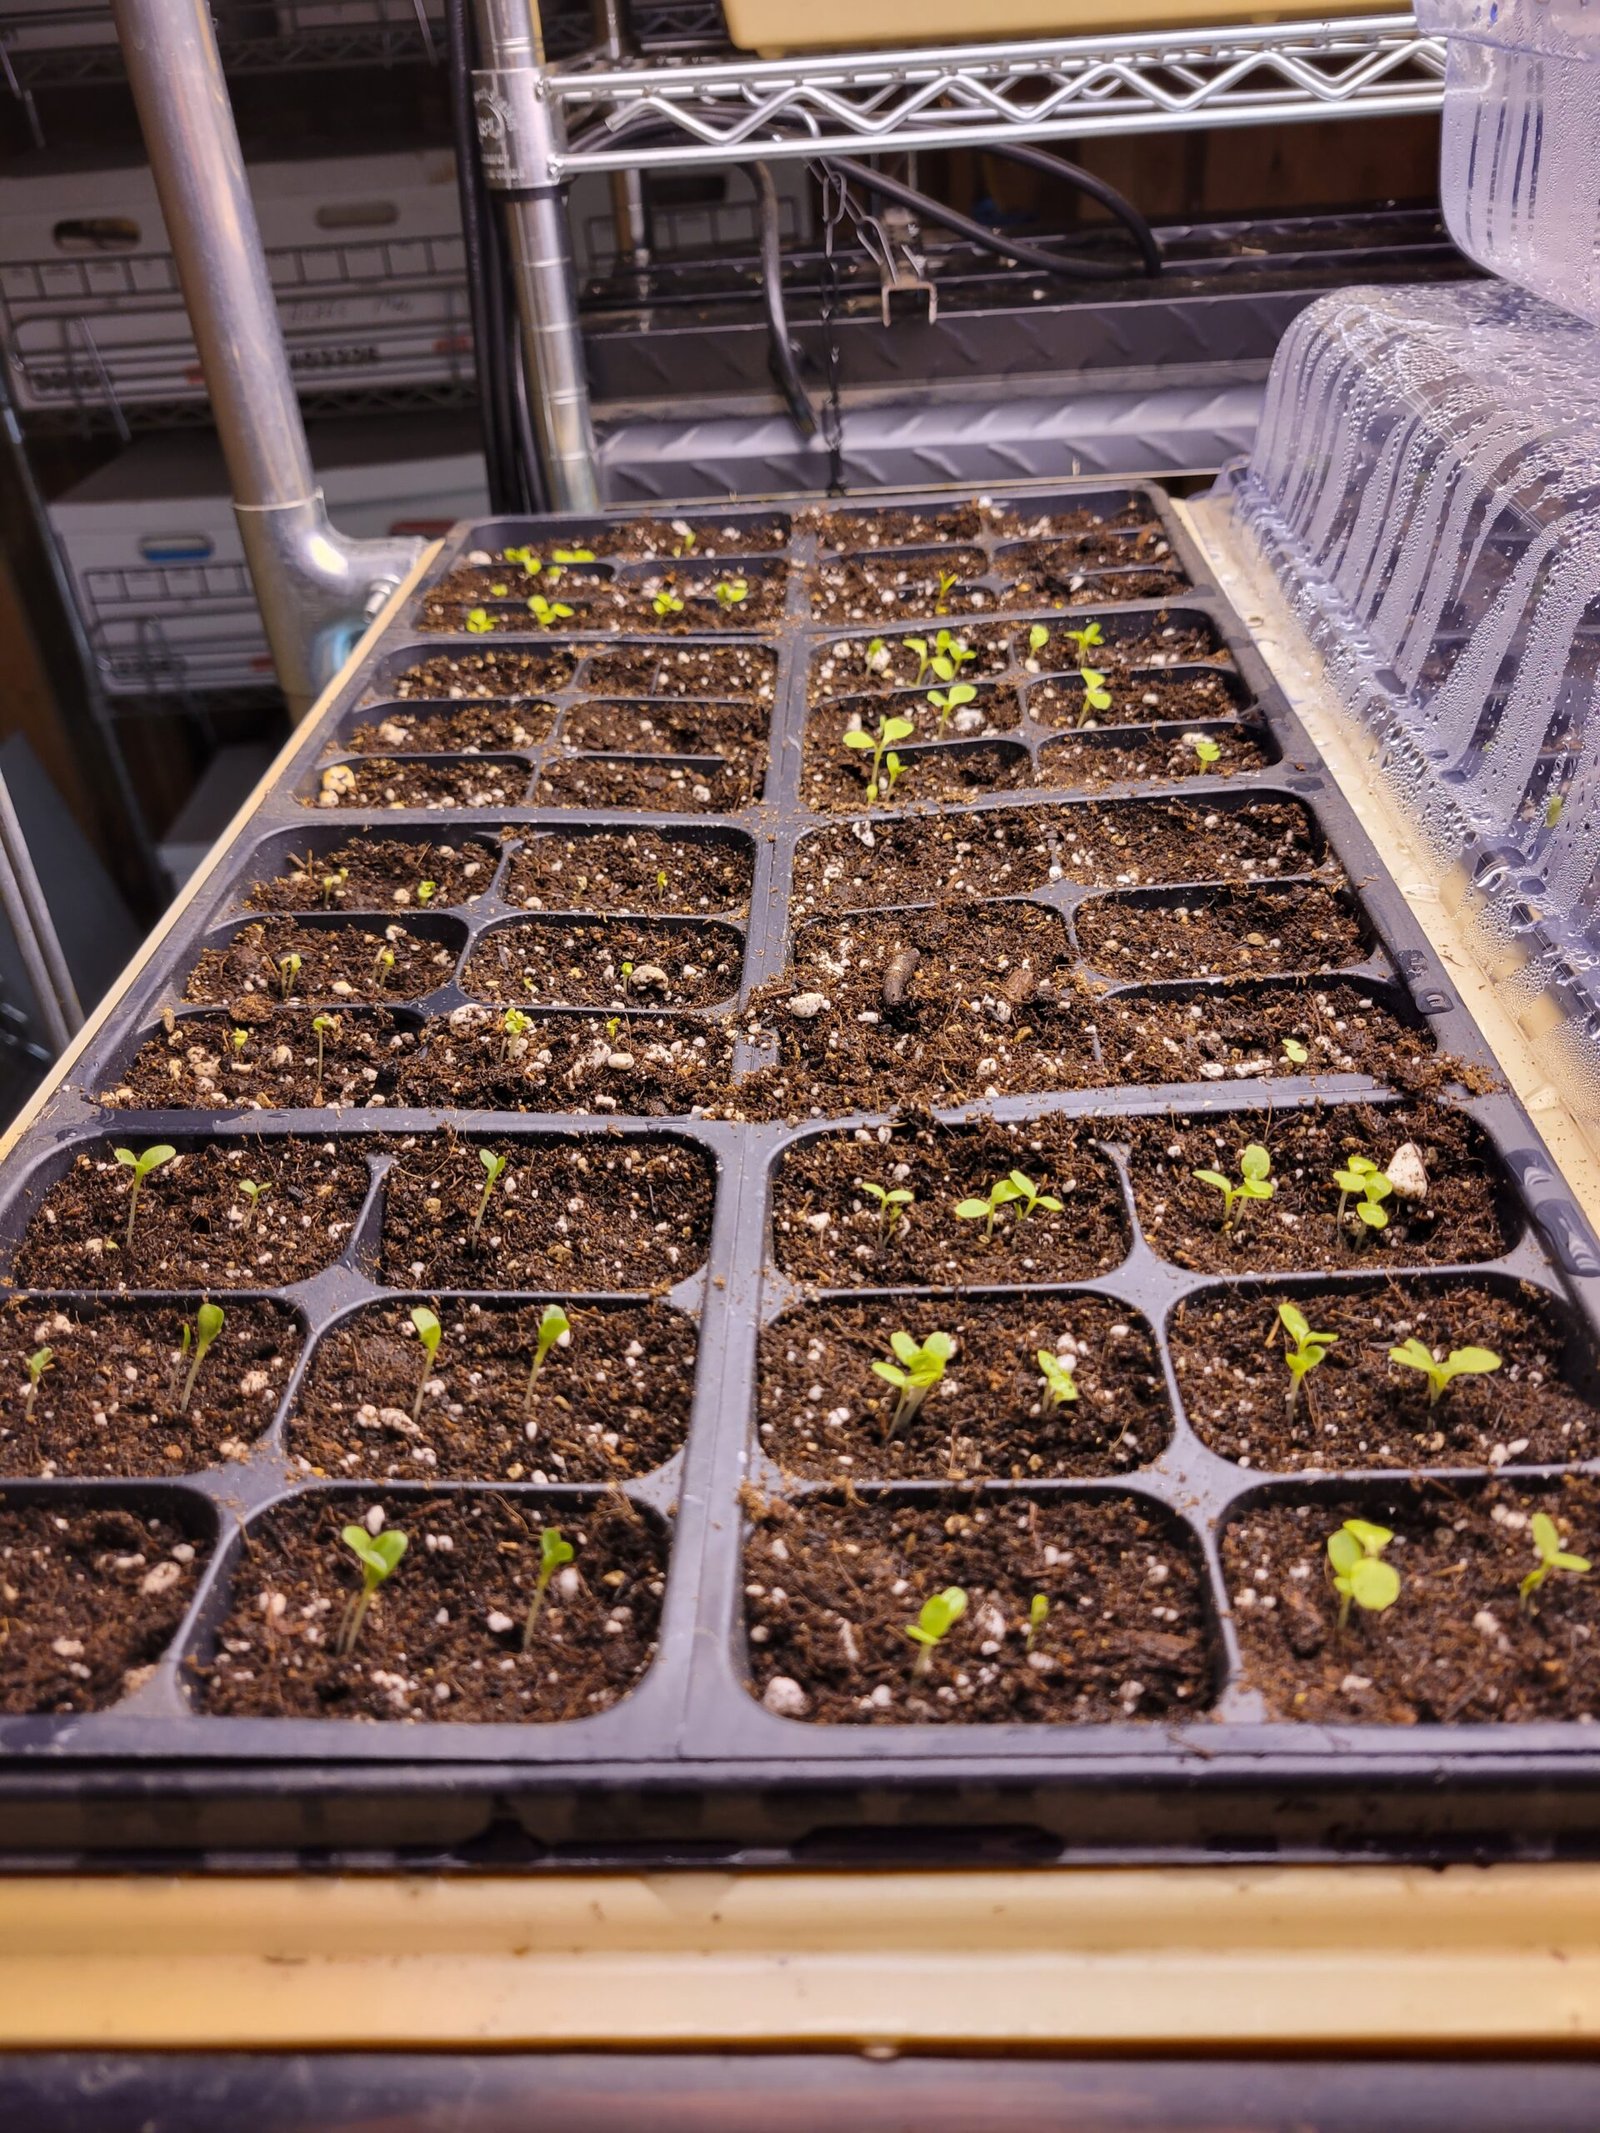
It’s easy if one tray has one thing in it. But if a 72-cell tray has 12, or 18, or 20 different things in it, you need to pay attention. Planting and documenting takes concentration, so turn off the distractions (or at least let the phone ring) until the tray is planted and written down.
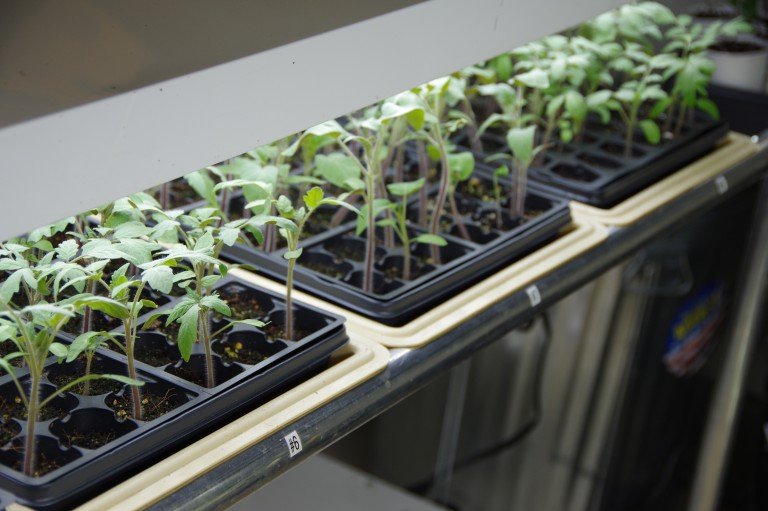
And it isn’t just one move you have to keep track of. I like to get things going early, so a lot of my plants go from trays to cups to the garden. Some of my tomatoes go from a cell, to a cup, to a one-gallon pot, and then into a greenhouse bed in late May. (You can also size your tray and time it to go straight into the garden.) Every one of those moves is another chance to lose track.
Number Your Trays, and Know Which End Is the Front
I mostly use 72-cell trays. I set the light-duty trays inside heavy-duty trays and number the heavy-duty trays on the front edge. On my shelves, the trays sit with the short side facing out, so that’s the front.
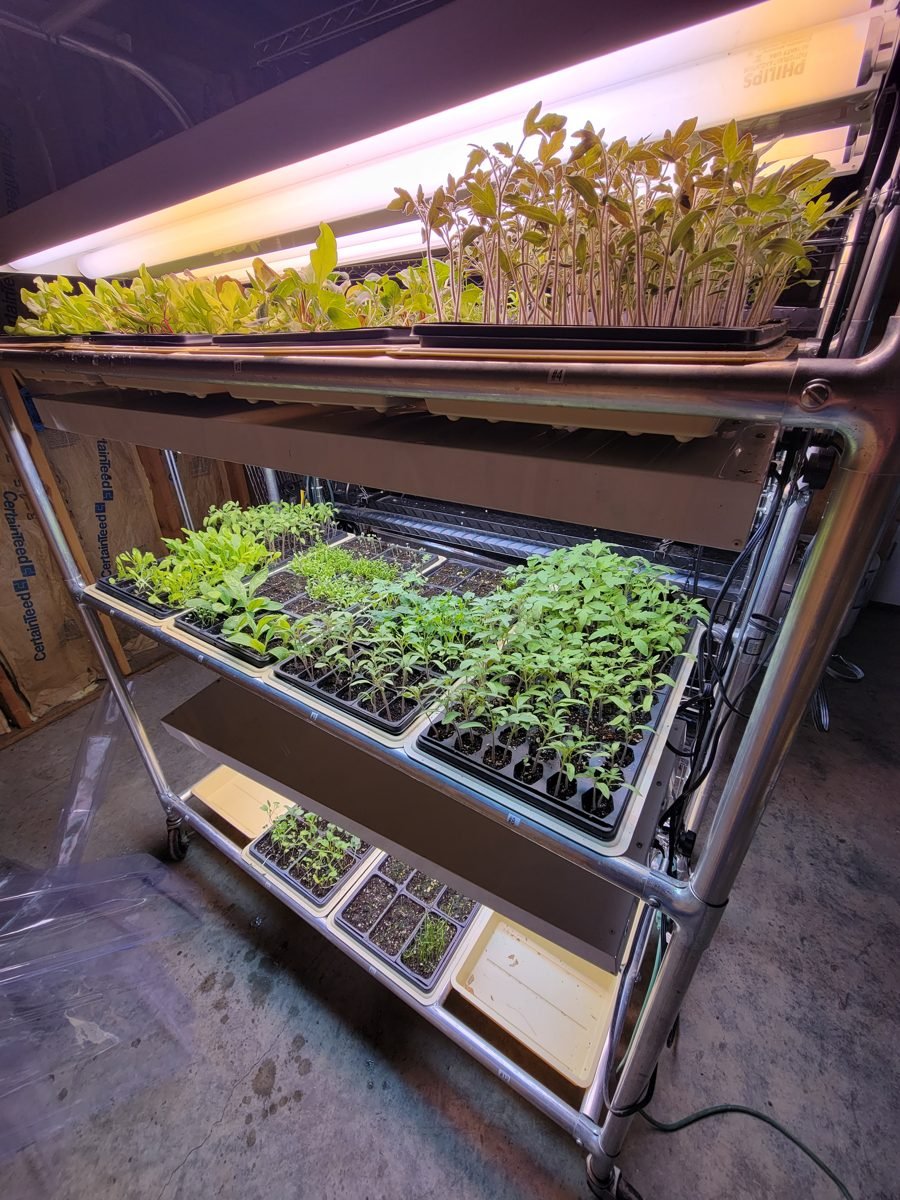
The front matters more than you’d think. You need a system so you always know where the front of the tray is, and your planting sheet needs to show the front of the tray too. Then when you write it down, the paper matches the tray, and nobody (including you) has to guess which end row 1 is on.
Write It Down the Way You Plant It
When I plan a tray, I write it out by cells. Six cells and what’s planted in them, 12 cells and what’s planted, and so on. I write the variety, the seed company, the year on the seed packet, and how many rows. The notes reflect what you actually planted, not what you meant to plant.
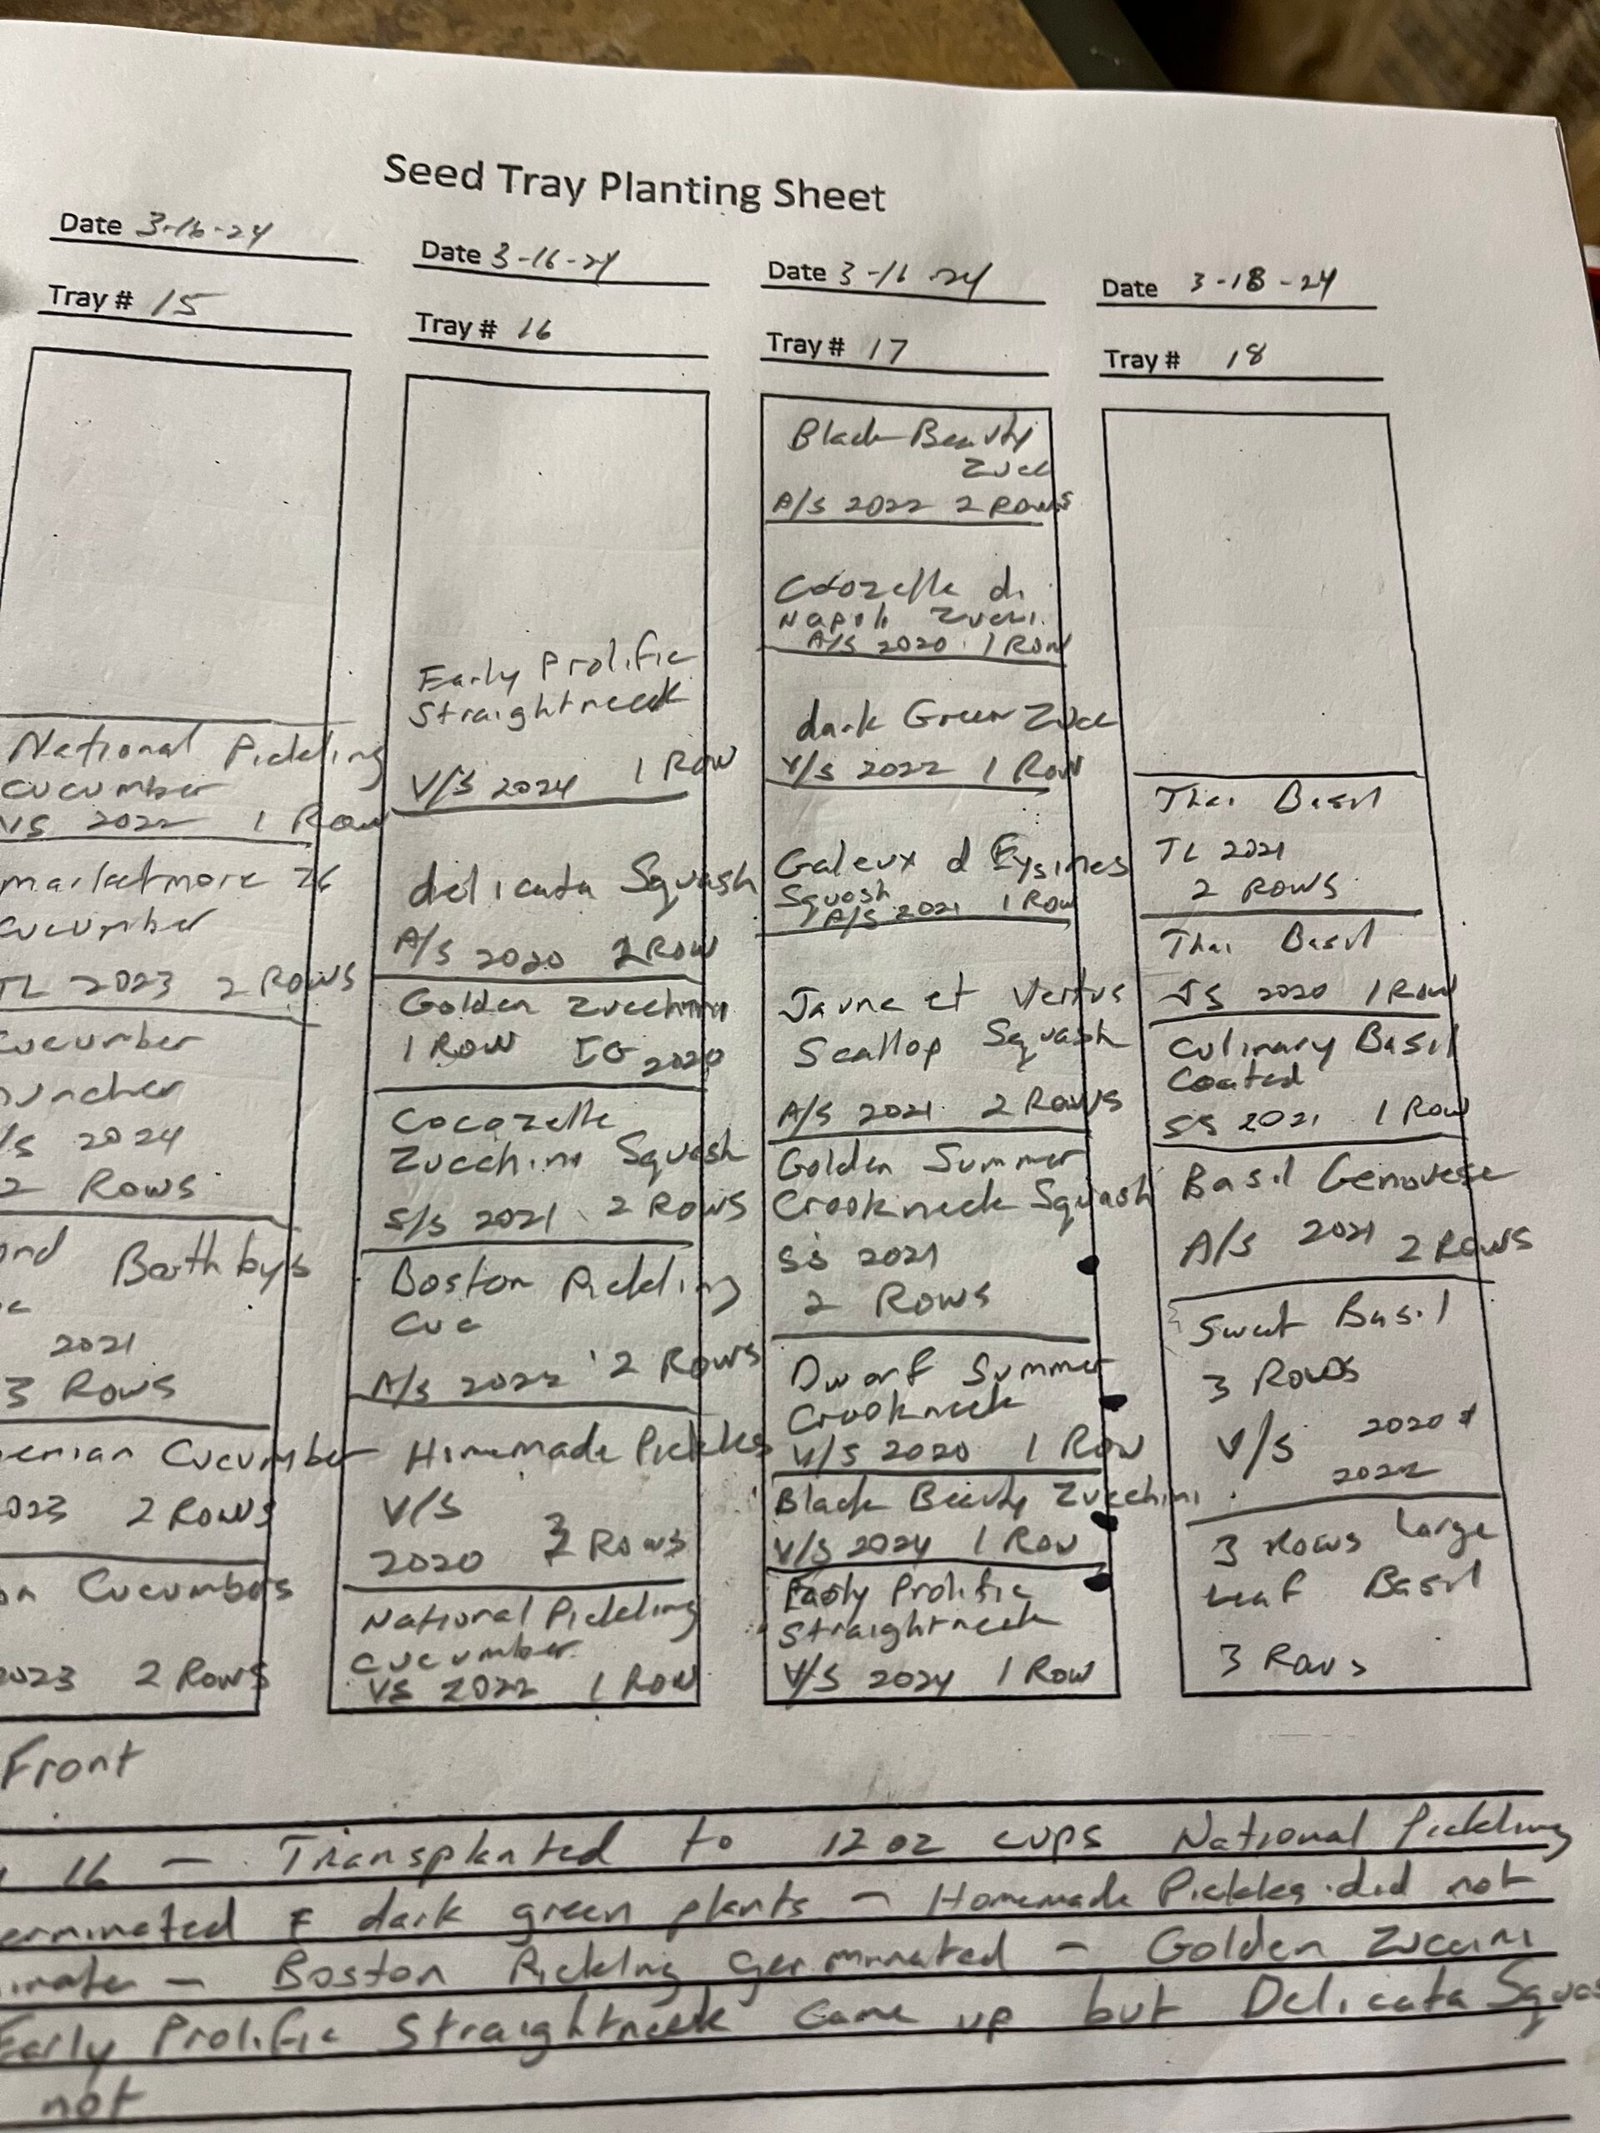
My old sheets had four trays on a page. That worked, but it got crowded fast, so the new ones (more on those below) give each tray its own page with a lot more room for notes. Below the tray, write down what came up, what didn’t, and when it moved.
Take a Picture of Your Notes
Here’s a simple trick. Once a tray is planted and written down, take a picture of the sheet with your phone. Trays move. If tray 12 goes out to the greenhouse and the paper stays in the garage, you can still pull up the picture and see that tray 12 has six varieties of lettuce in it.
Label the Cups, Too
When plants move up to cups, the label goes right on the cup with a Sharpie: the plant type, the seed company’s initials, and the date planted. At planting time, I flatten the cup and bury about half of it next to the plant so the label stays with it in the garden (facing away from the sun, or the Sharpie bleaches out). I wrote more about that in How to Move Garage Seedlings Into the Garden (Without Losing Half of Them).
Number Your Beds and Keep a Sheet for Each One
The same idea works in the garden. I number my beds and keep a planting sheet for each bed. I try to build my beds 30 inches by 25 feet, but the bed size doesn’t matter as long as you have room for notes. If you have a huge bed, split it up and label it something like Bed 50 A and Bed 50 B.
I also write down which way the bed faces, so I know which end is which. This end is toward the house, or the shop, or the fence. If you know your directions, you can use N, S, E and W. Either way, the sheet always matches the bed.
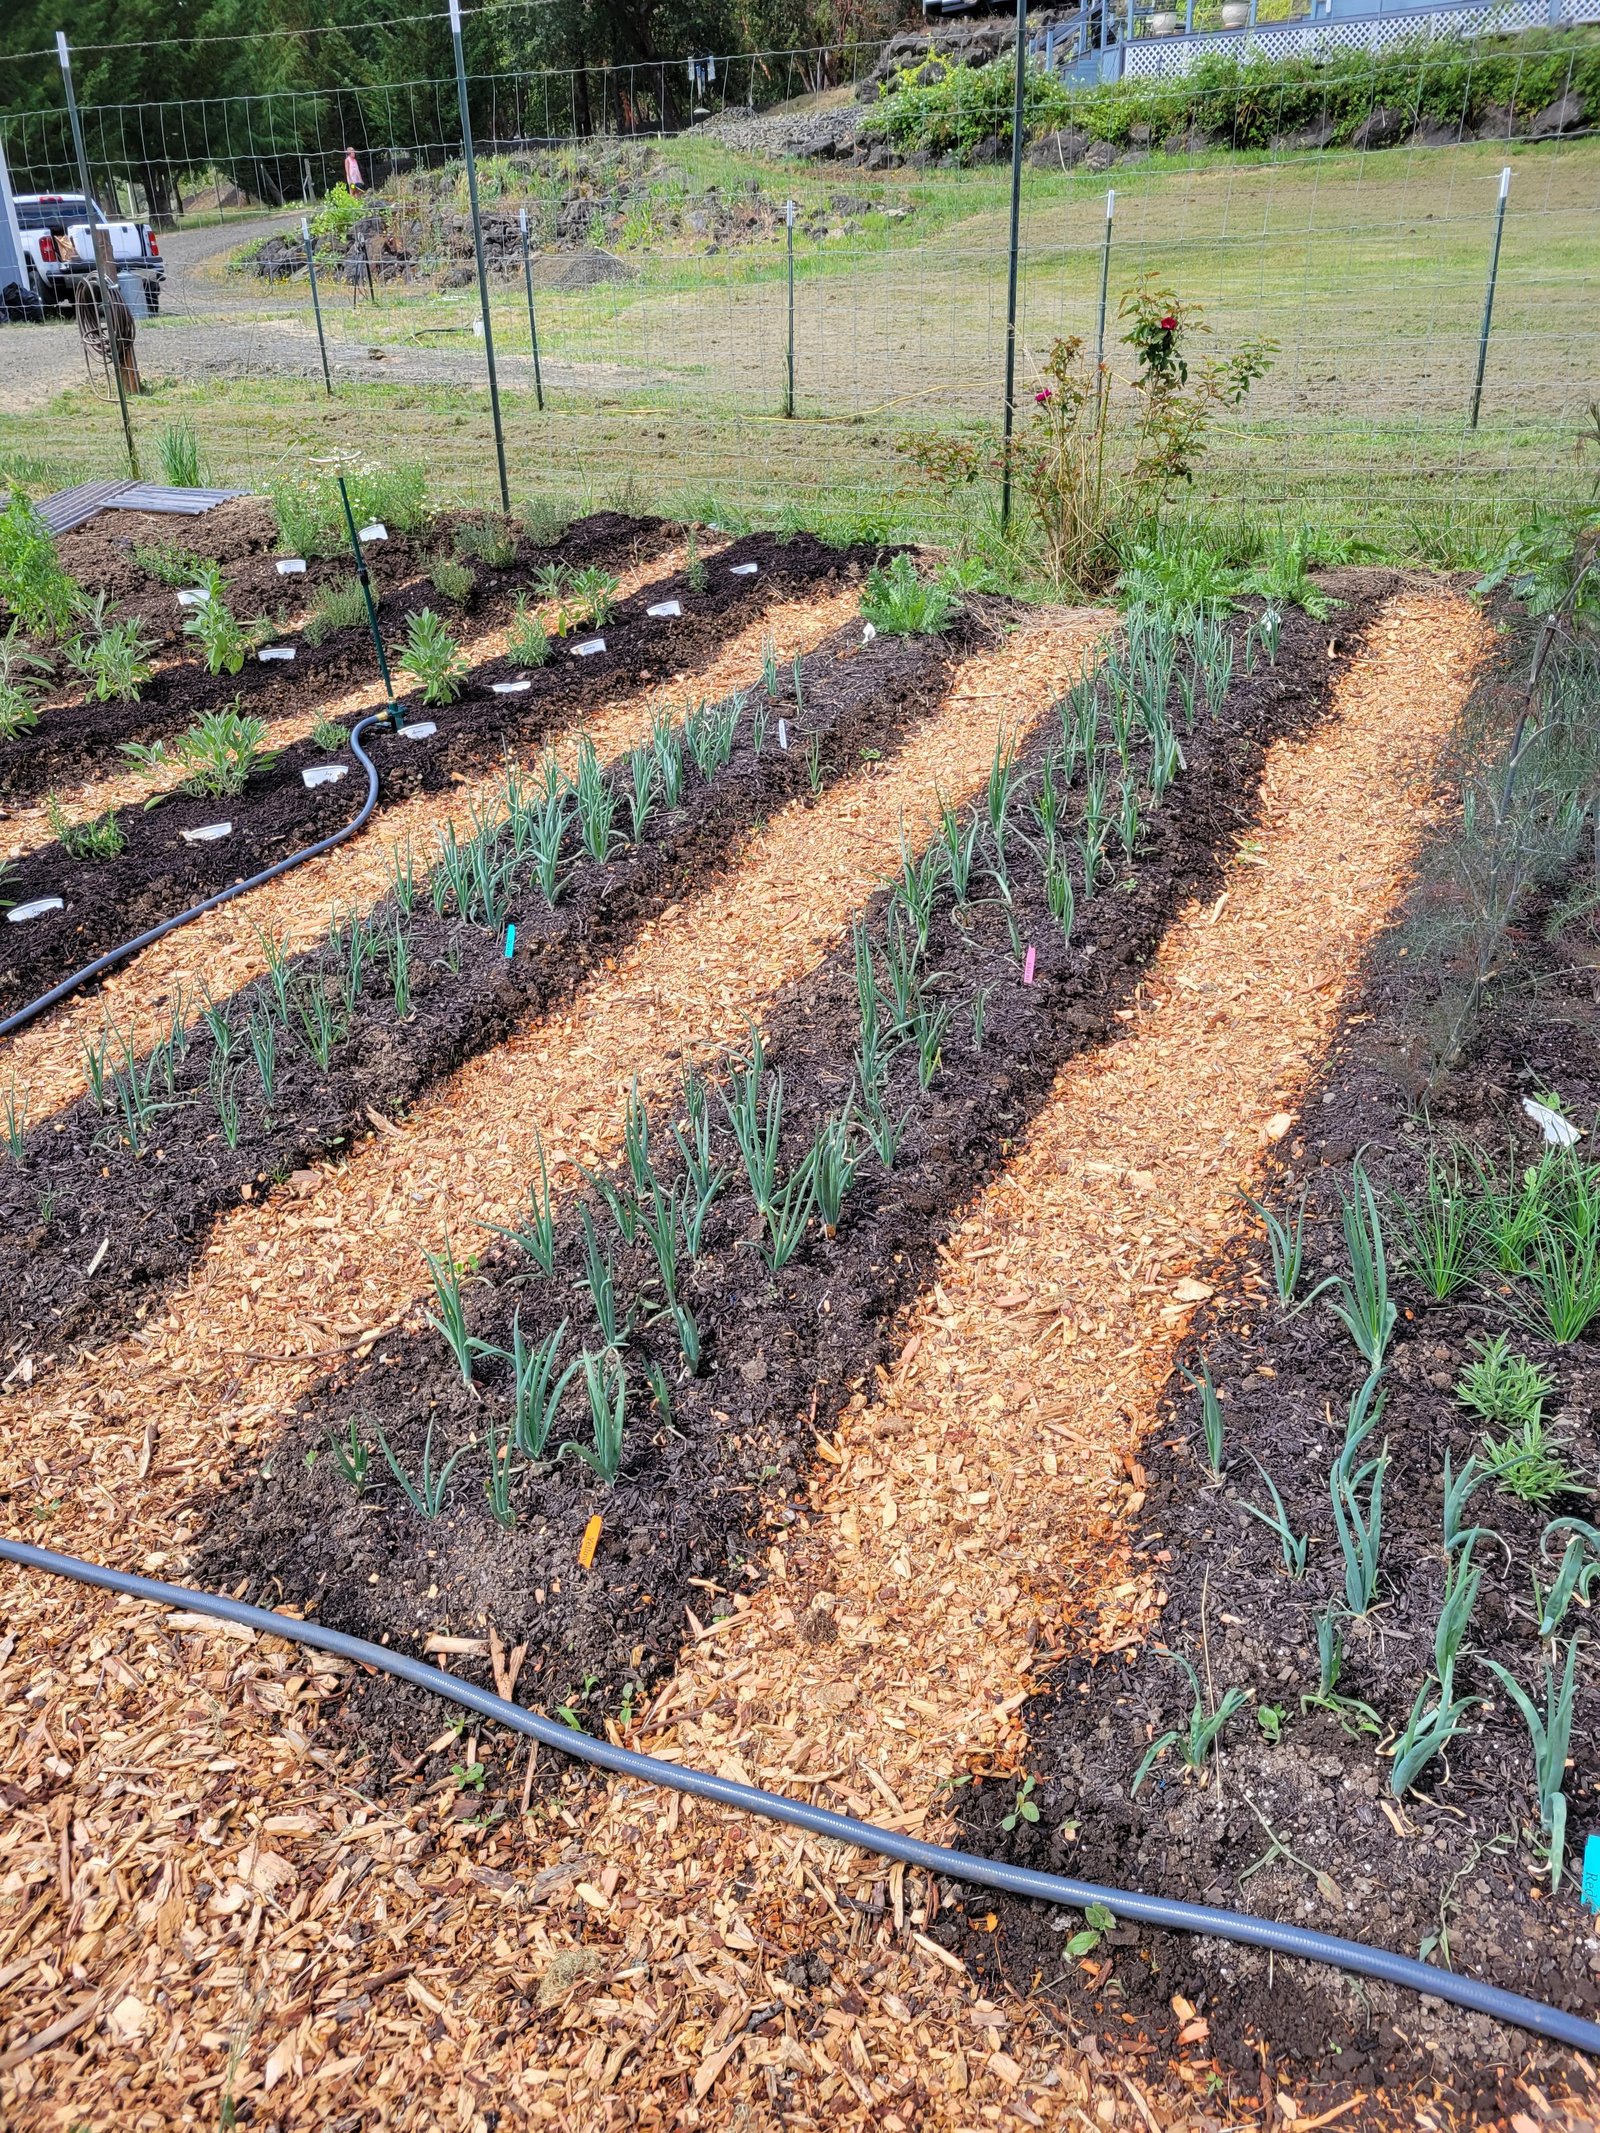
Plant Things That Look Different Side by Side
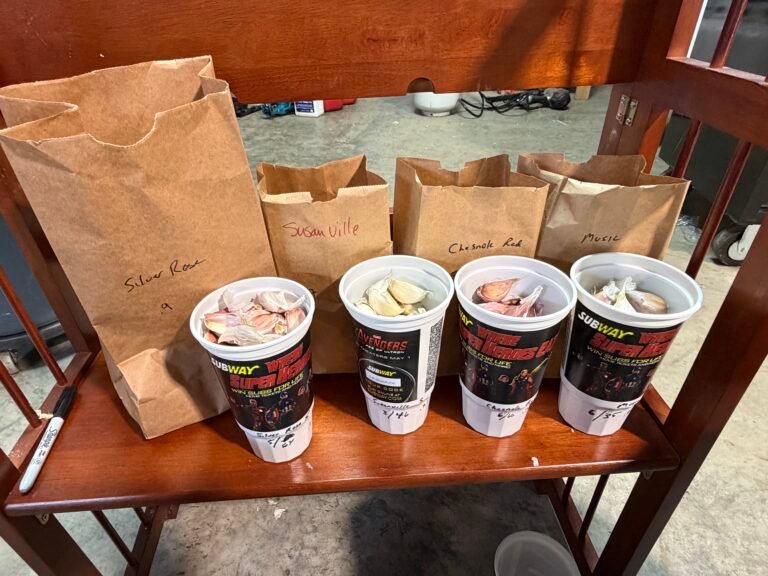
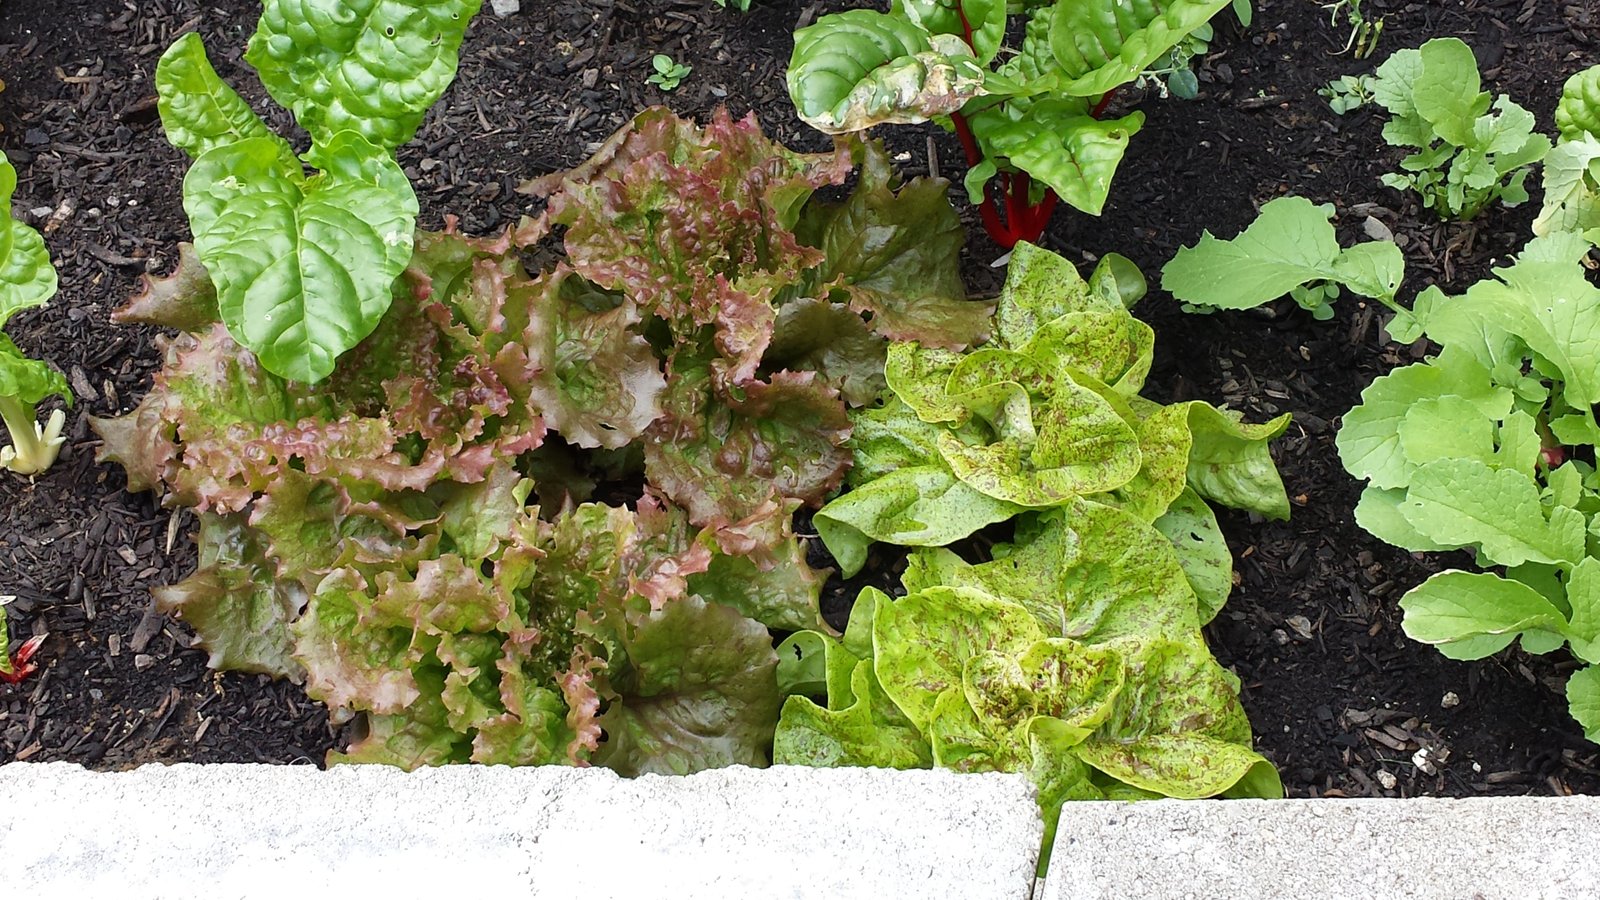
Even with good notes, things get mixed up. So I try to separate my plantings with something you can see. Green lettuce, then red lettuce. Slicing tomatoes, then paste tomatoes. When I plant garlic, I plant a batch of hardneck and then a patch of softneck. If a label goes missing, you can still tell where one ends and the next begins.
Keep a Seed Company Key
I use initials for seed companies because they’re fast. V/S is Victory Seed, A/S is Annie’s Heirloom Seeds, T/S is Territorial Seed, and S/S is Sustainable Seed (I think they’ve changed their name since). The list changes with whatever I’m buying that year, so I keep a little key. Two years from now, “A/S” won’t mean much unless you wrote it down somewhere. And when a variety does really well, the key tells you exactly where to buy it again.
Why It’s Worth the Trouble
Knowing which plant is which becomes important when you’re selling plants (customers want to know what they’re buying), when you’re saving seeds (you need to know exactly which plant they came from), and when you want to remember what to grow again next year because that whatever was so good.
So pay attention when you plant, write it down the way you planted it, and take a picture. It’s a small habit, but it’s the difference between “that great tomato” and knowing exactly what to plant next spring.
Free Printable Planting Sheets
I made printable versions of the sheets I use: tray sheets for 72-cell and 50-cell trays, a blank tray sheet you can draw your own cells on, and a garden bed sheet. Each one shows the front of the tray or the ends of the bed, has room for notes, and includes a seed company key. They have a wide left margin so you can three-hole punch them and keep them in a binder.